


To show a piece of furniture from several sides in consistent photos, create one photo from the front packshot and add the other sides with the ANGLE edit on that same photo. Turn the piece turns only the furniture in place, while the background, light and framing stay as they were in the first photo. Turn the room moves the camera, so you see the same room and the same piece from another spot. Below you’ll find every step: on a studio background, in an interior, and when the piece is placed differently from the packshot.
Why separate photos from each packshot don’t match
The first idea is to create a separate photo from the front, side and back packshots. But each of these photos is created from scratch, with no reference to the previous one. The armchair can be a slightly different size each time, and the background a different shade. In a product gallery, this shows straight away.
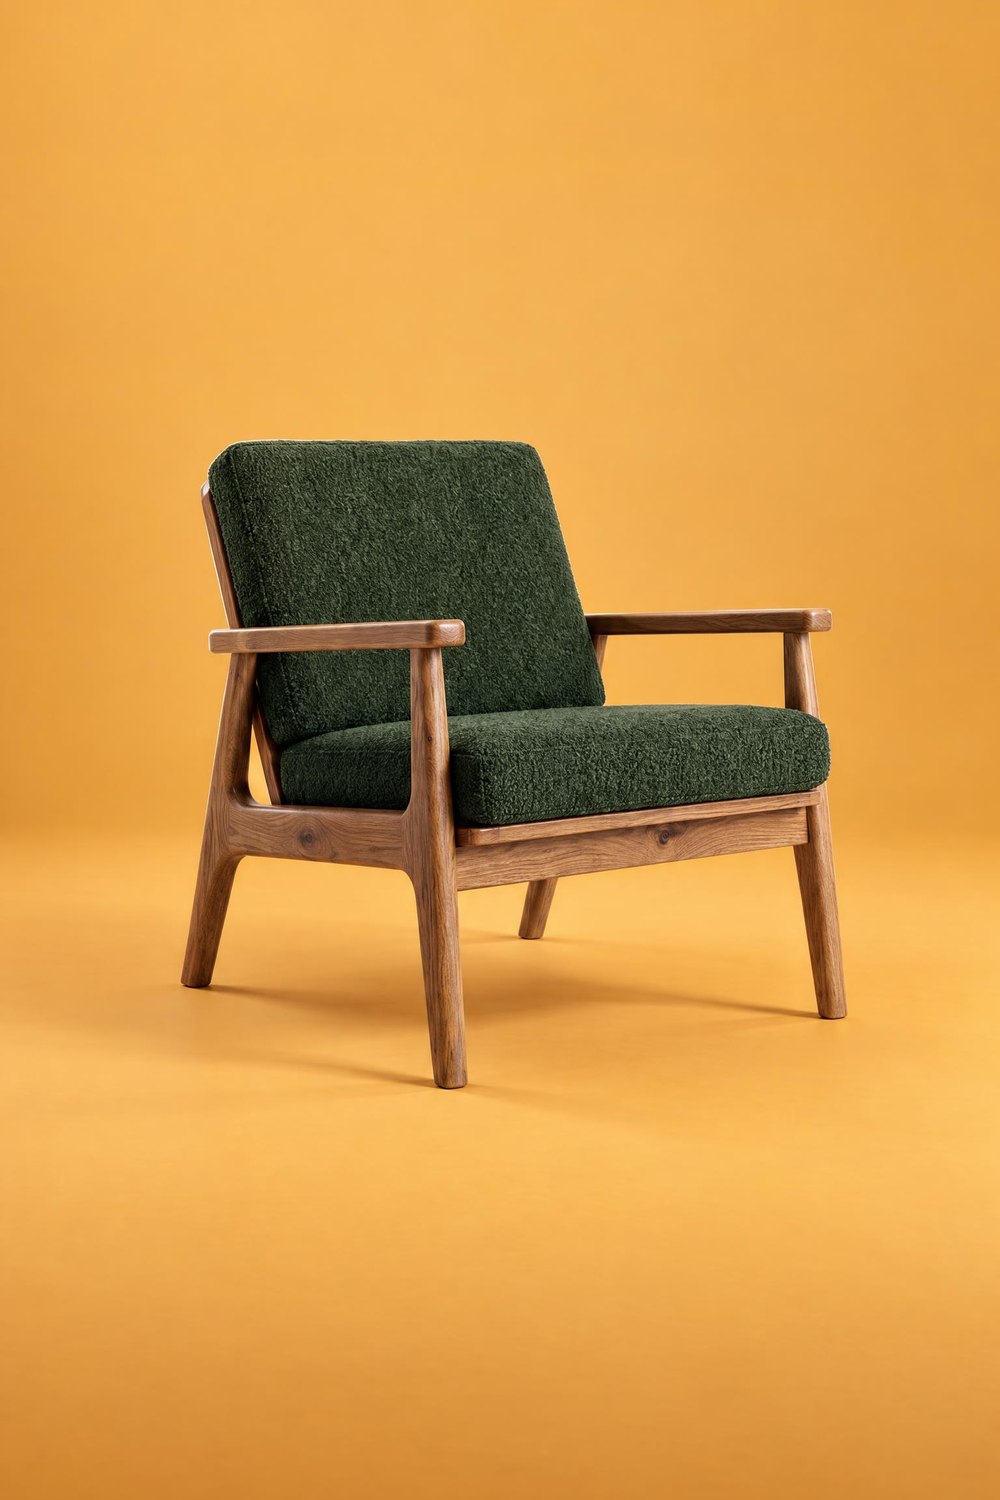 FRONT
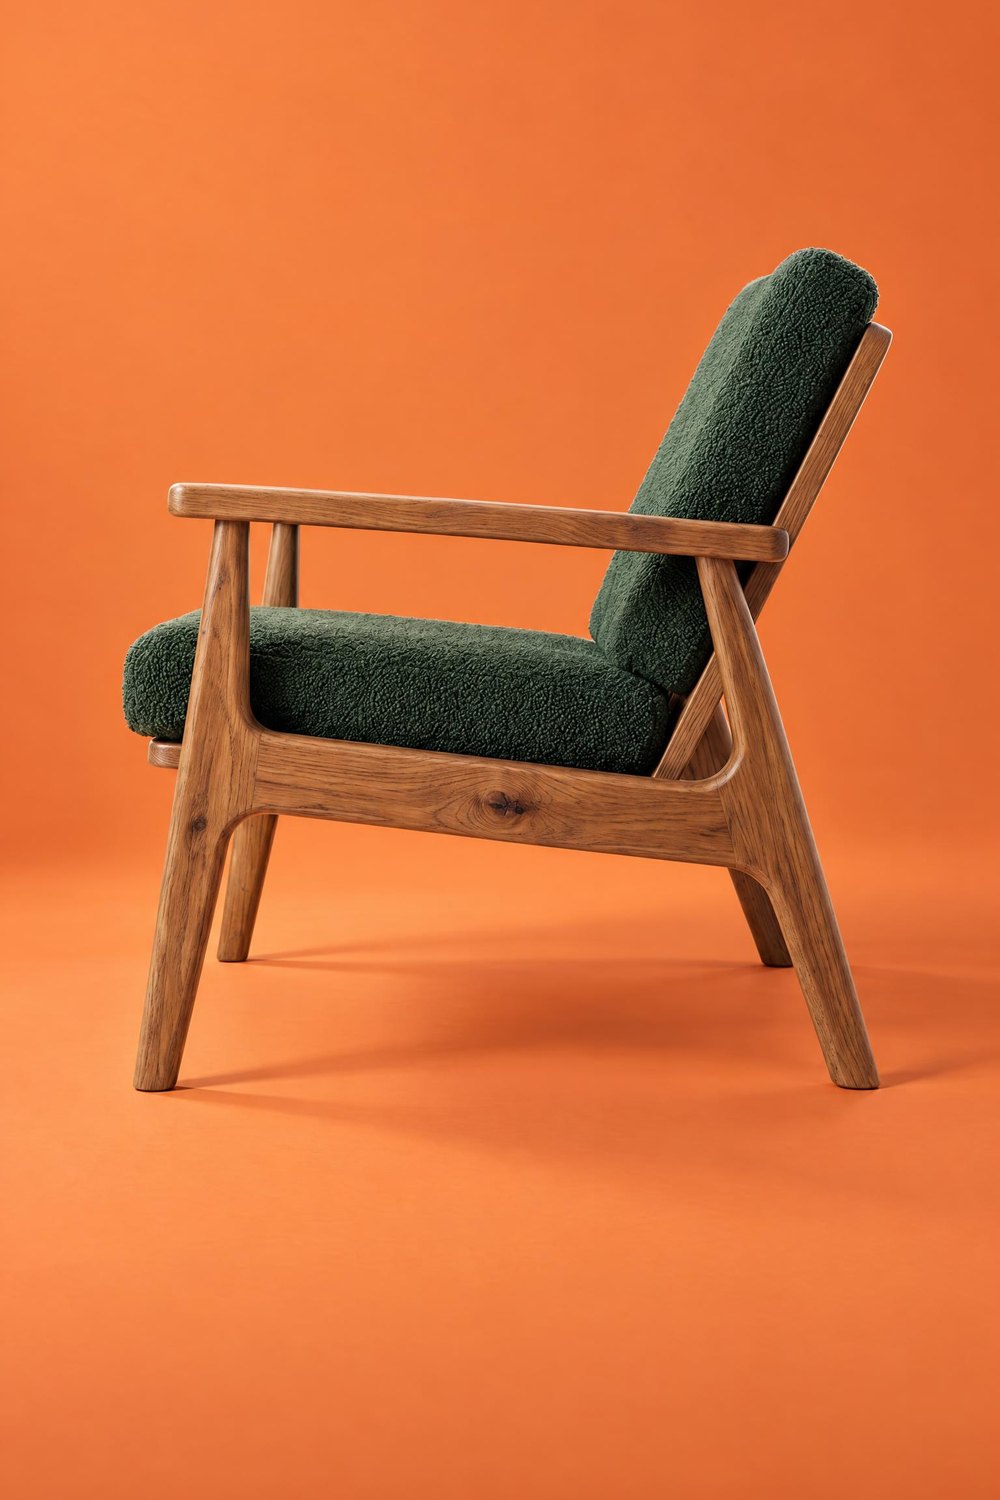 SIDE
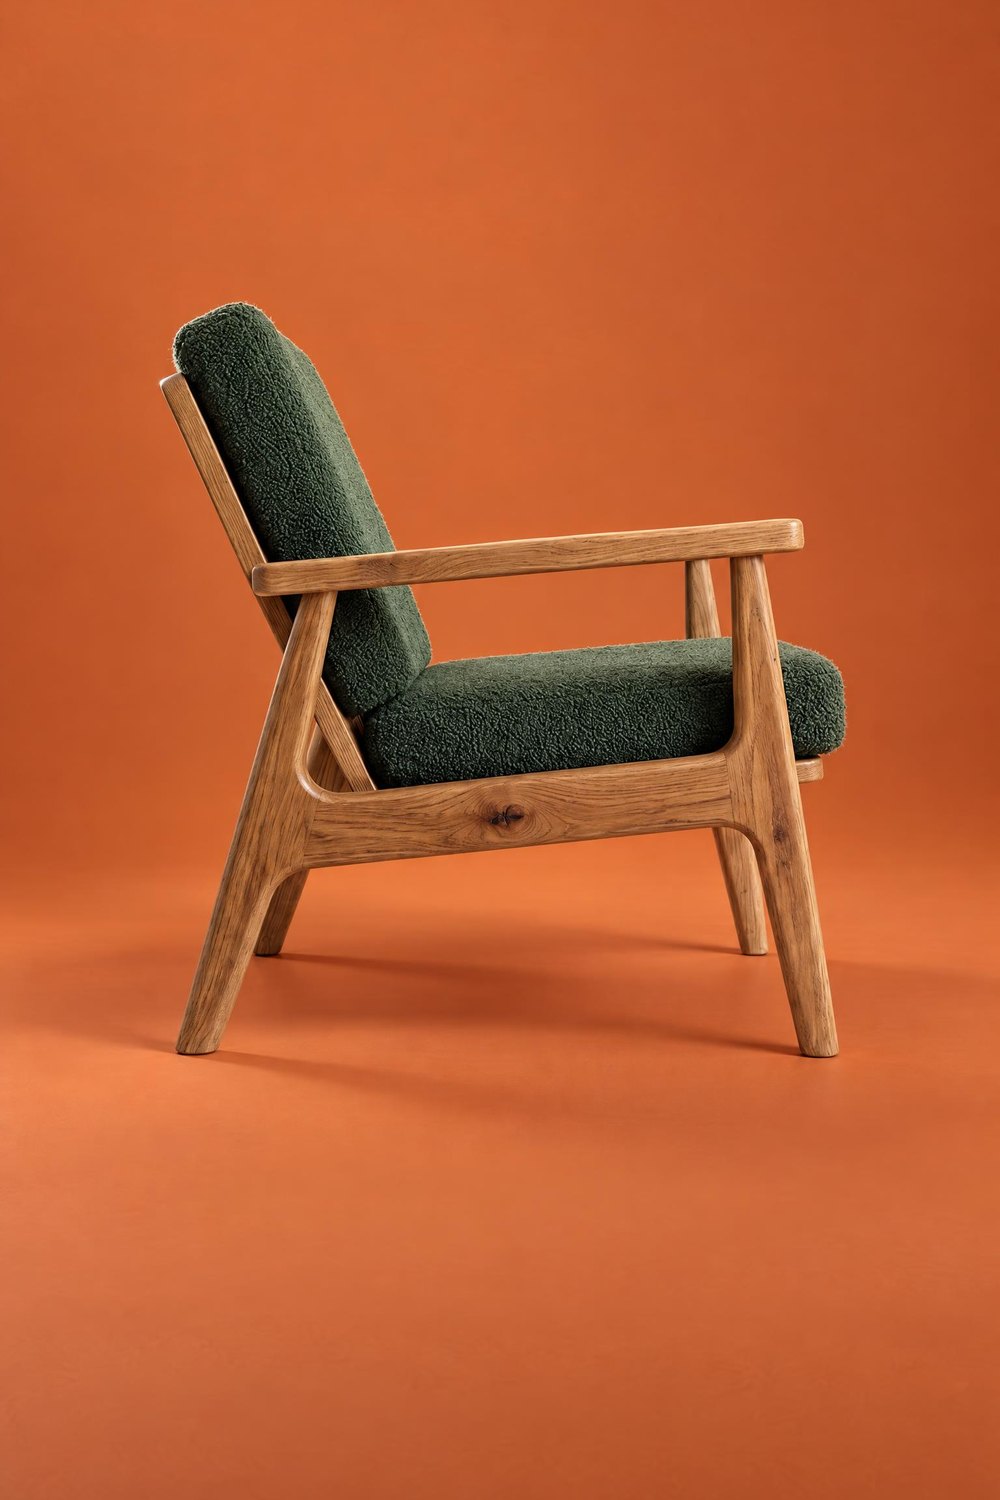 OTHER SIDE
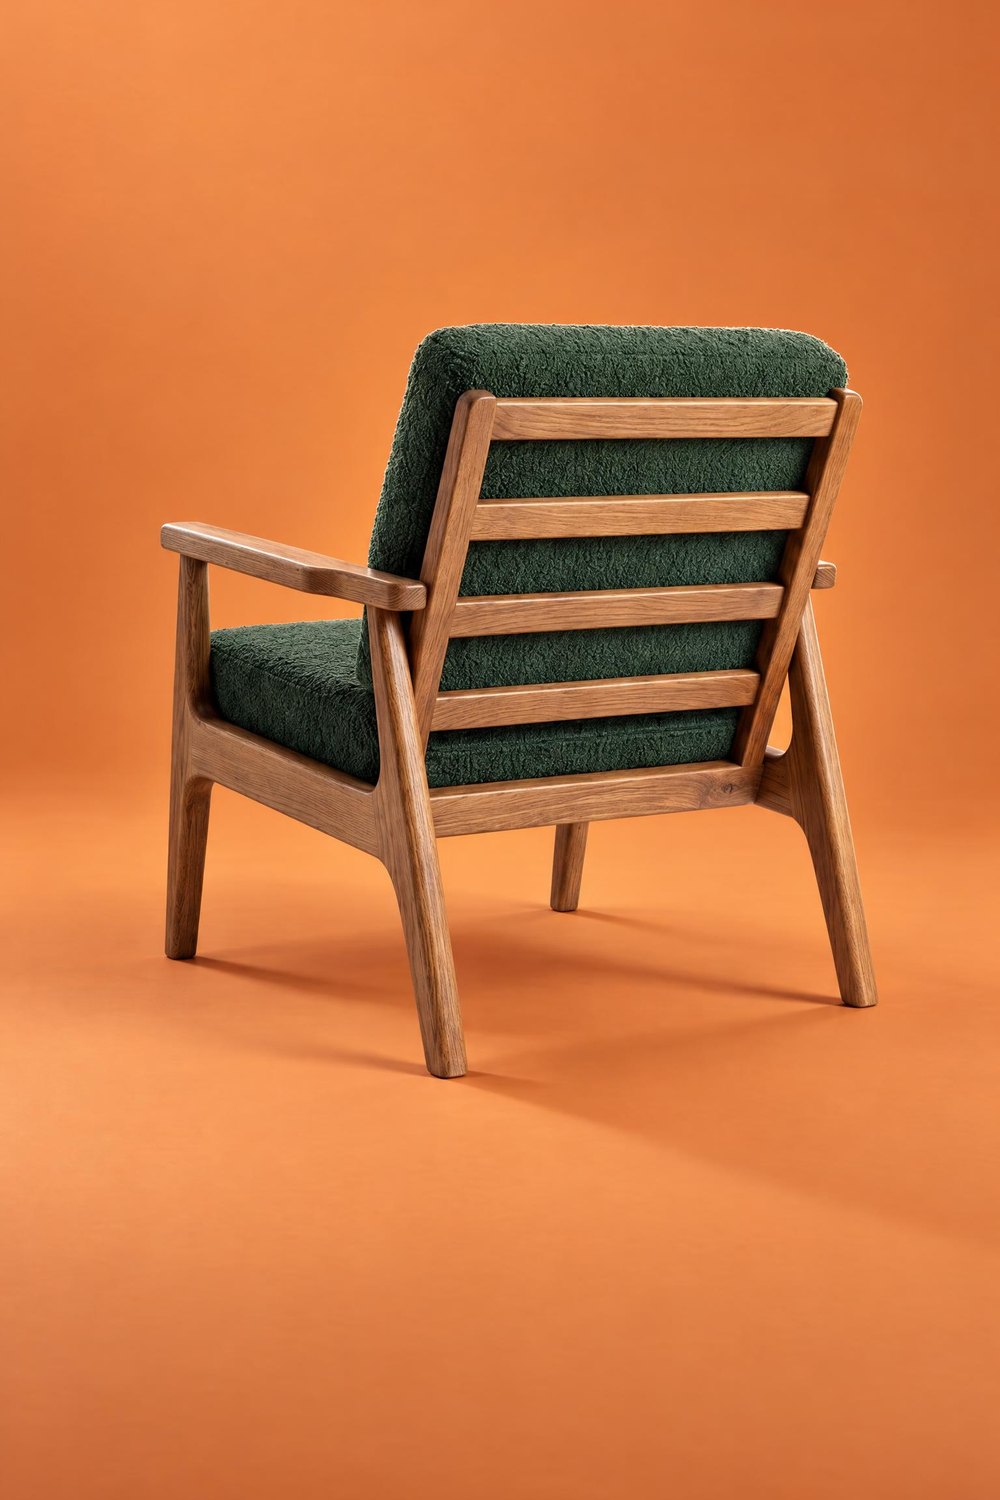 BACK
The ANGLE edit works differently, because it starts from a finished photo. It changes the side of the piece or the position of the camera, and the rest of the photo stays the same. With both options, you upload a packshot of the piece from another side:
| Turn the piece | Turn the room | |
|---|---|---|
| What changes | The piece turns in place | The camera moves to another spot |
| What stays the same | Background, light, room and framing | The room and the piece, seen from another side |
| When to choose it | A studio background or the same interior framing | An interior from another viewpoint, or a piece placed differently from the packshot |
Studio background: a whole series from one photo
Step 1. Create a photo from the front packshot
Click NEW PHOTO, upload the front packshot and choose the type of furniture. In the style step, open the STUDIO tab and choose a background, in this example CONTRAST. Click CREATE. This photo will be the base for the whole series.
Step 2. Turn the piece with the ANGLE edit
Open the finished photo, choose the ANGLE edit, upload the side packshot and select Turn the piece. The armchair turns in place, while the background, light and scale stay as they were in the first photo.
Step 3. Add the other side and the back
Add the other side and the back in the same way. Create each new side by editing the first photo, not the previous edit. That way all the shots share the same base, and the whole set is consistent.
FRONT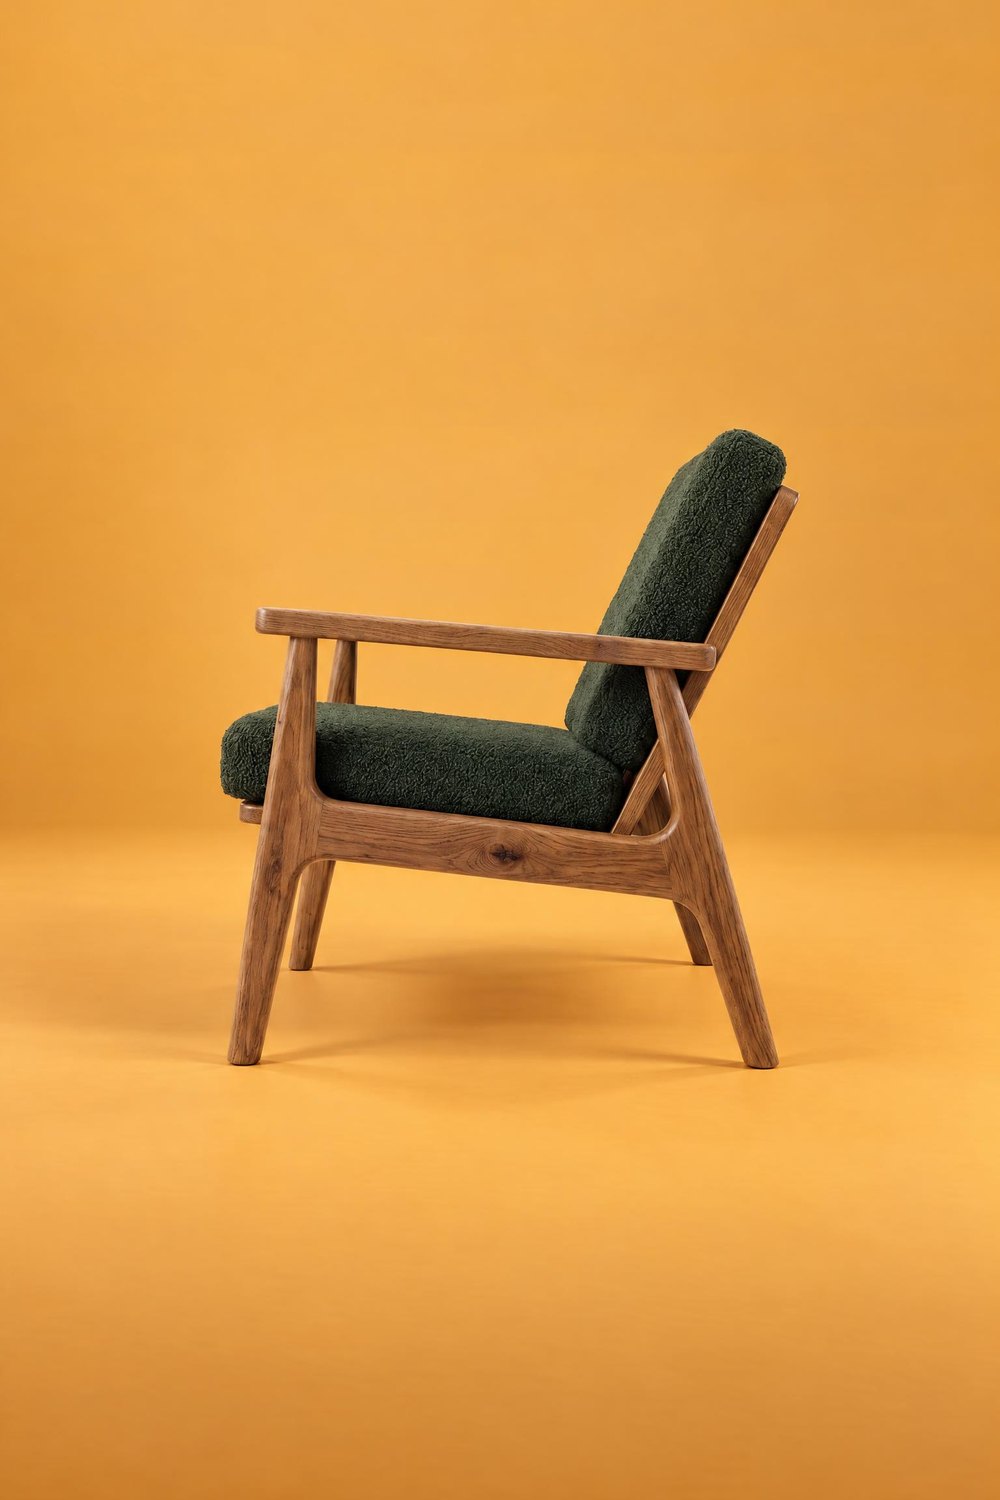 SIDE
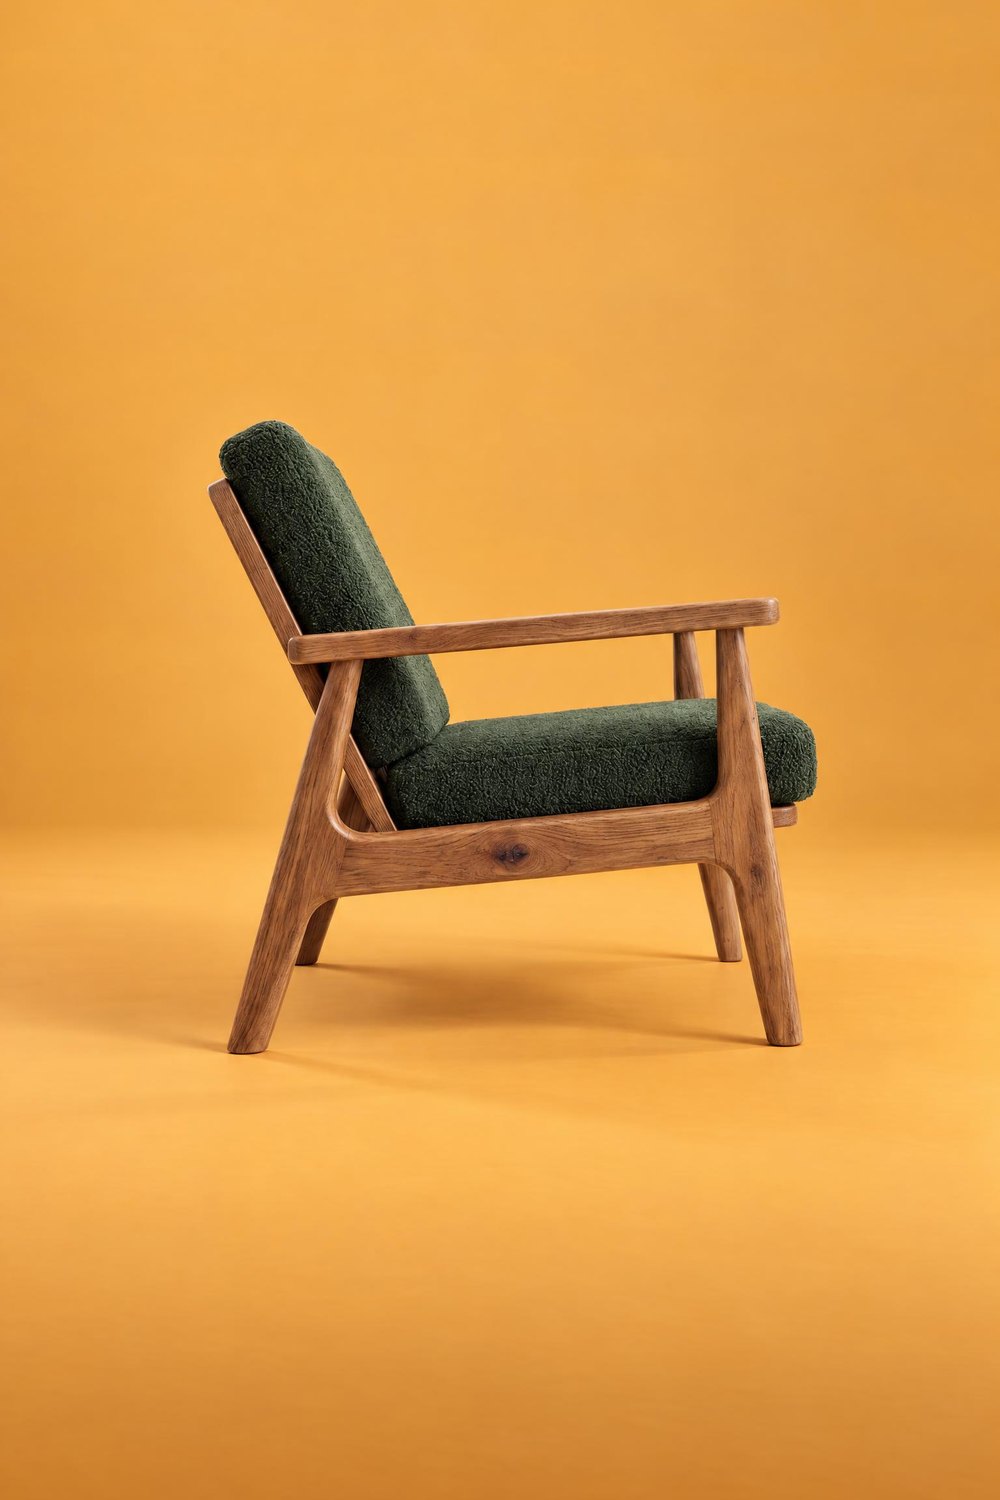 OTHER SIDE
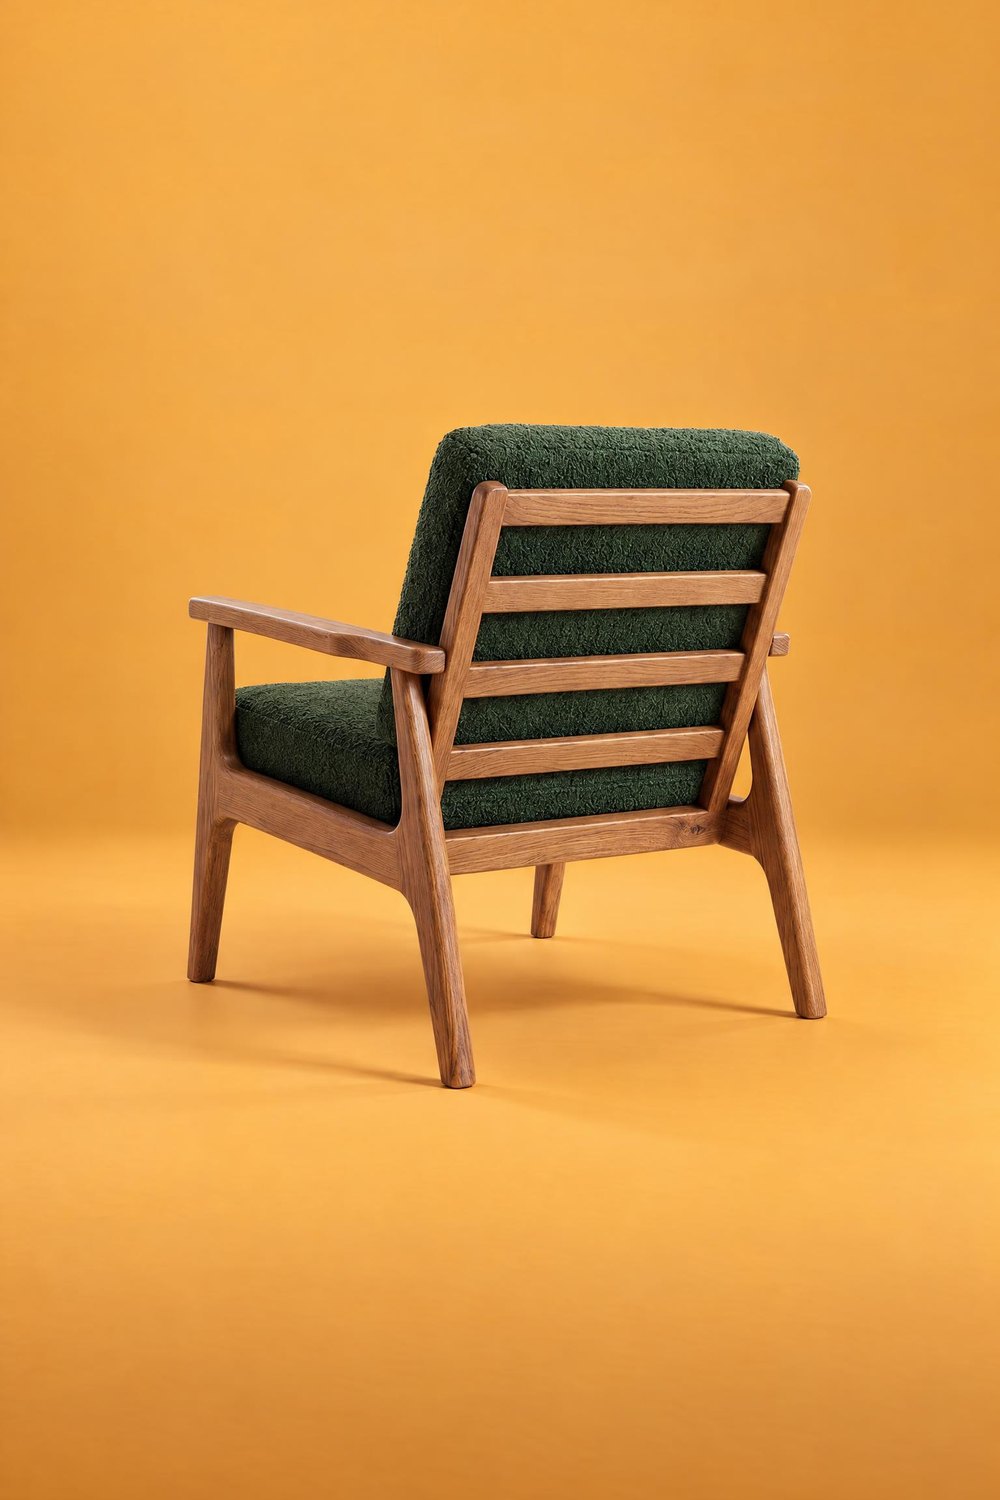 BACK
Compare each photo with the packshot: the angle of the piece or a detail can differ slightly. If something doesn’t match, repeat the edit. Our furniture packshot guide explains how to prepare packshots from several sides.
In an interior: front packshot first, then ANGLE
Interiors work differently. In room settings, furniture usually faces the camera, as in most interior photos. Even if you upload a side packshot, the armchair will most often face forward anyway. So for interior photos, upload a front packshot or a view at a slight angle.
You can then show another side of the piece with the ANGLE edit on the finished photo. There are two options to choose from.
Turn the piece: the same framing, another side of the piece
The armchair turns in place, while the room and framing stay unchanged. This gives you a series in which only the position of the piece changes.
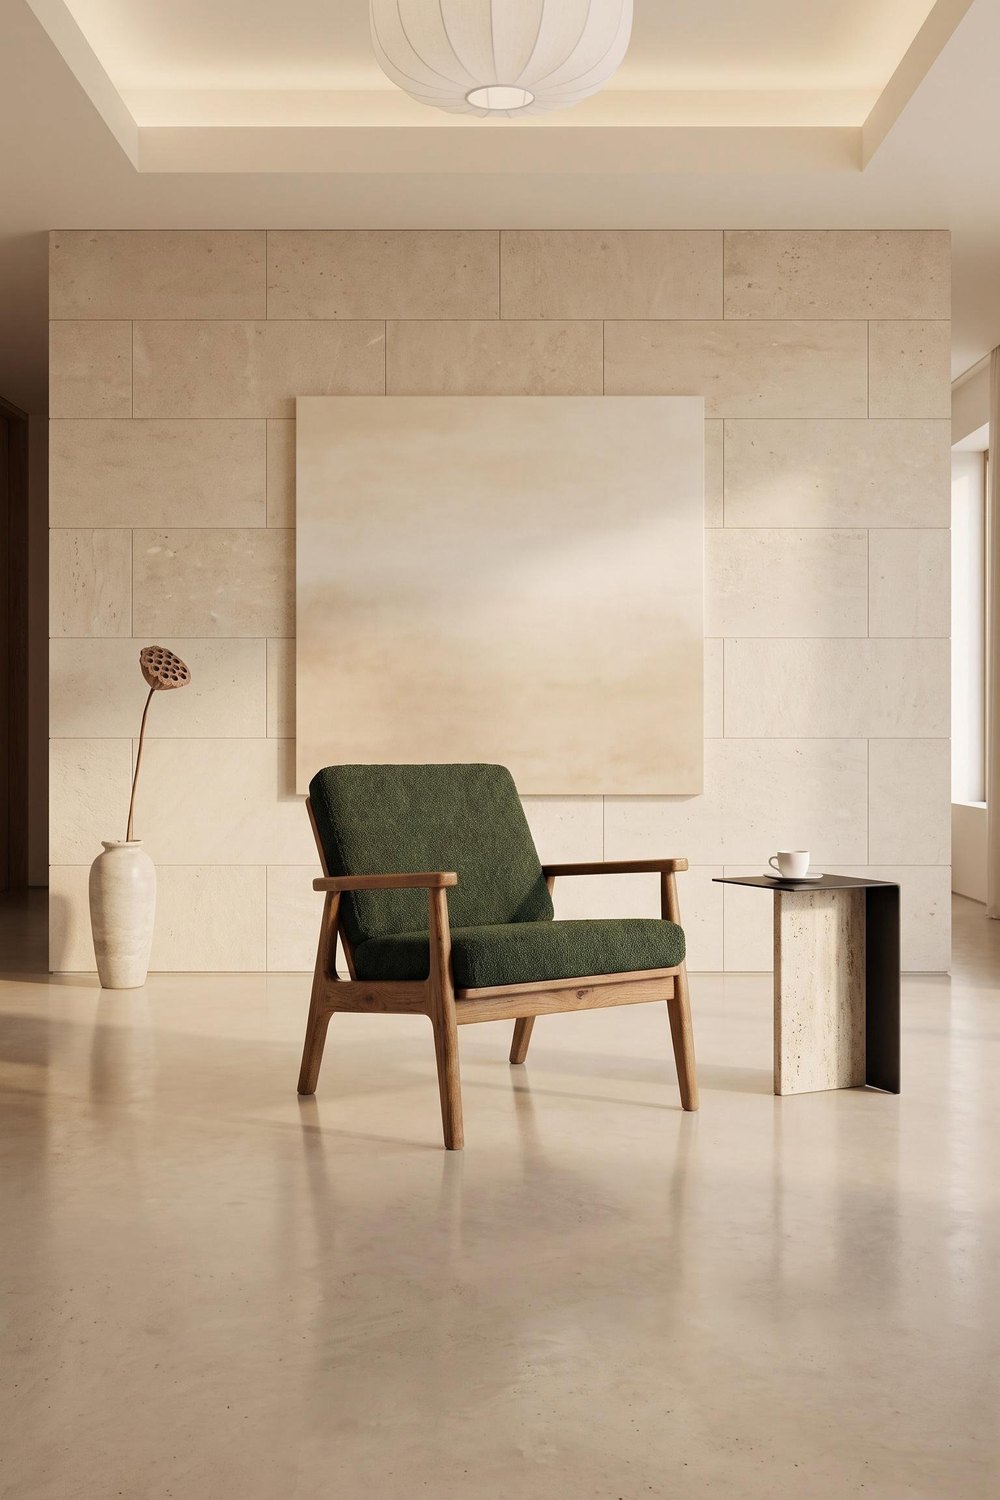 WARM MINIMAL
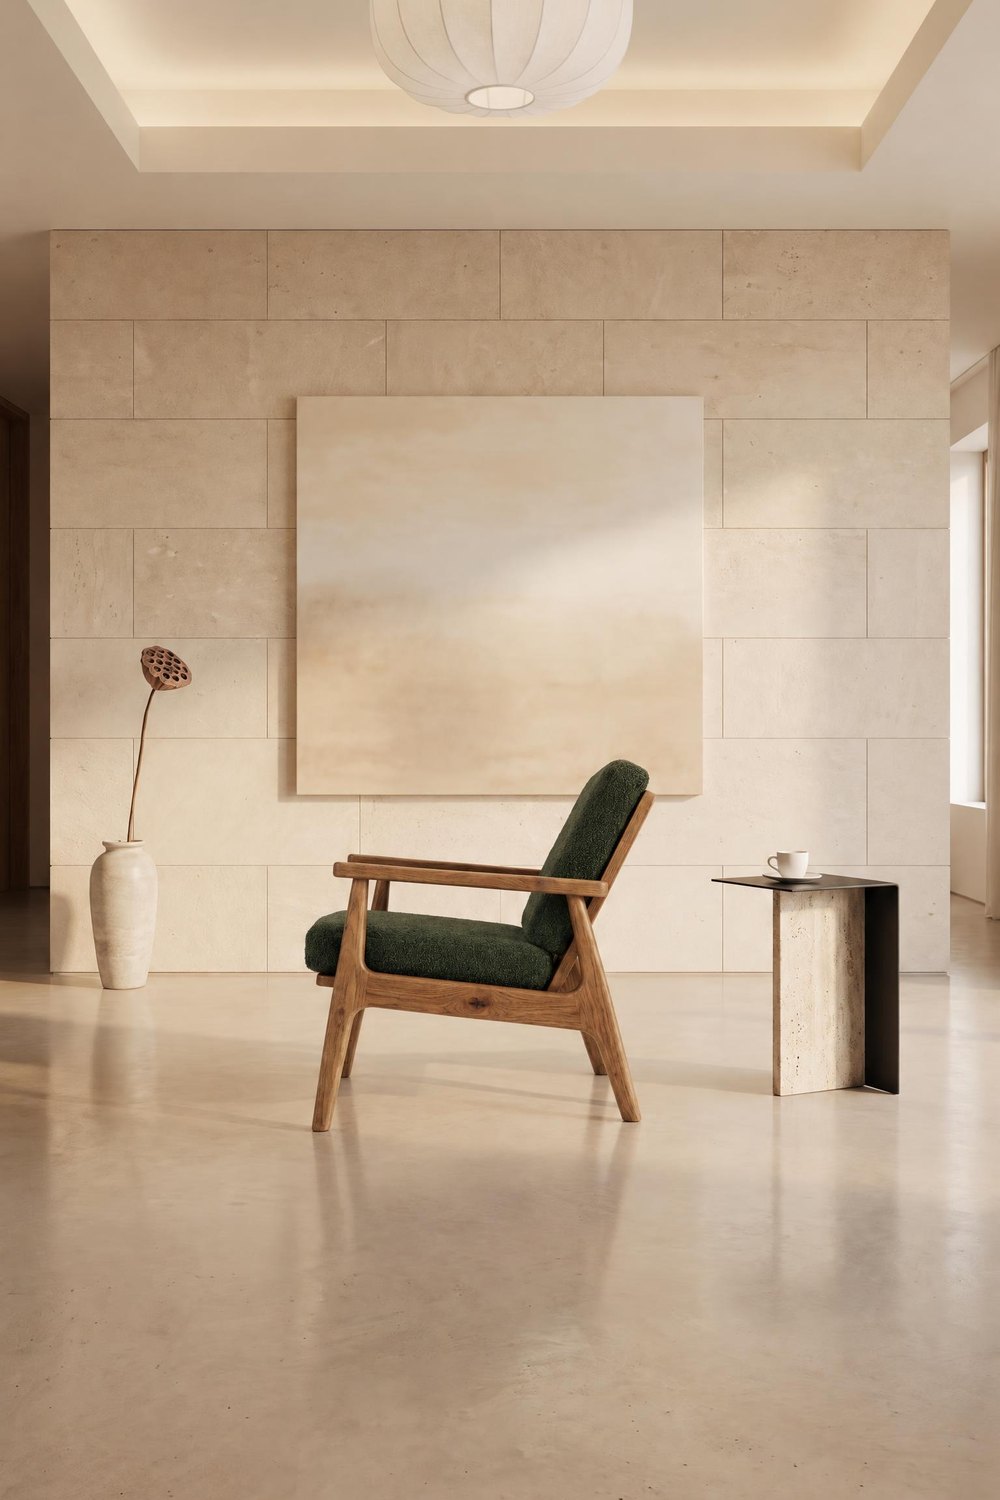 TURN THE PIECE
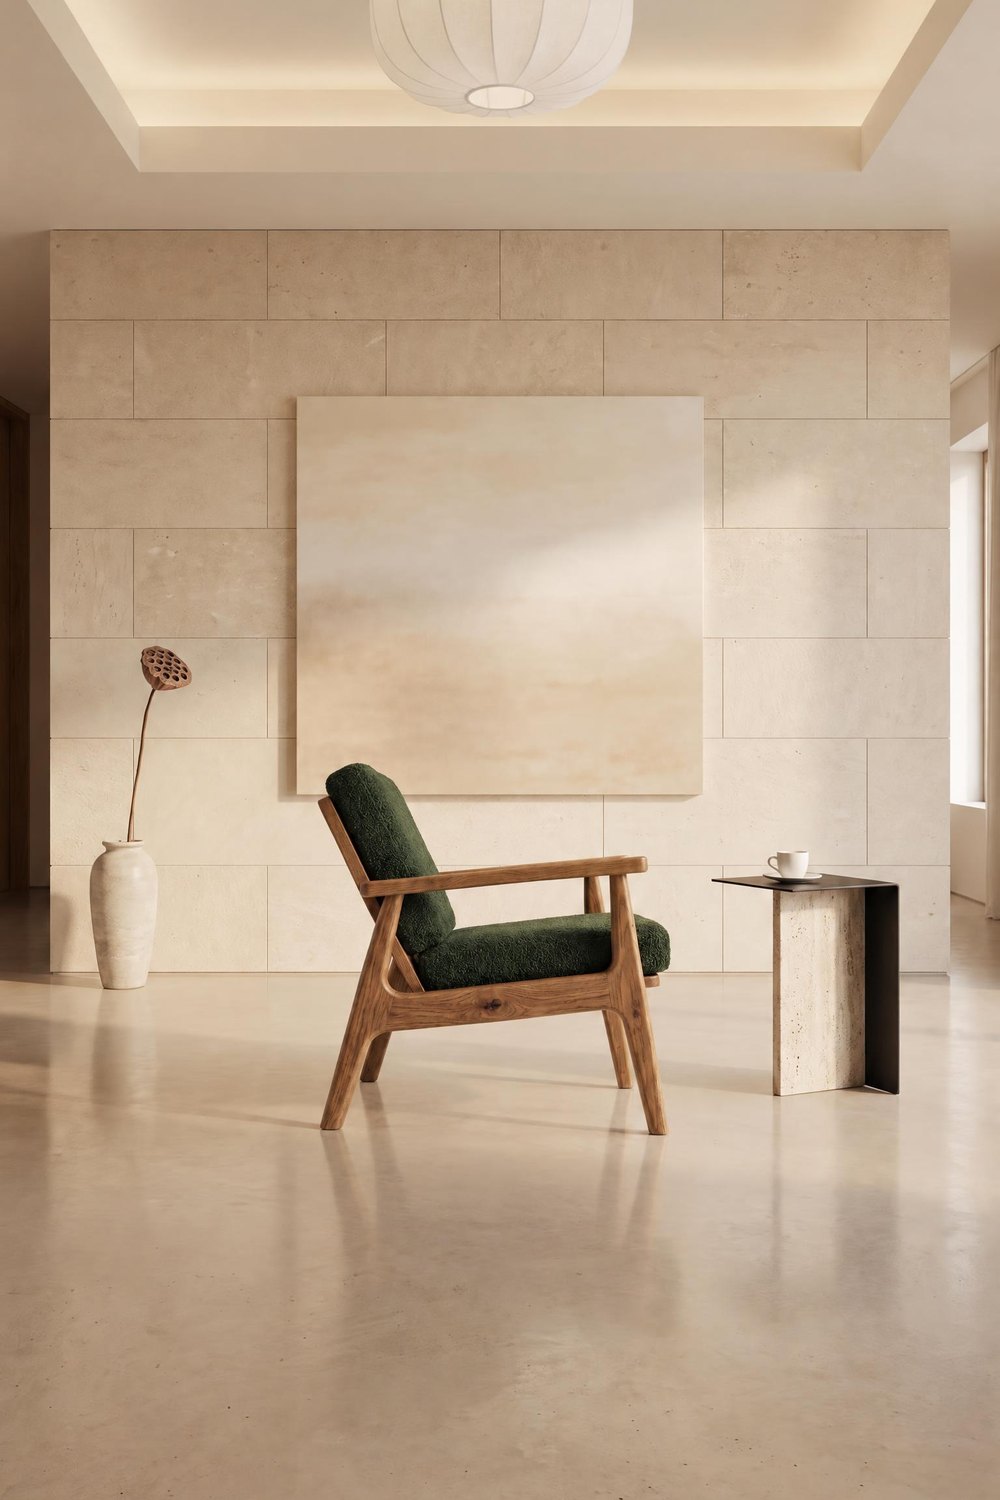 TURN THE PIECE
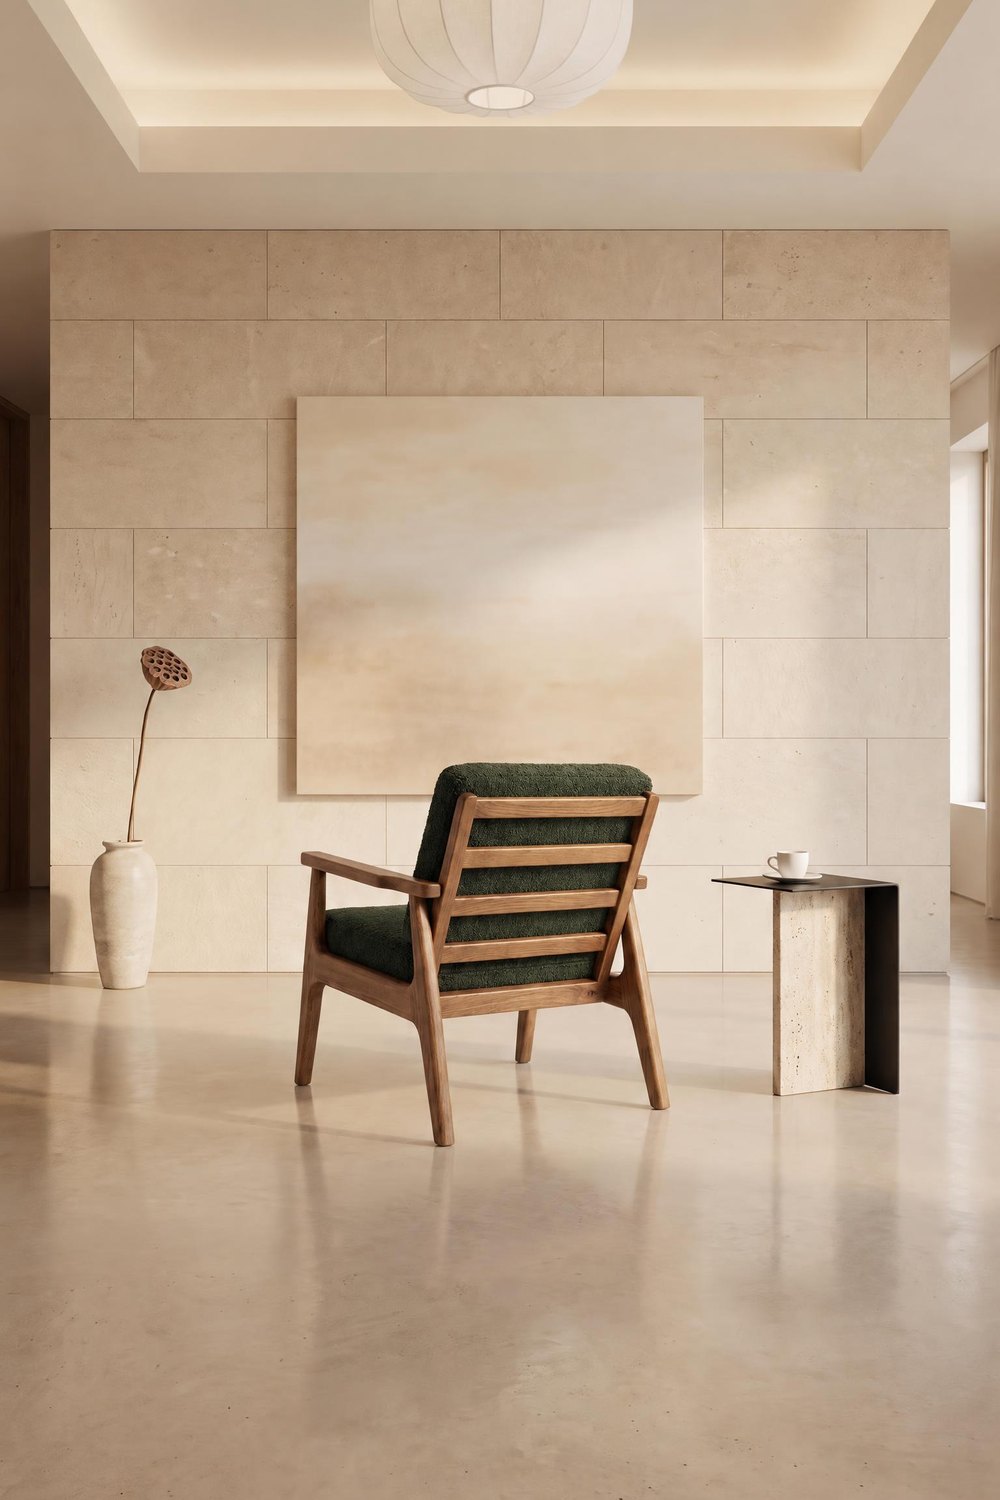 TURN THE PIECE
Turn the room: the same room from another spot
Turn the room moves the camera: you see the same room and the same armchair from another spot, and other parts of the interior come into the frame. This option is marked BETA, so it’s worth comparing each photo with the first one.
WARM MINIMAL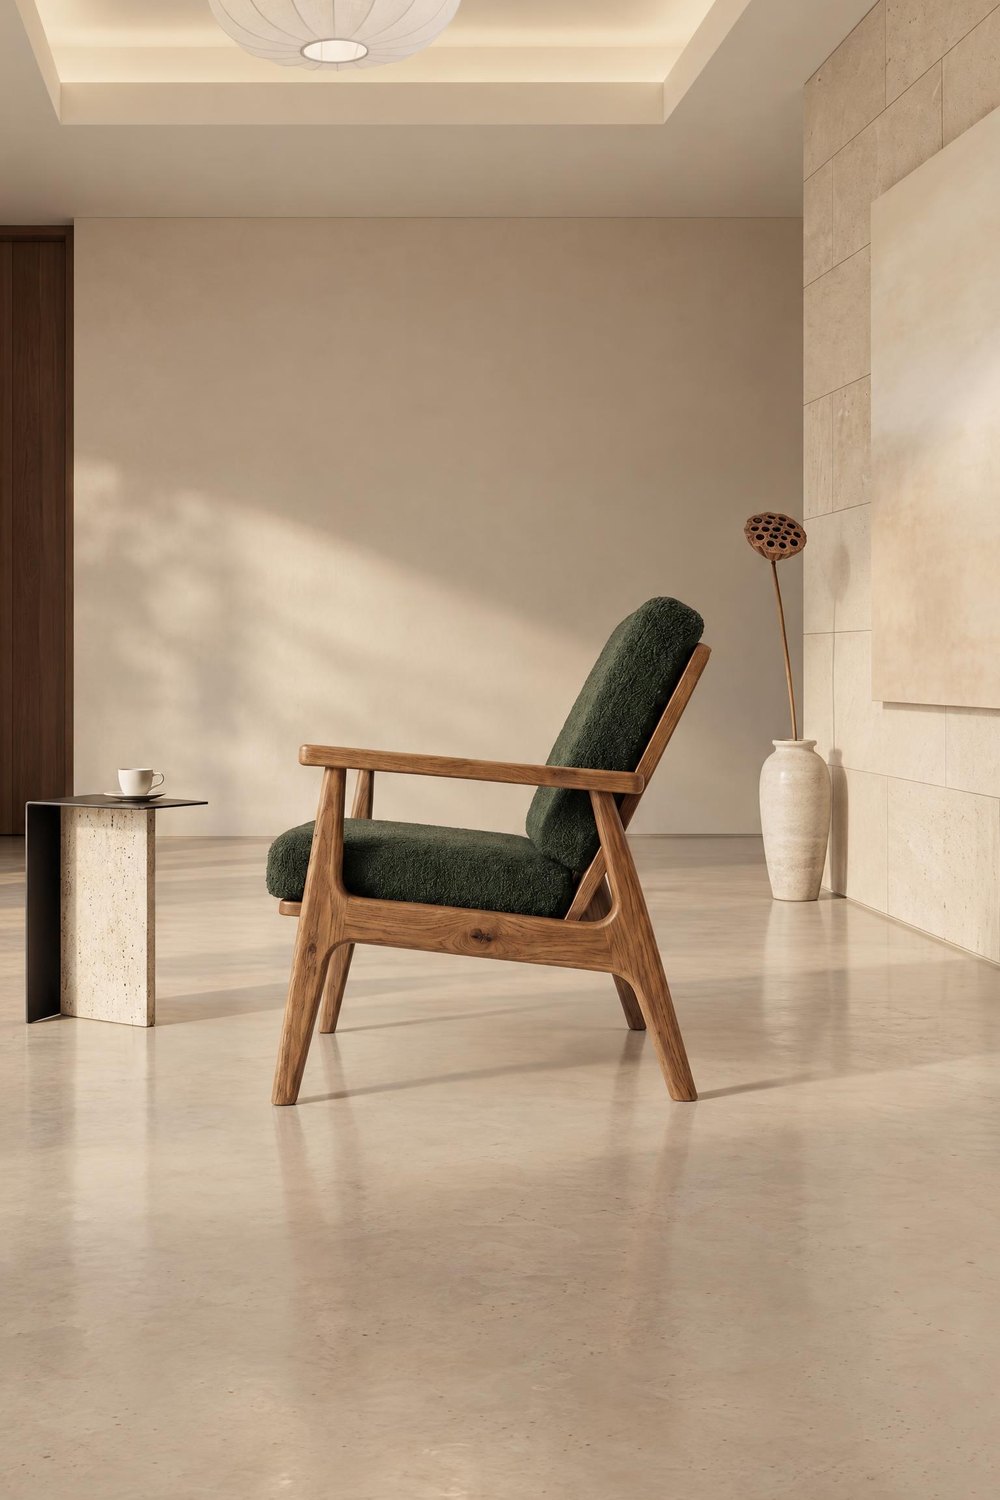 TURN THE ROOM
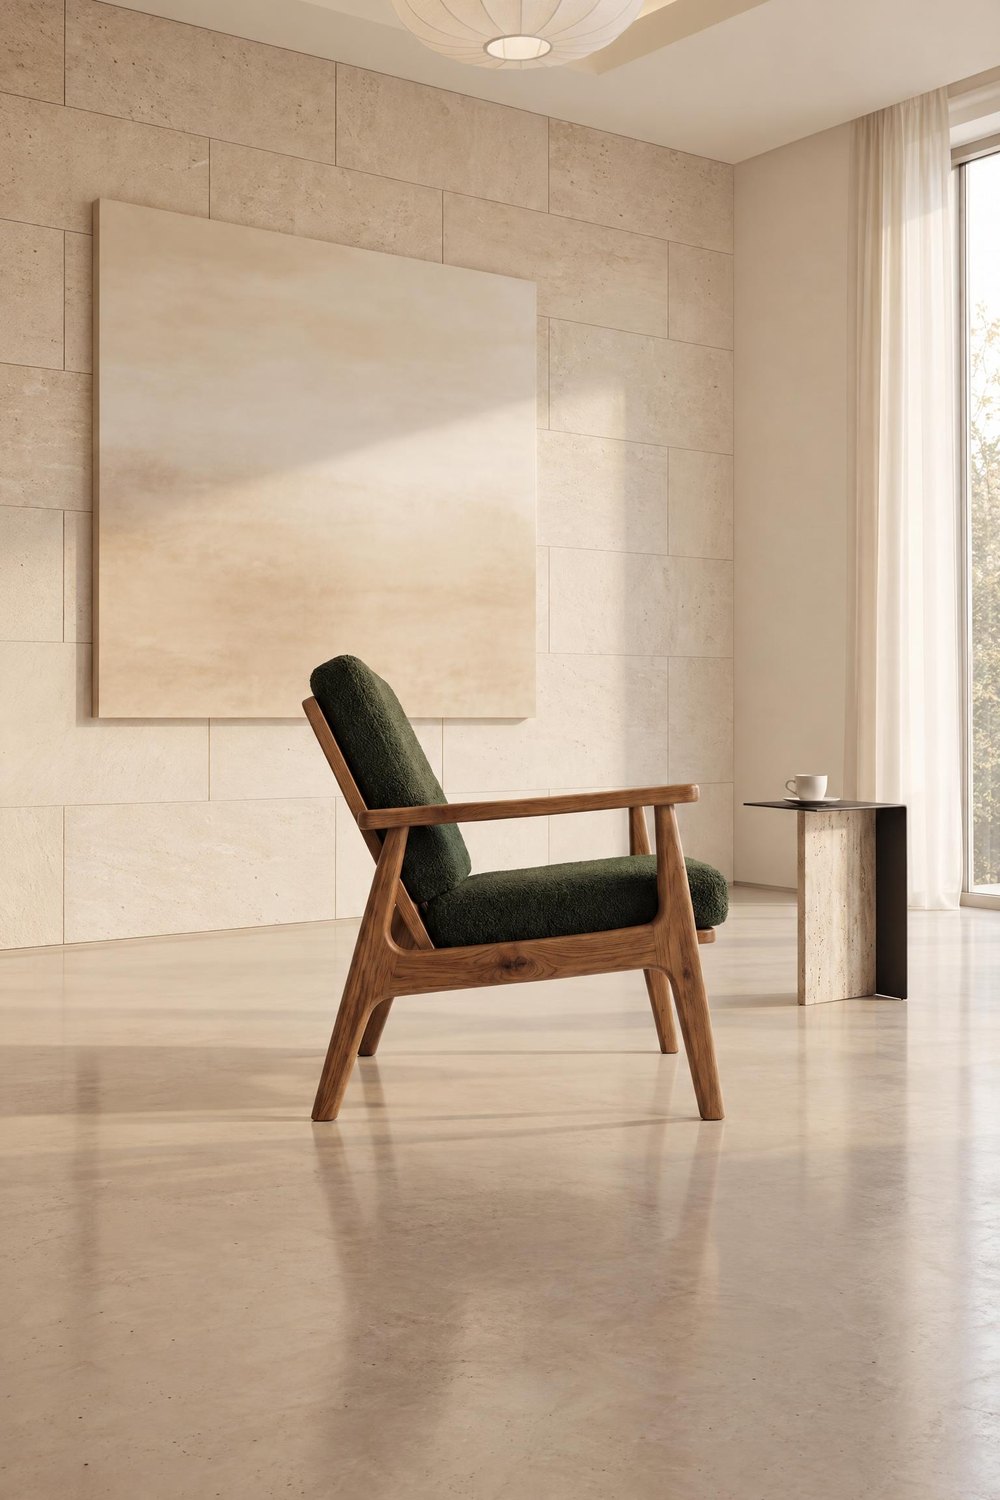 TURN THE ROOM
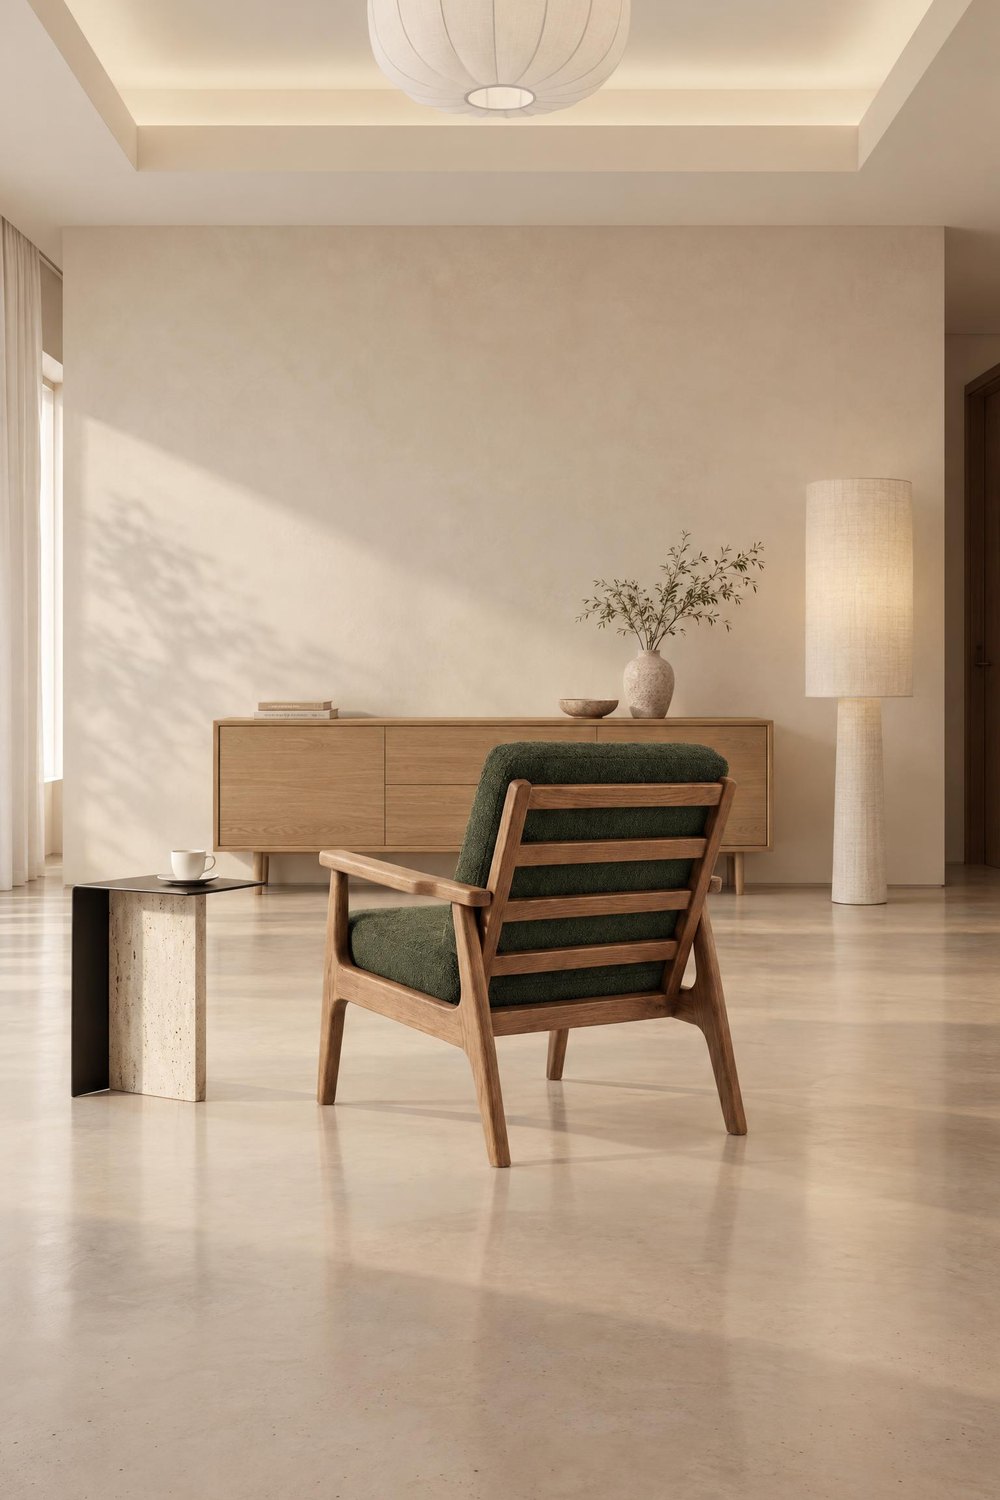 TURN THE ROOM
When the piece is placed differently from the packshot
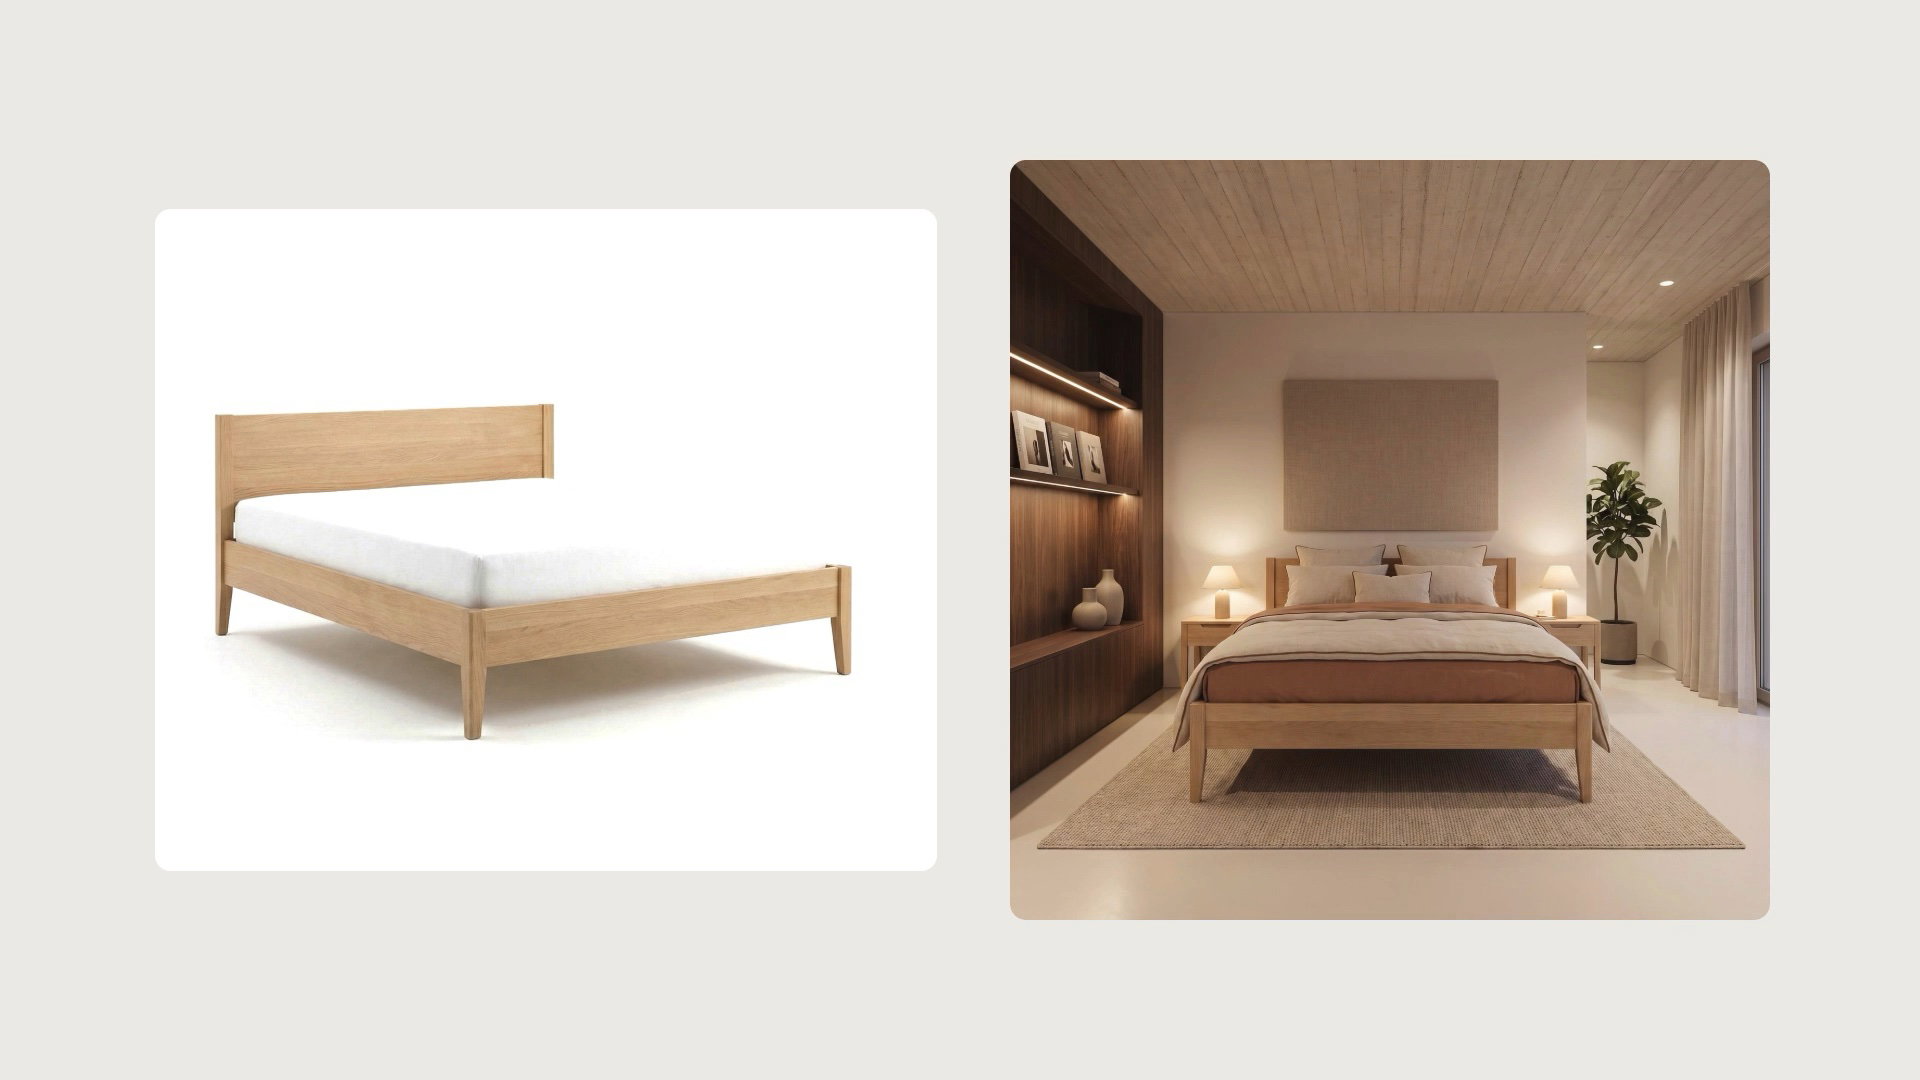
Sometimes you upload a packshot at a slight angle, a 3/4 view, and in the finished photo the piece faces the camera head-on. Like this oak bed. The ANGLE edit helps here too: select Turn the room, and you’ll see the same bed at an angle, in the same interior. Upload the packshot of the other side as well, and you’ll see the bed from the other side too. You now have three consistent photos instead of one.
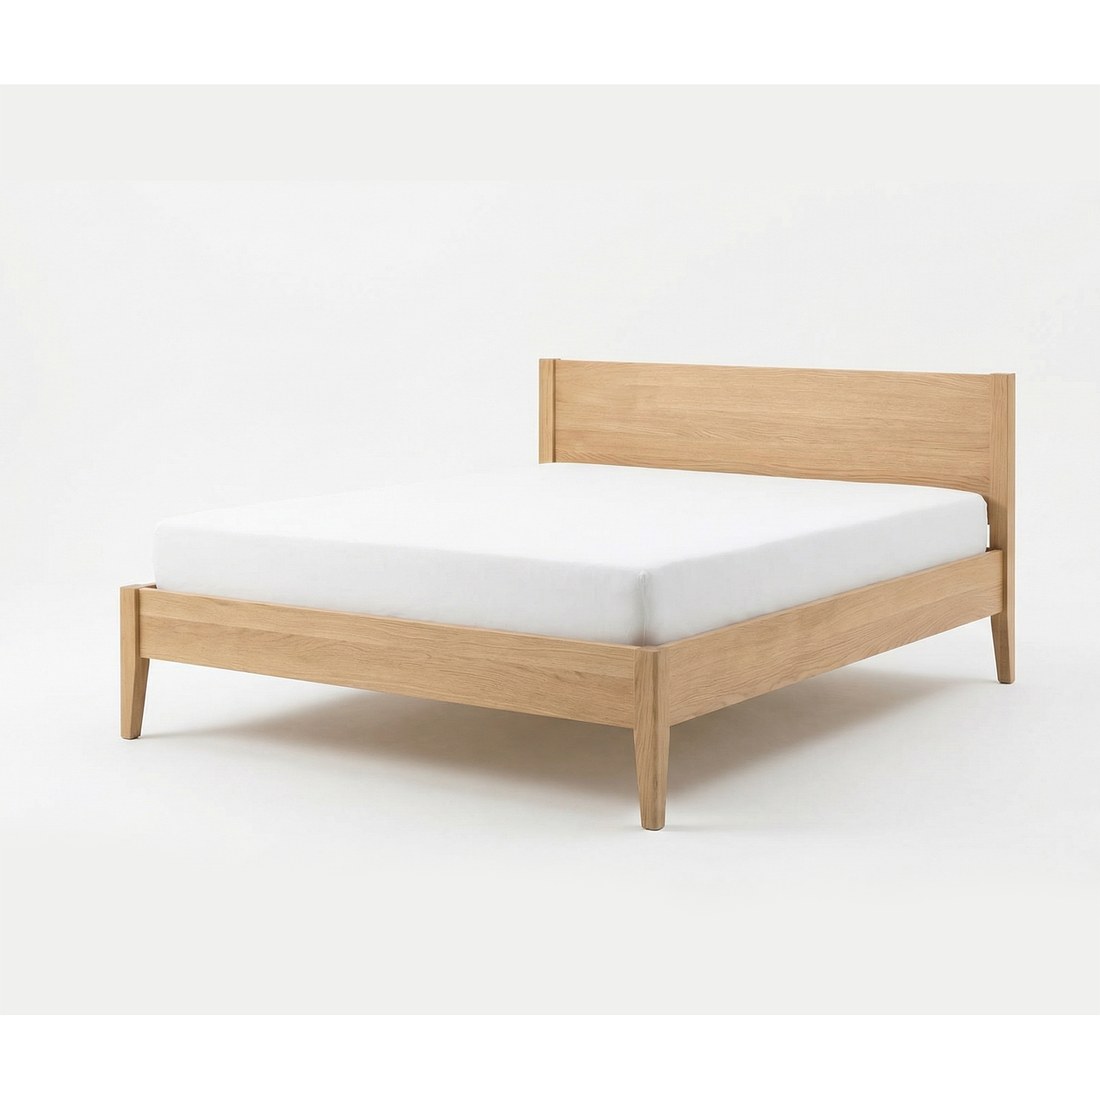 PACKSHOT 3/4
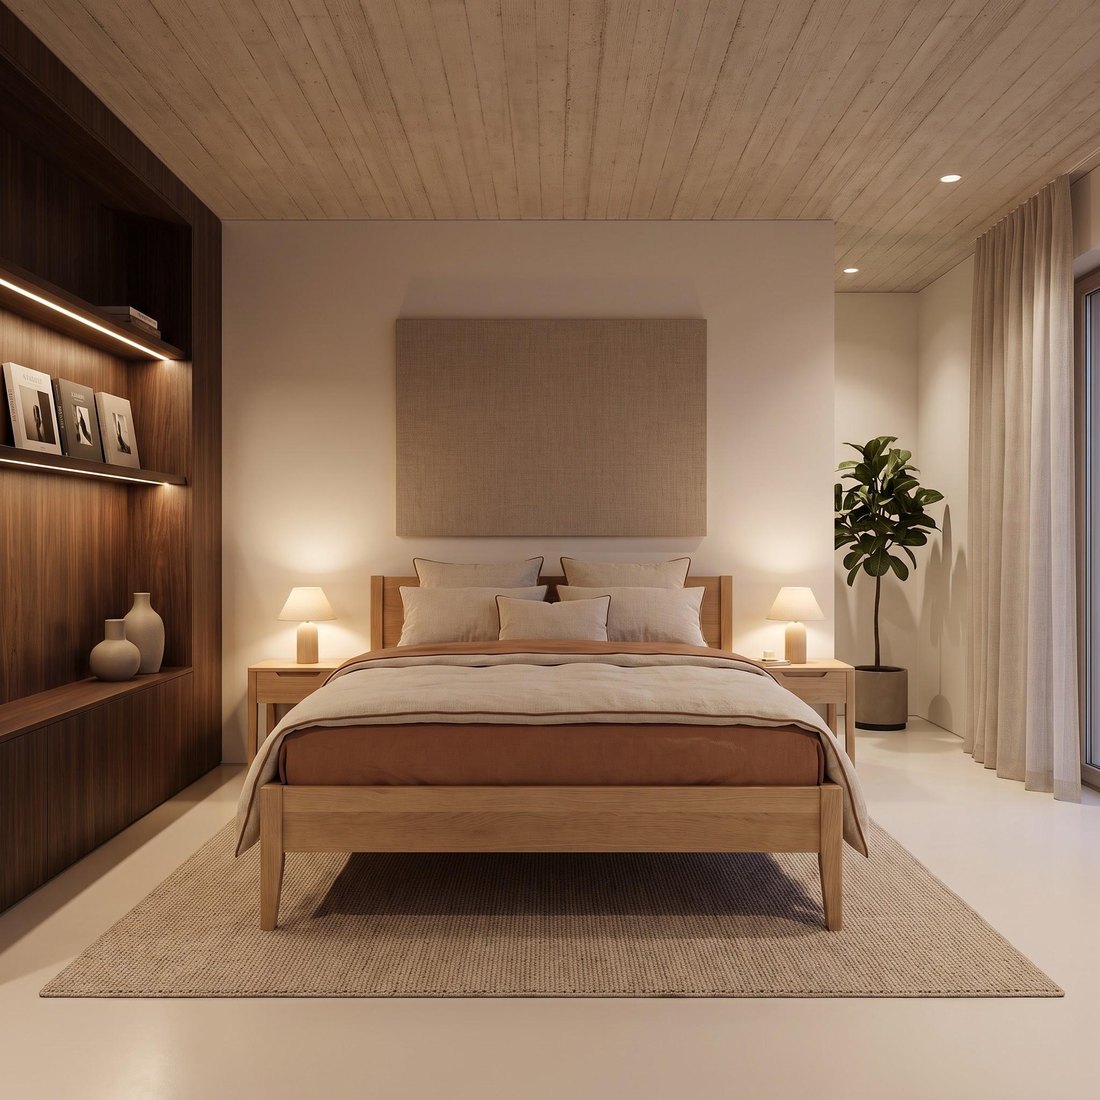 STRAIGHT ON
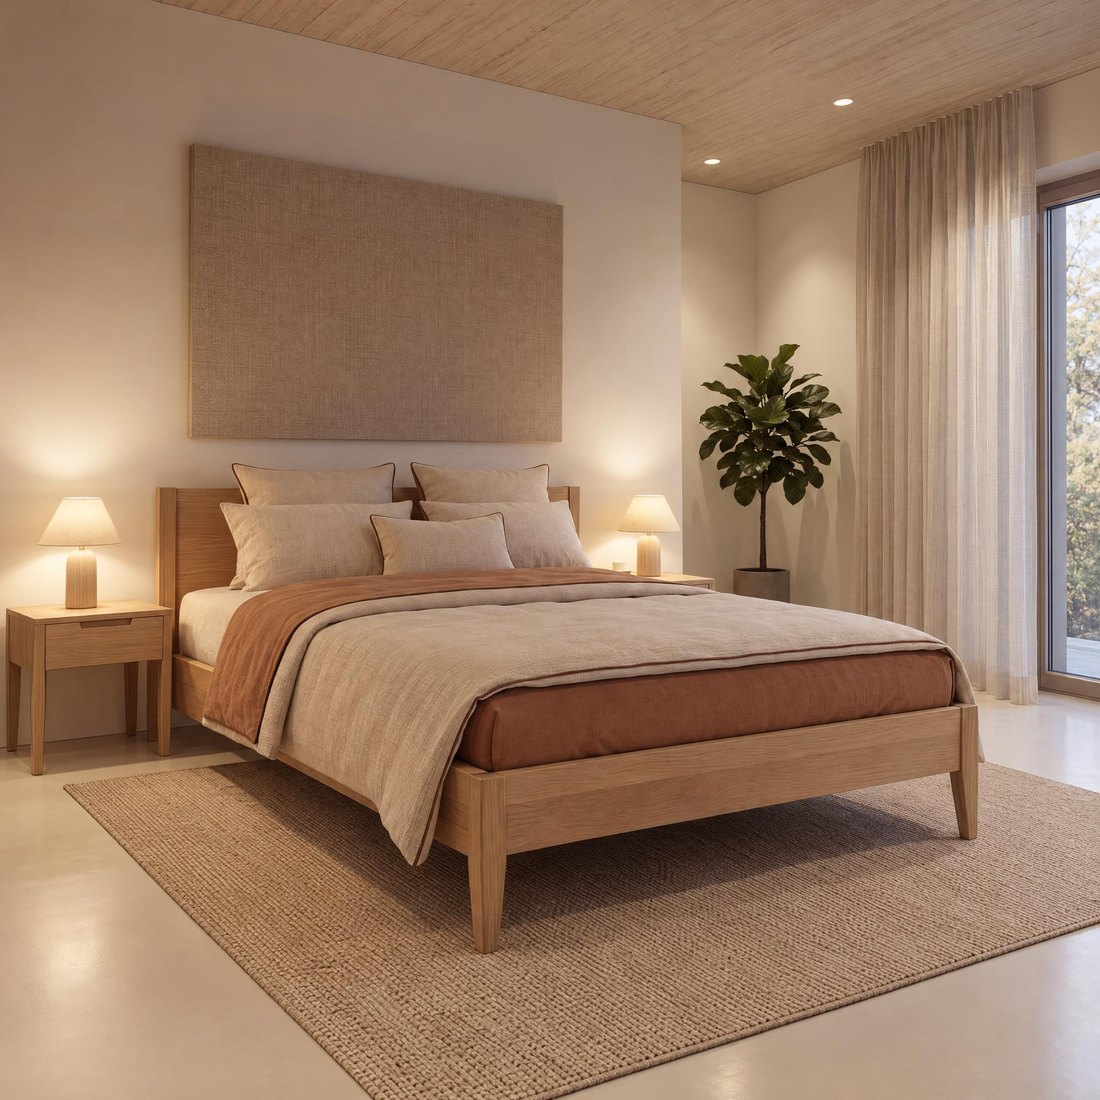 TURN THE ROOM
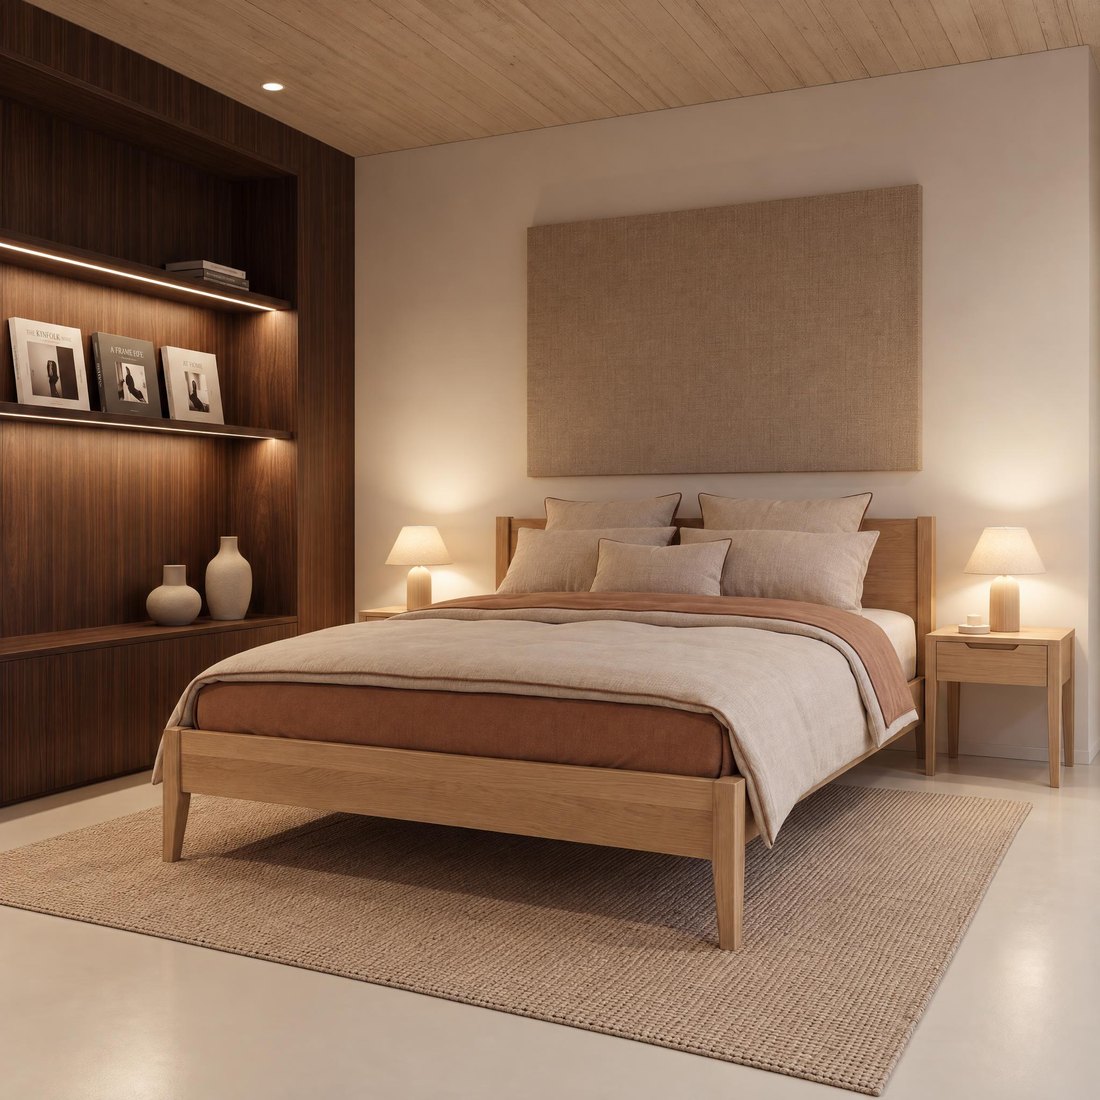 OTHER SIDE
Which option to choose
- Studio background: Turn the piece. Create each side from the first photo.
- Interior in the same framing: Turn the piece. The room stays the same, and the side of the piece changes.
- Interior from another viewpoint: Turn the room. The camera moves to another spot, and the room and piece stay the same.
- The piece faces the camera, but you want it at an angle: Turn the room with a 3/4 packshot.
One photo and a few ANGLE edits give you a consistent set from every side in a few clicks.
Frequently asked questions
Can I create a separate photo from each packshot?
You can, but each of those photos is created from scratch. The size of the piece, the shade of the background and the light can differ slightly. A consistent series starts from one photo created from the front packshot, with the other sides added through the ANGLE edit.
What’s the difference between Turn the piece and Turn the room?
Turn the piece turns only the furniture in place, while the background, room and framing stay unchanged. Turn the room moves the camera, so you see the same room and the same piece from another spot.
Why does the piece face forward in an interior, even though I uploaded a side packshot?
In room settings, furniture usually faces the camera, as in most interior photos. For interior photos, upload a front packshot or a view at a slight angle, and add another side later with the ANGLE edit.
Which packshot should I upload for an interior photo?
A front packshot or a view at a slight angle, a 3/4 view. The side and back packshots will come in handy later in the ANGLE edit.
Should each ANGLE edit be made on the first photo?
Yes. Create each side by editing the first photo, not the previous edit. That way all the shots share the same base.
What if the piece faces the camera but the packshot is at an angle?
Open the photo, choose the ANGLE edit, upload the 3/4 packshot and select Turn the room. You’ll see the same piece at an angle, in the same interior.
Does the piece match the packshot after the ANGLE edit?
In most photos yes, because Sopla creates the photo from your packshot. Sometimes the angle of the piece or a detail changes, so compare each photo with the packshot before publishing it.
Does the ANGLE edit work on photos from a batch?
Yes. Photos from a photo batch are regular photos in your gallery, so you can use the ANGLE edit on any of them.
Got packshots from several sides? Create your first photo and show the piece from every side.