
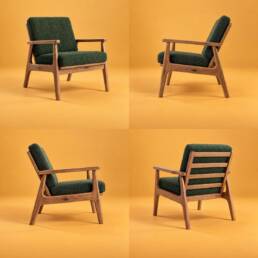
Furniture from every side: consistent photos with the ANGLE edit
To show a piece of furniture from several sides in consistent photos, create one photo from the front packshot and add the other sides with the ANGLE edit on that same photo. Turn the piece turns only the furniture in place, while the background, light and framing stay as they were in the first photo. Turn the room moves the camera, so you see the same room and the same piece from another spot. Below you'll find every step: on a studio background, in an interior, and when the piece is placed differently from the packshot.
Why separate photos from each packshot don't match
The first idea is to create a separate photo from the front, side and back packshots. But each of these photos is created from scratch, with no reference to the previous one. The armchair can be a slightly different size each time, and the background a different shade. In a product gallery, this shows straight away.
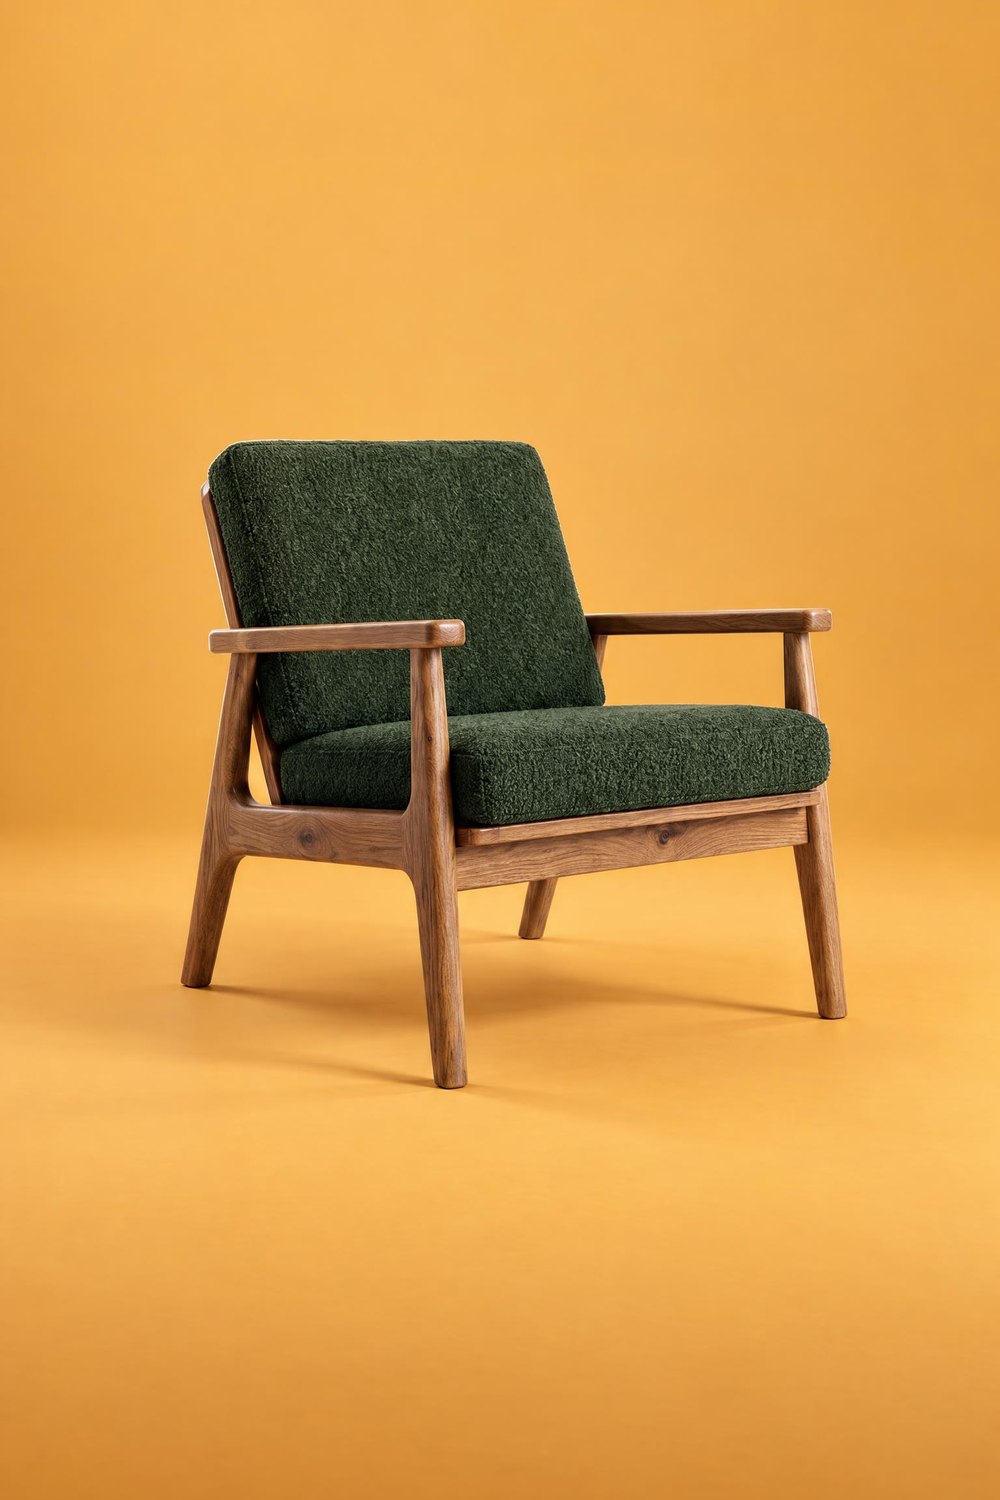 FRONT
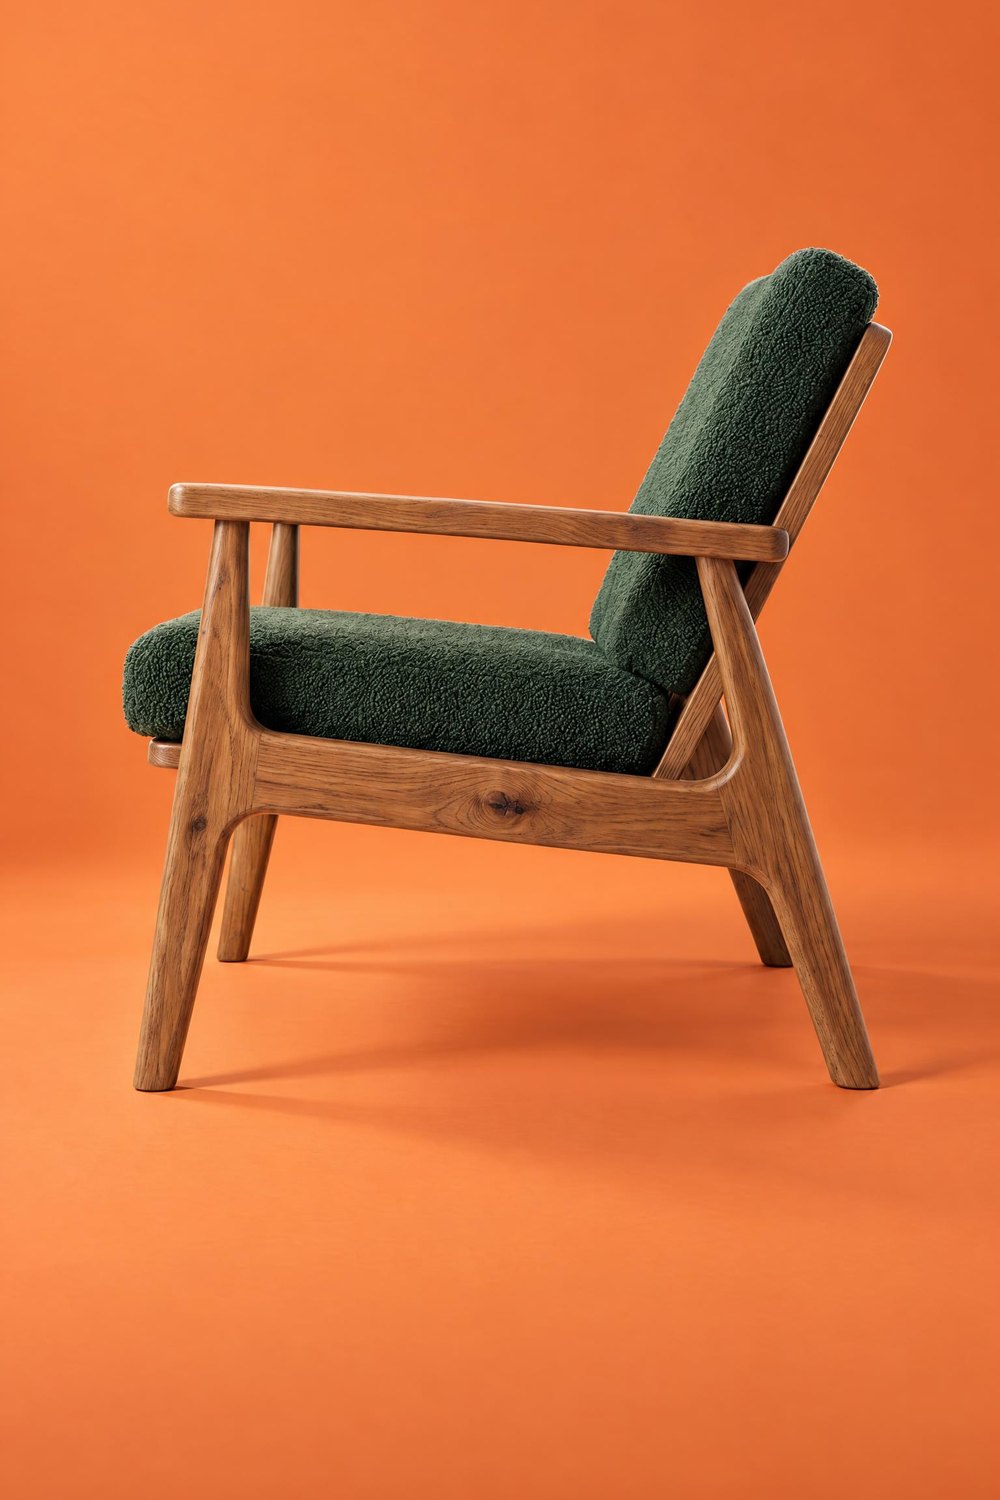 SIDE
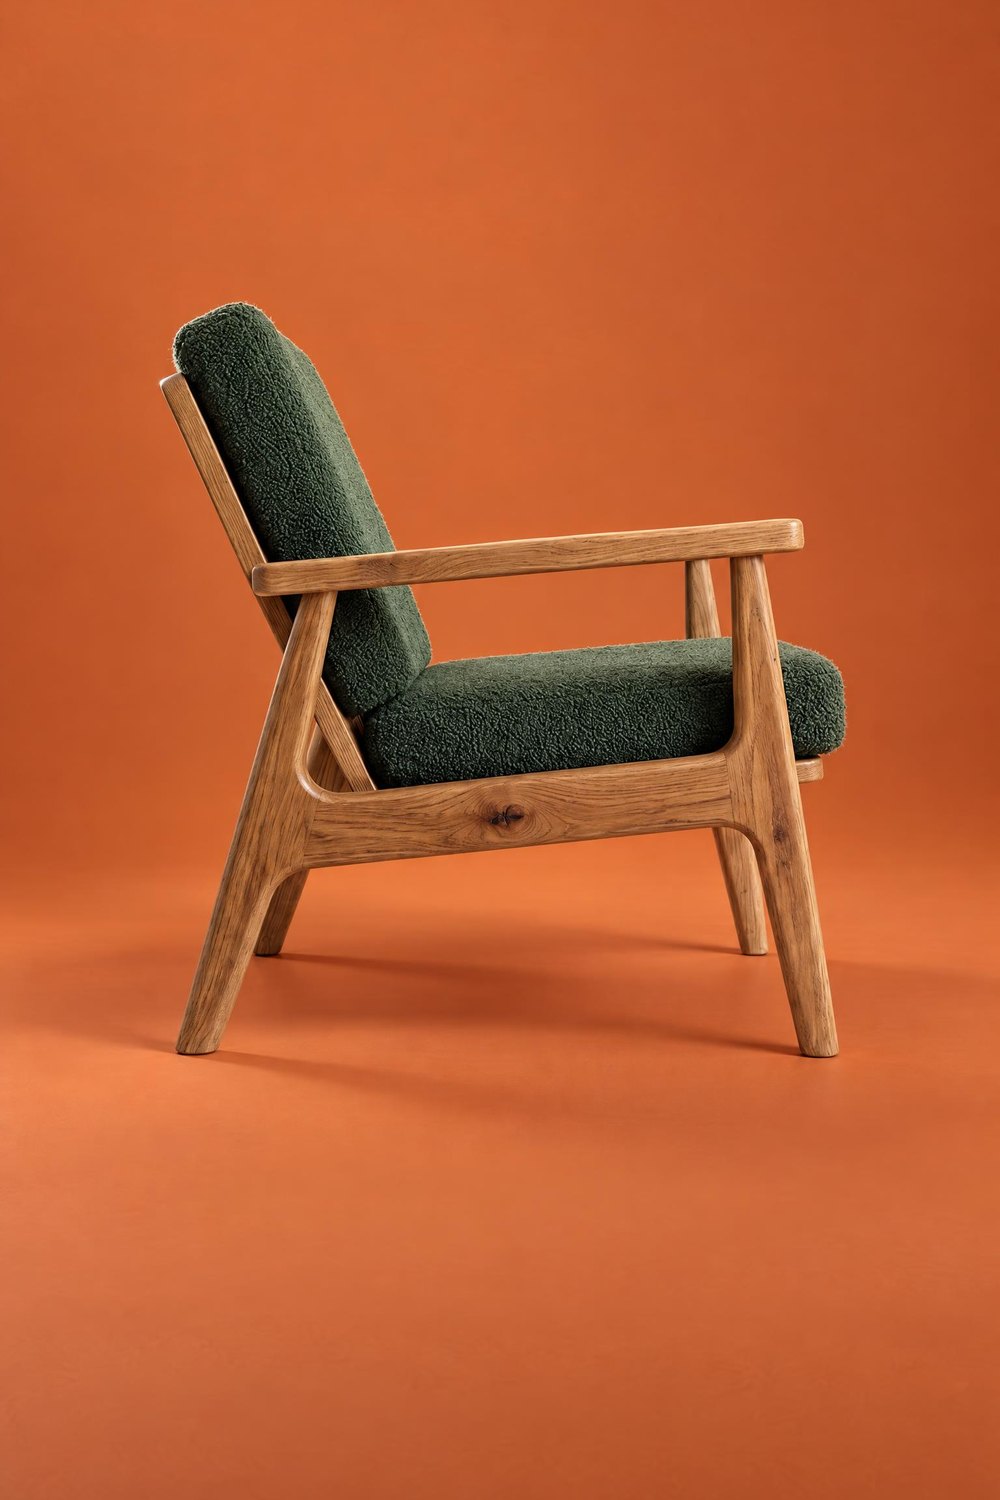 OTHER SIDE
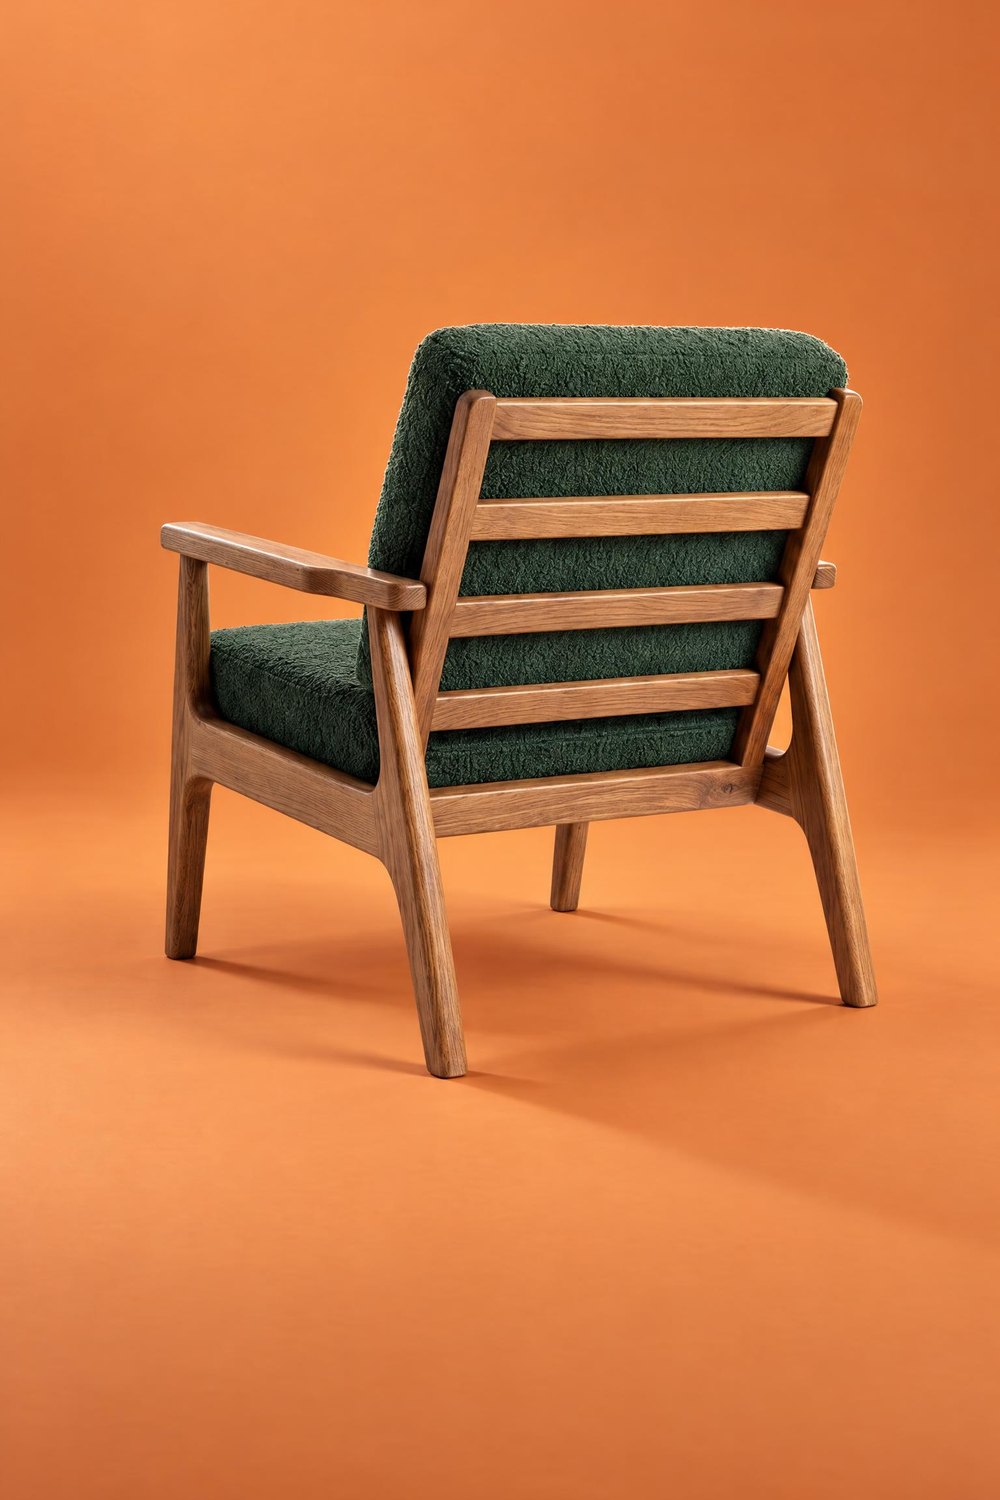 BACK
The ANGLE edit works differently, because it starts from a finished photo. It changes the side of the piece or the position of the camera, and the rest of the photo stays the same. With both options, you upload a packshot of the piece from another side:
| Turn the piece | Turn the room | |
|---|---|---|
| What changes | The piece turns in place | The camera moves to another spot |
| What stays the same | Background, light, room and framing | The room and the piece, seen from another side |
| When to choose it | A studio background or the same interior framing | An interior from another viewpoint, or a piece placed differently from the packshot |
Studio background: a whole series from one photo
Step 1. Create a photo from the front packshot
Click NEW PHOTO, upload the front packshot and choose the type of furniture. In the style step, open the STUDIO tab and choose a background, in this example CONTRAST. Click CREATE. This photo will be the base for the whole series.
Step 2. Turn the piece with the ANGLE edit
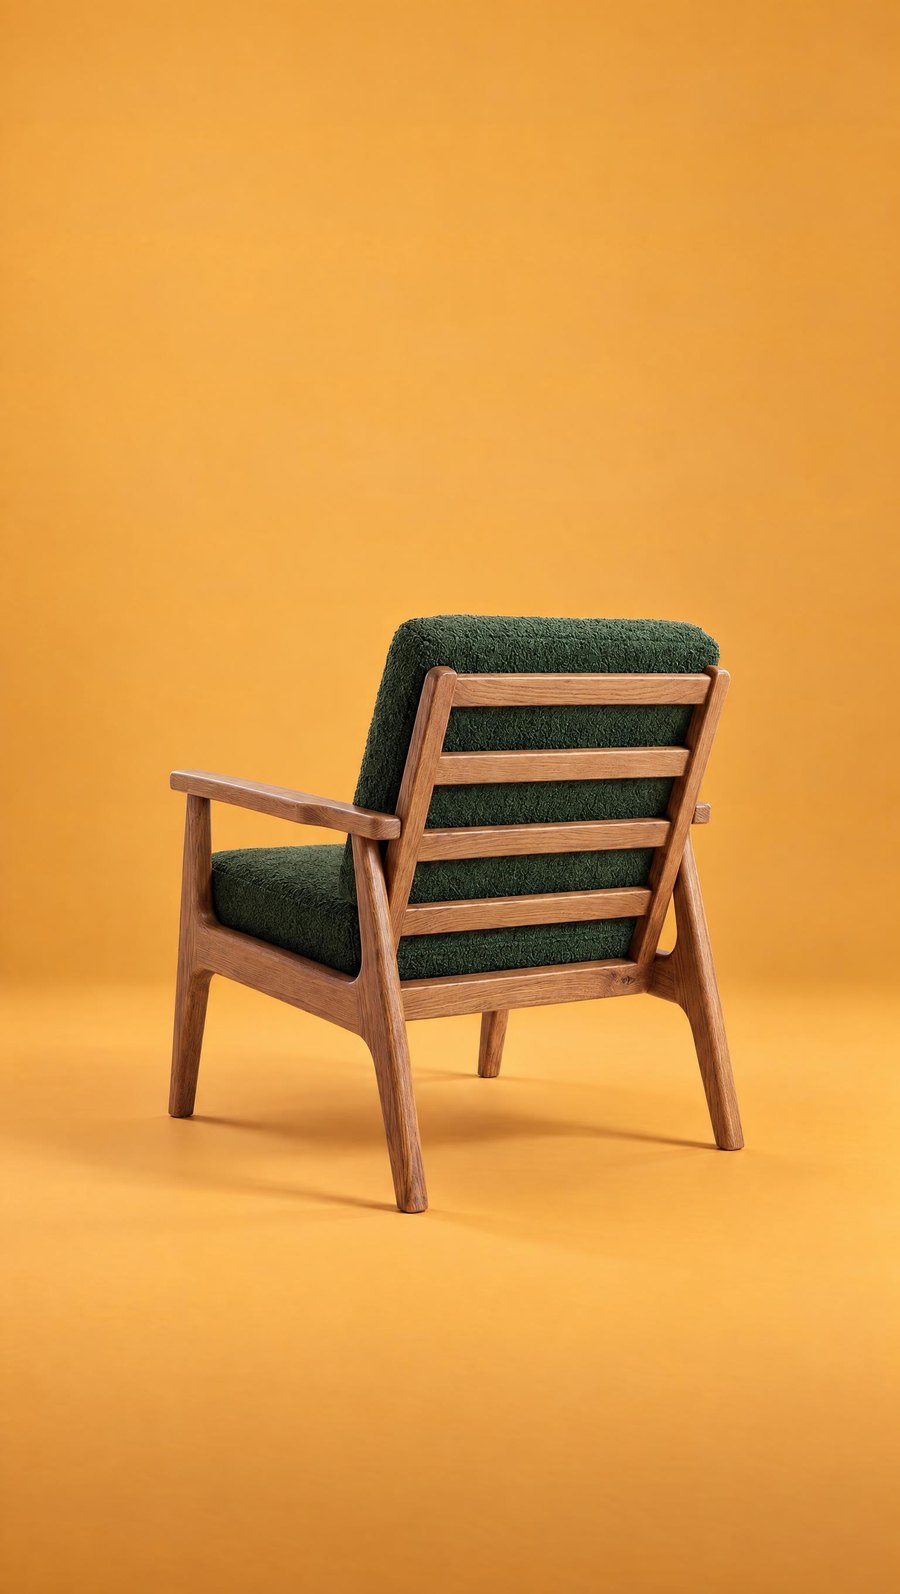
Open the finished photo, choose the ANGLE edit, upload the side packshot and select Turn the piece. The armchair turns in place, while the background, light and scale stay as they were in the first photo.
Step 3. Add the other side and the back
Add the other side and the back in the same way. Create each new side by editing the first photo, not the previous edit. That way all the shots share the same base, and the whole set is consistent.
FRONT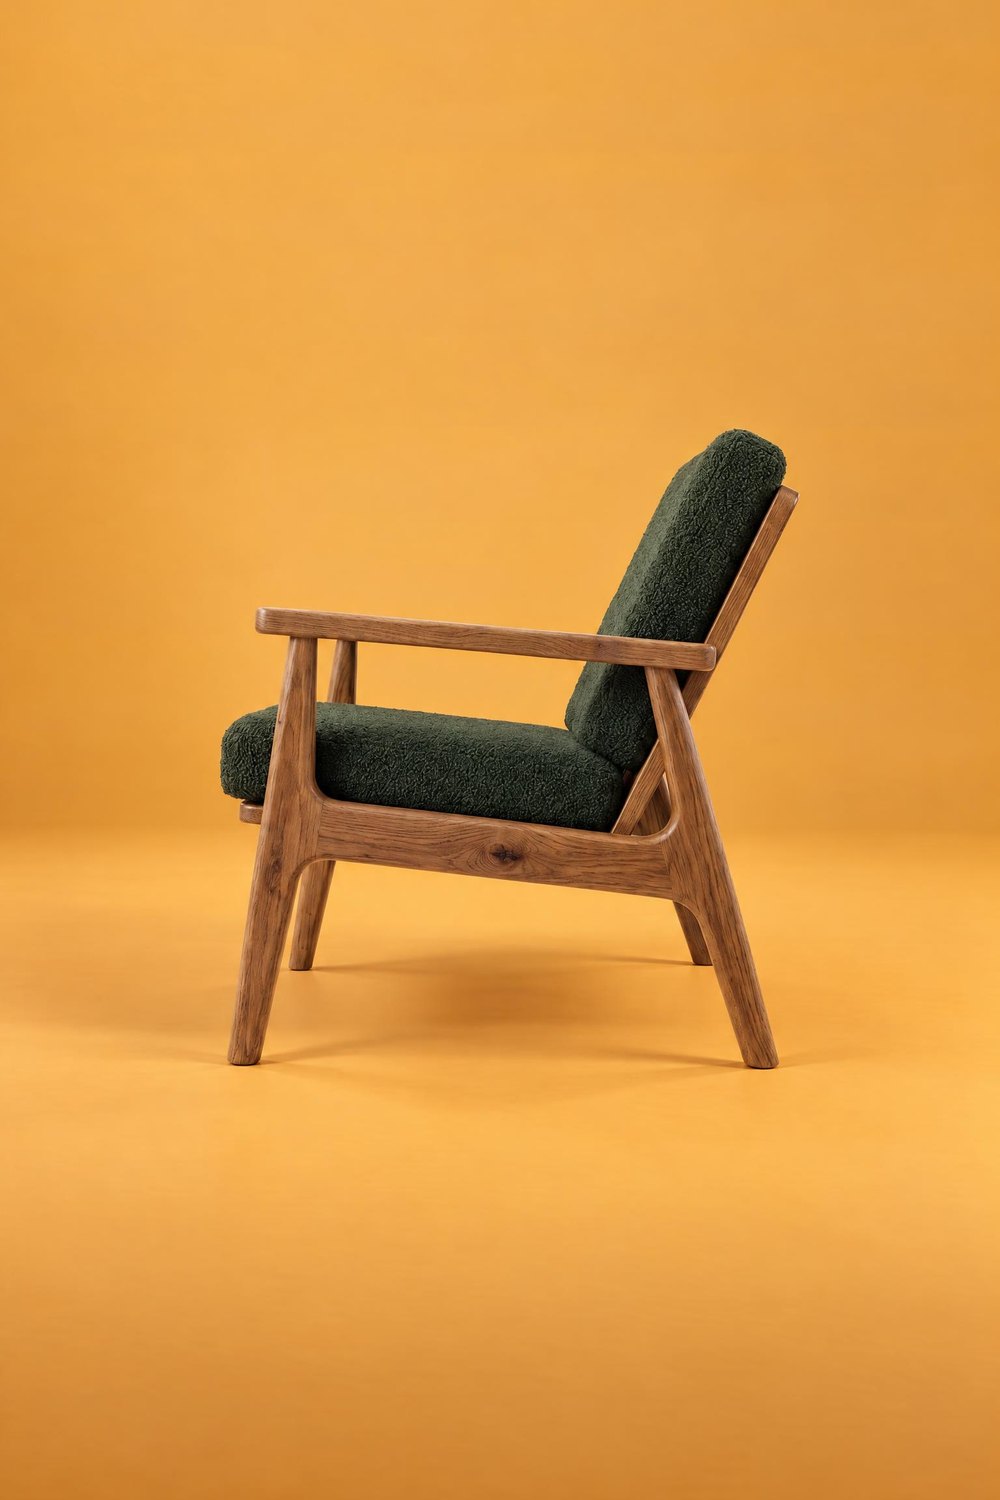 SIDE
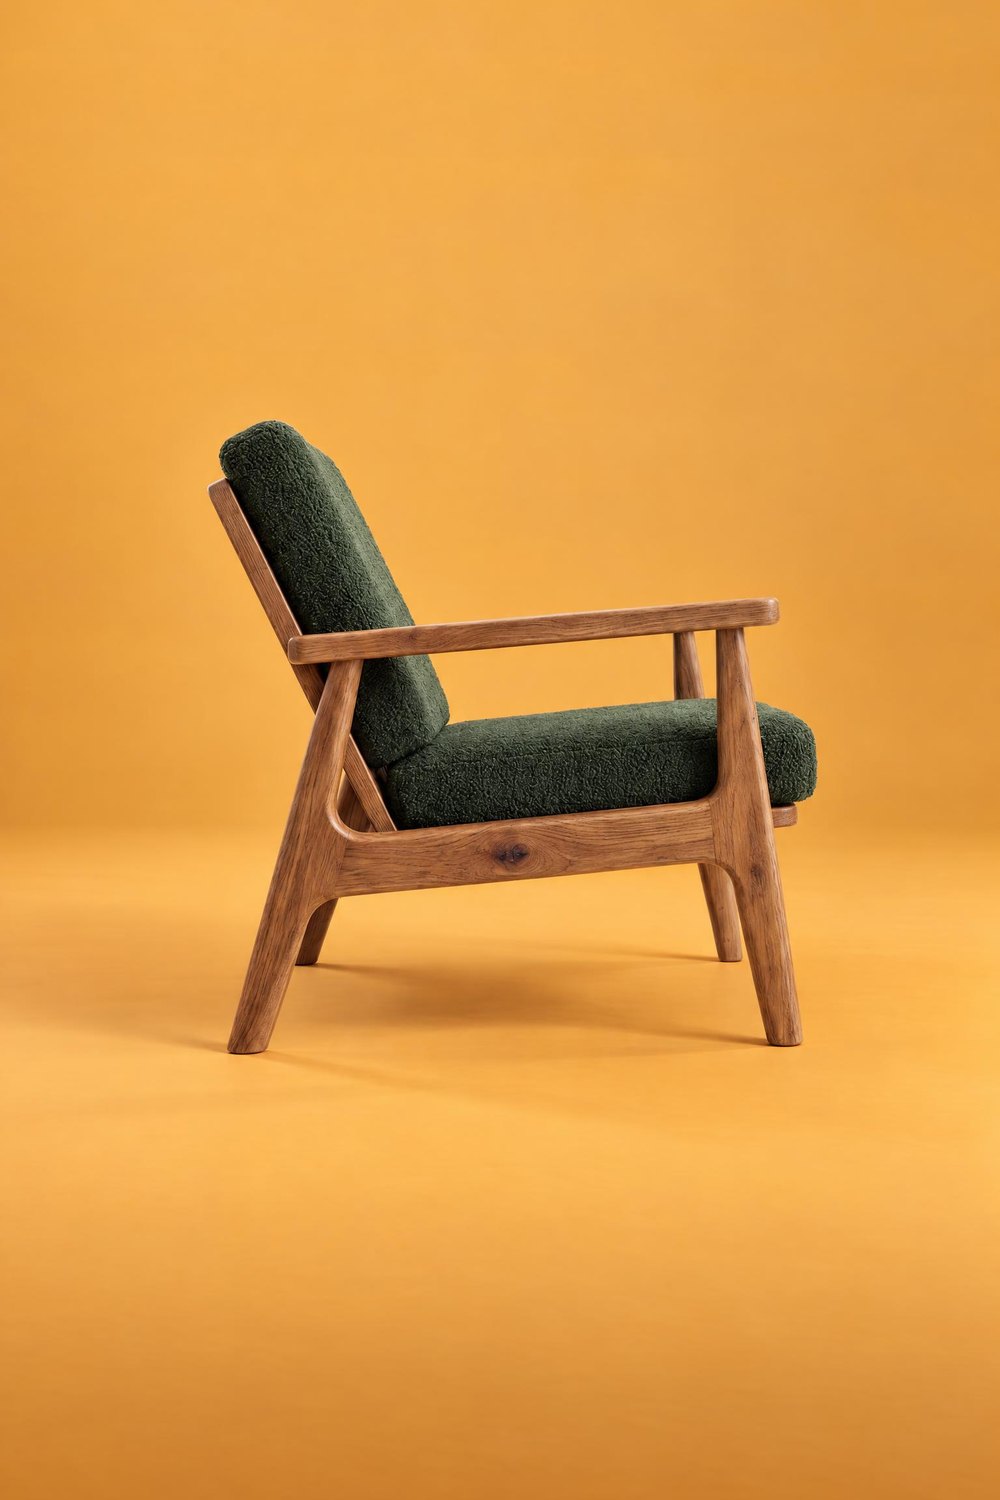 OTHER SIDE
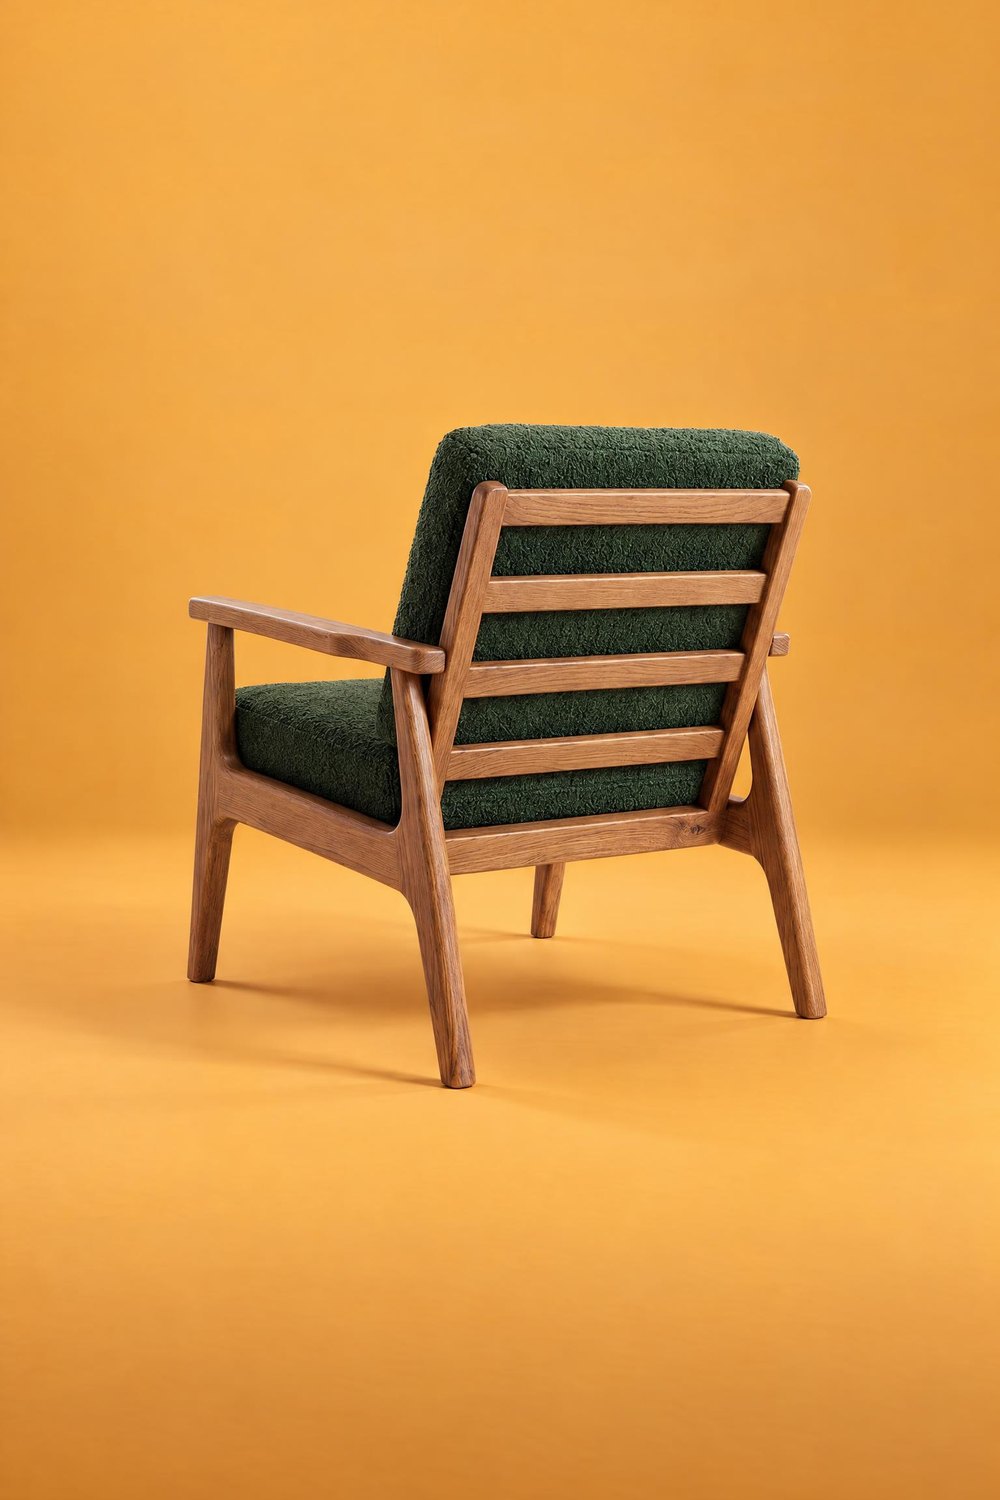 BACK
Compare each photo with the packshot: the angle of the piece or a detail can differ slightly. If something doesn't match, repeat the edit. Our furniture packshot guide explains how to prepare packshots from several sides.
In an interior: front packshot first, then ANGLE
Interiors work differently. In room settings, furniture usually faces the camera, as in most interior photos. Even if you upload a side packshot, the armchair will most often face forward anyway. So for interior photos, upload a front packshot or a view at a slight angle.
You can then show another side of the piece with the ANGLE edit on the finished photo. There are two options to choose from.
Turn the piece: the same framing, another side of the piece
The armchair turns in place, while the room and framing stay unchanged. This gives you a series in which only the position of the piece changes.
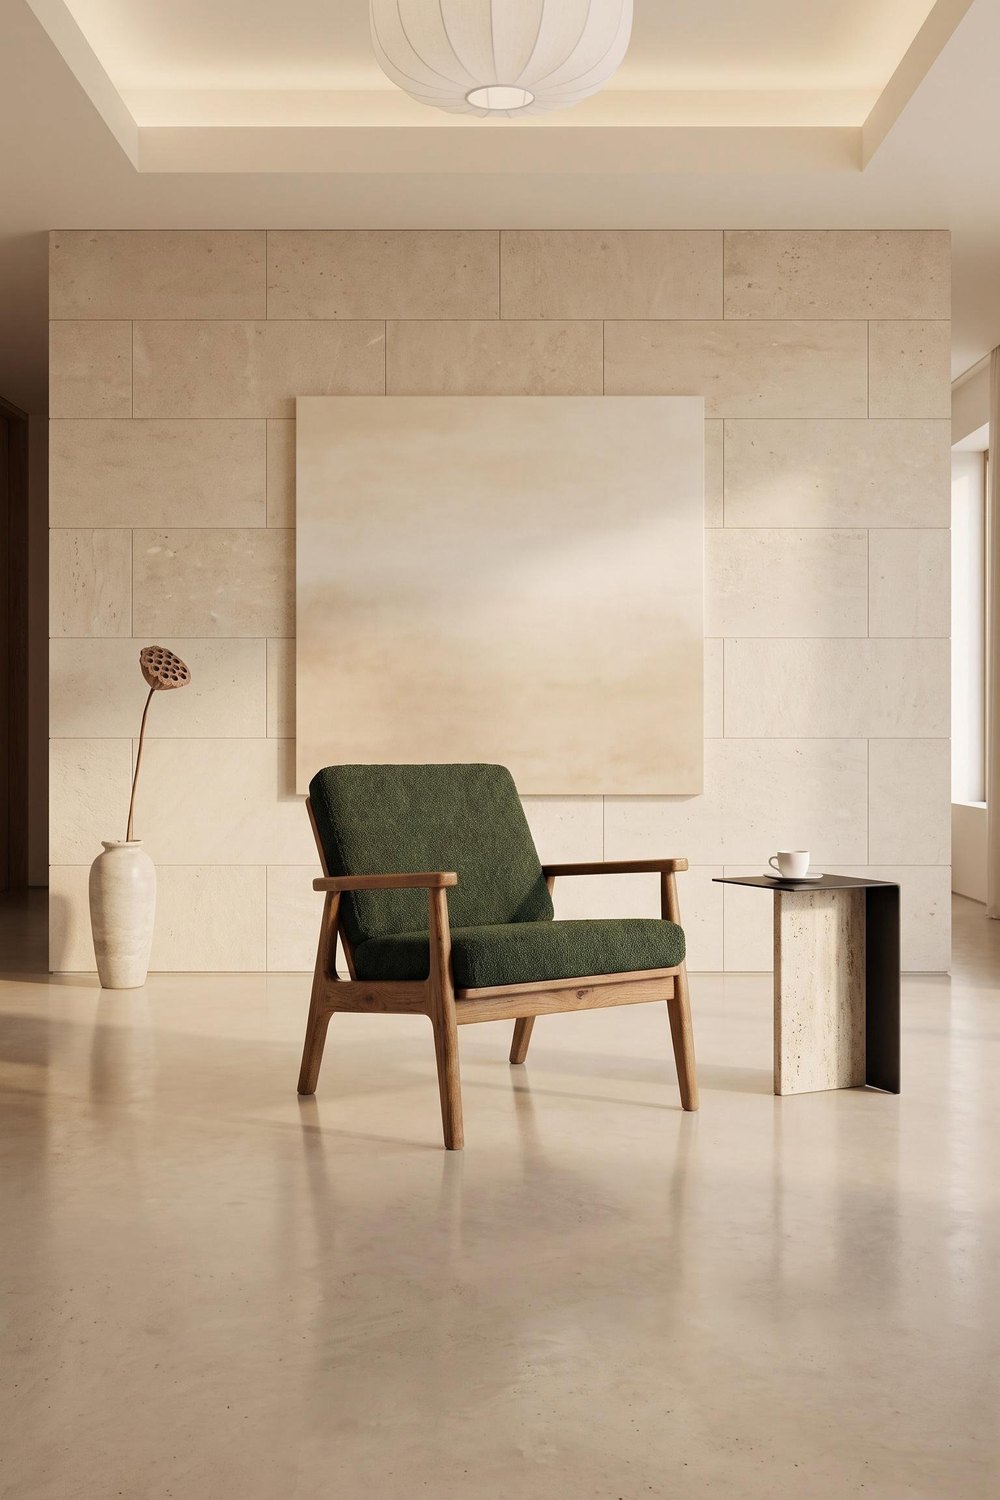 WARM MINIMAL
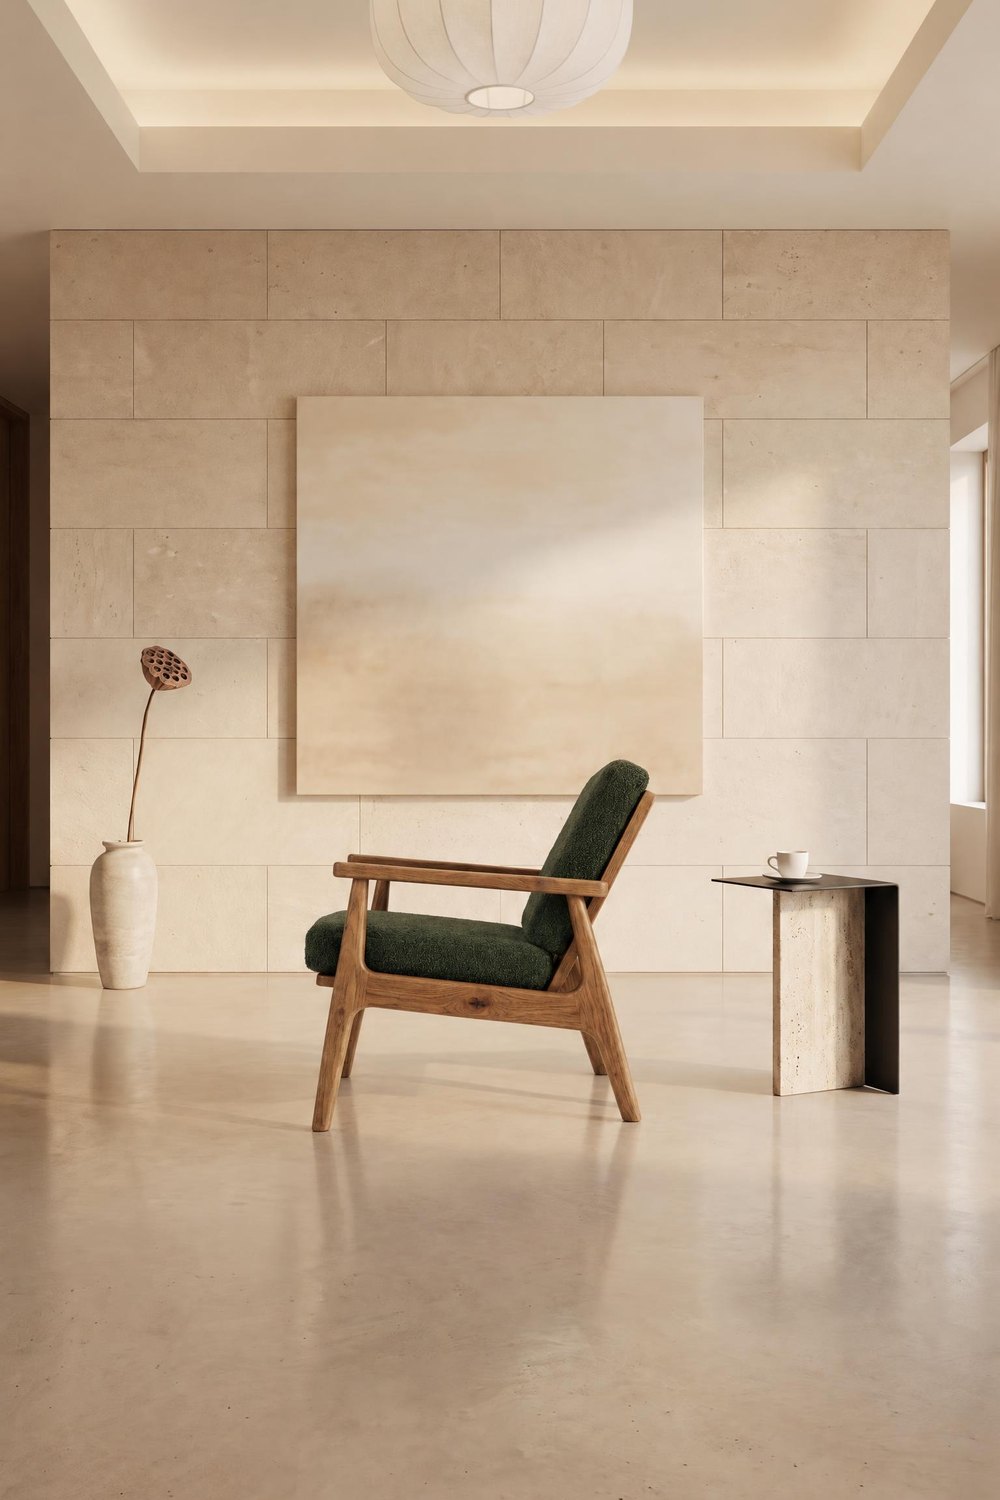 TURN THE PIECE
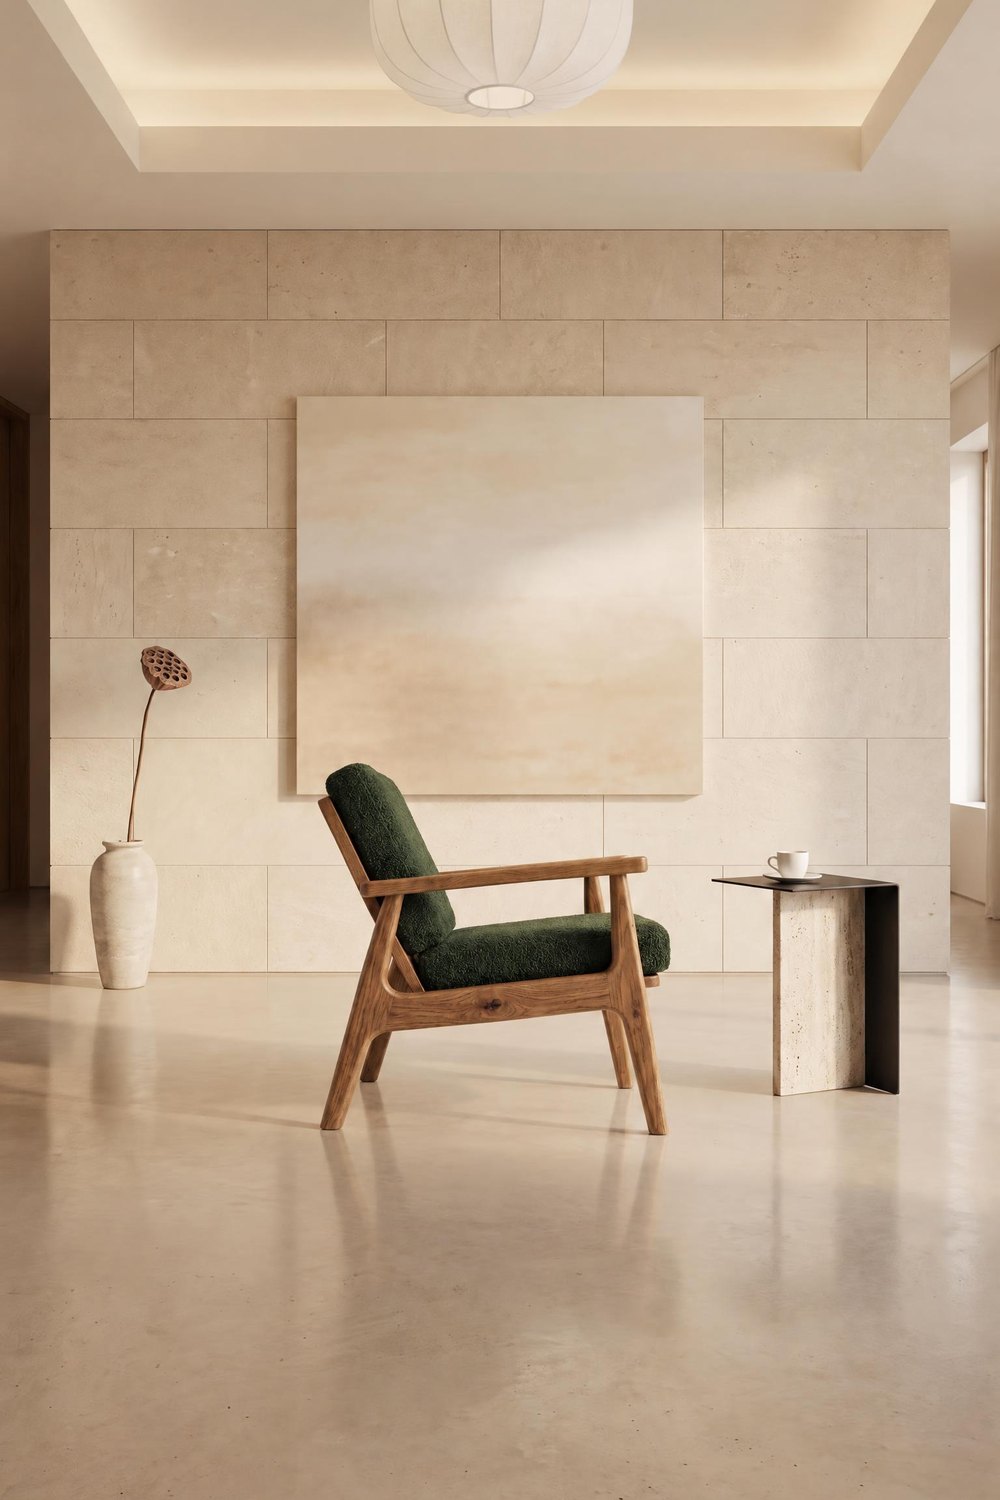 TURN THE PIECE
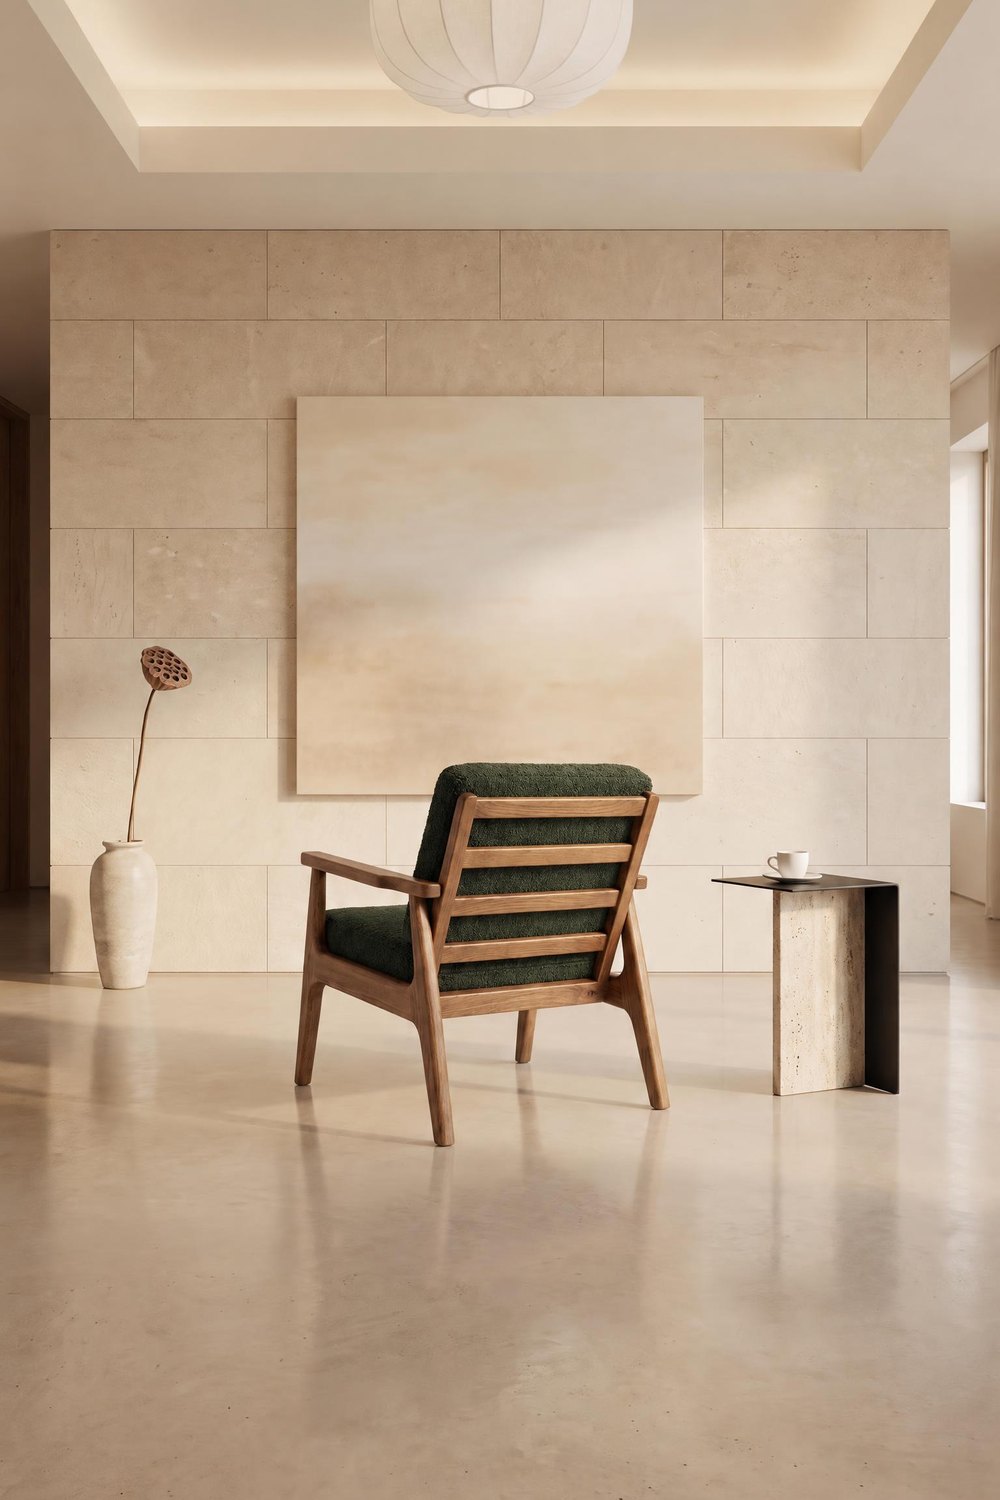 TURN THE PIECE
Turn the room: the same room from another spot
Turn the room moves the camera: you see the same room and the same armchair from another spot, and other parts of the interior come into the frame. This option is marked BETA, so it's worth comparing each photo with the first one.
WARM MINIMAL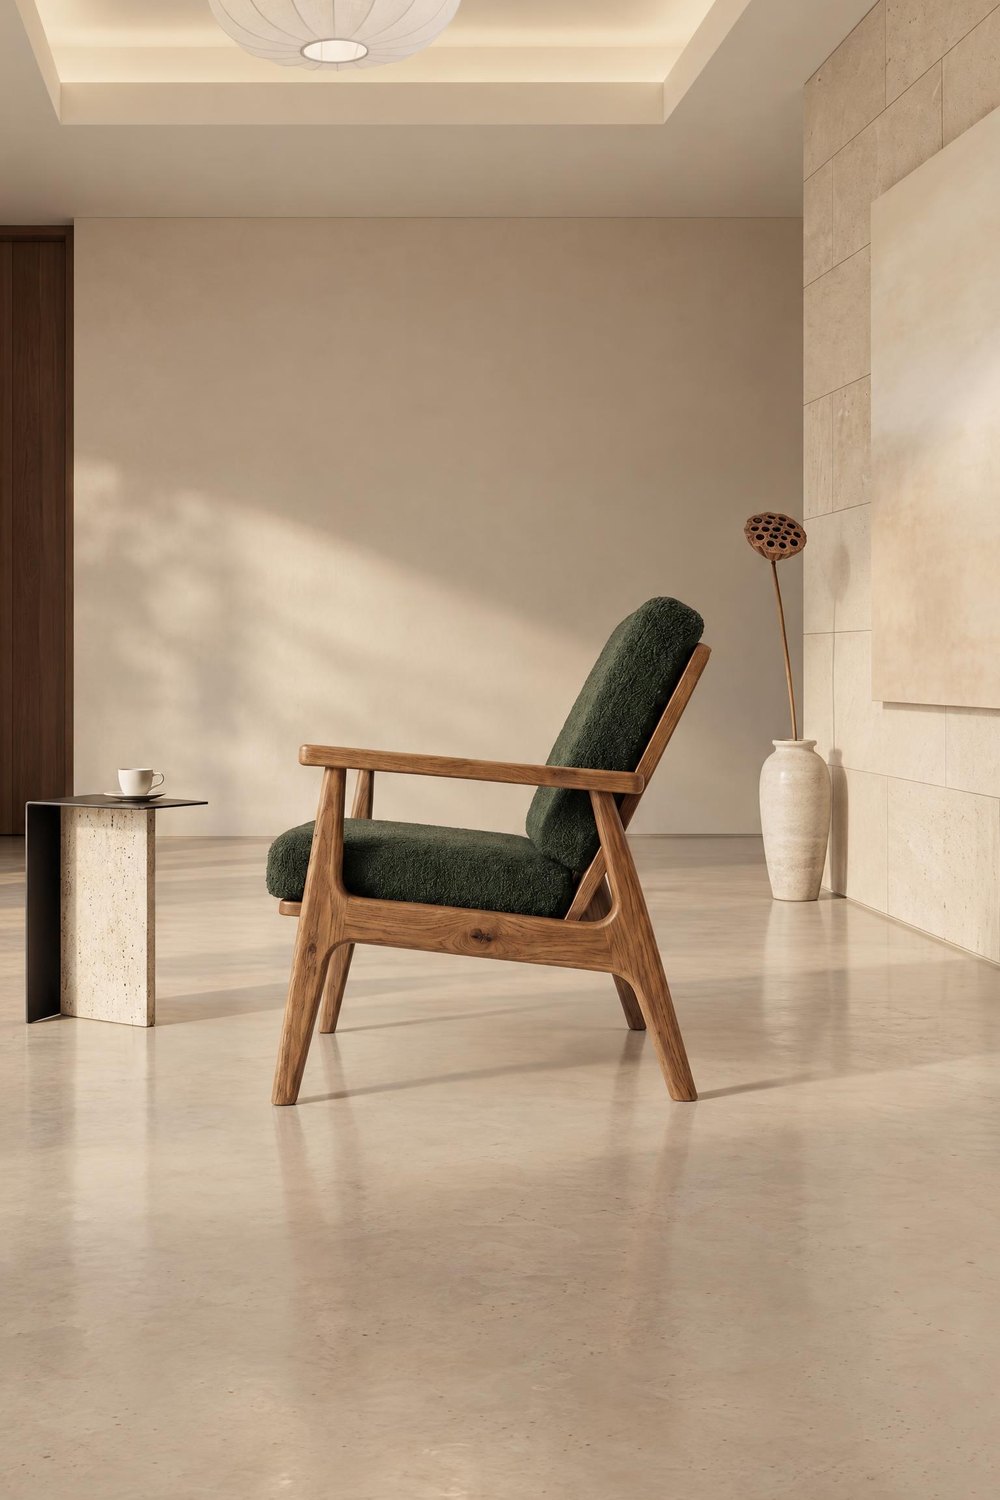 TURN THE ROOM
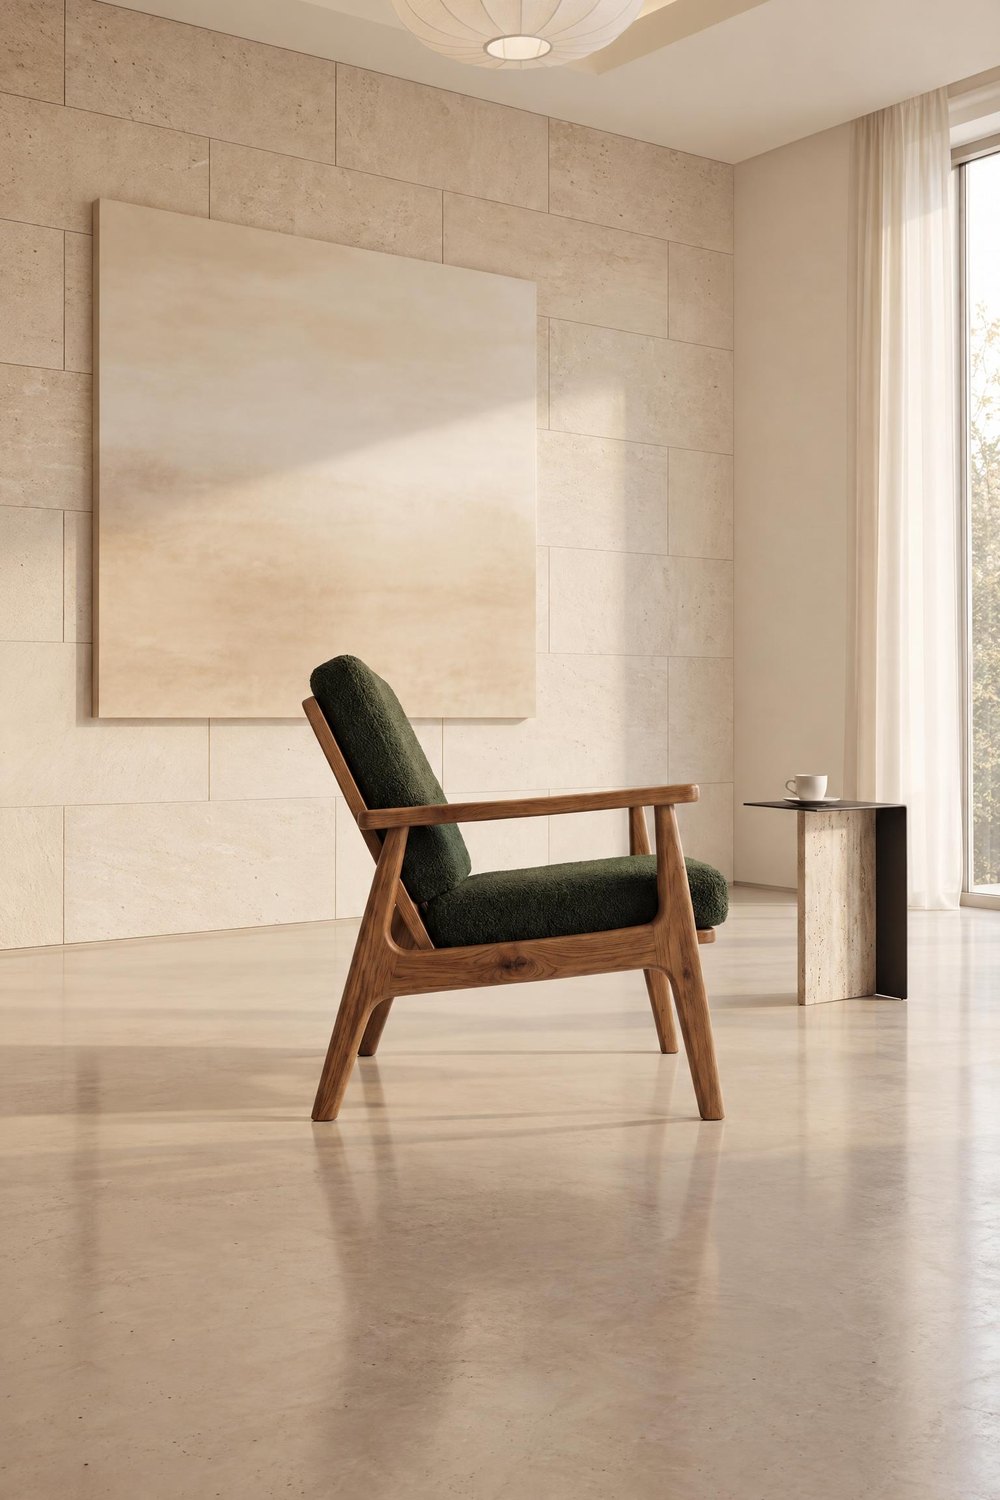 TURN THE ROOM
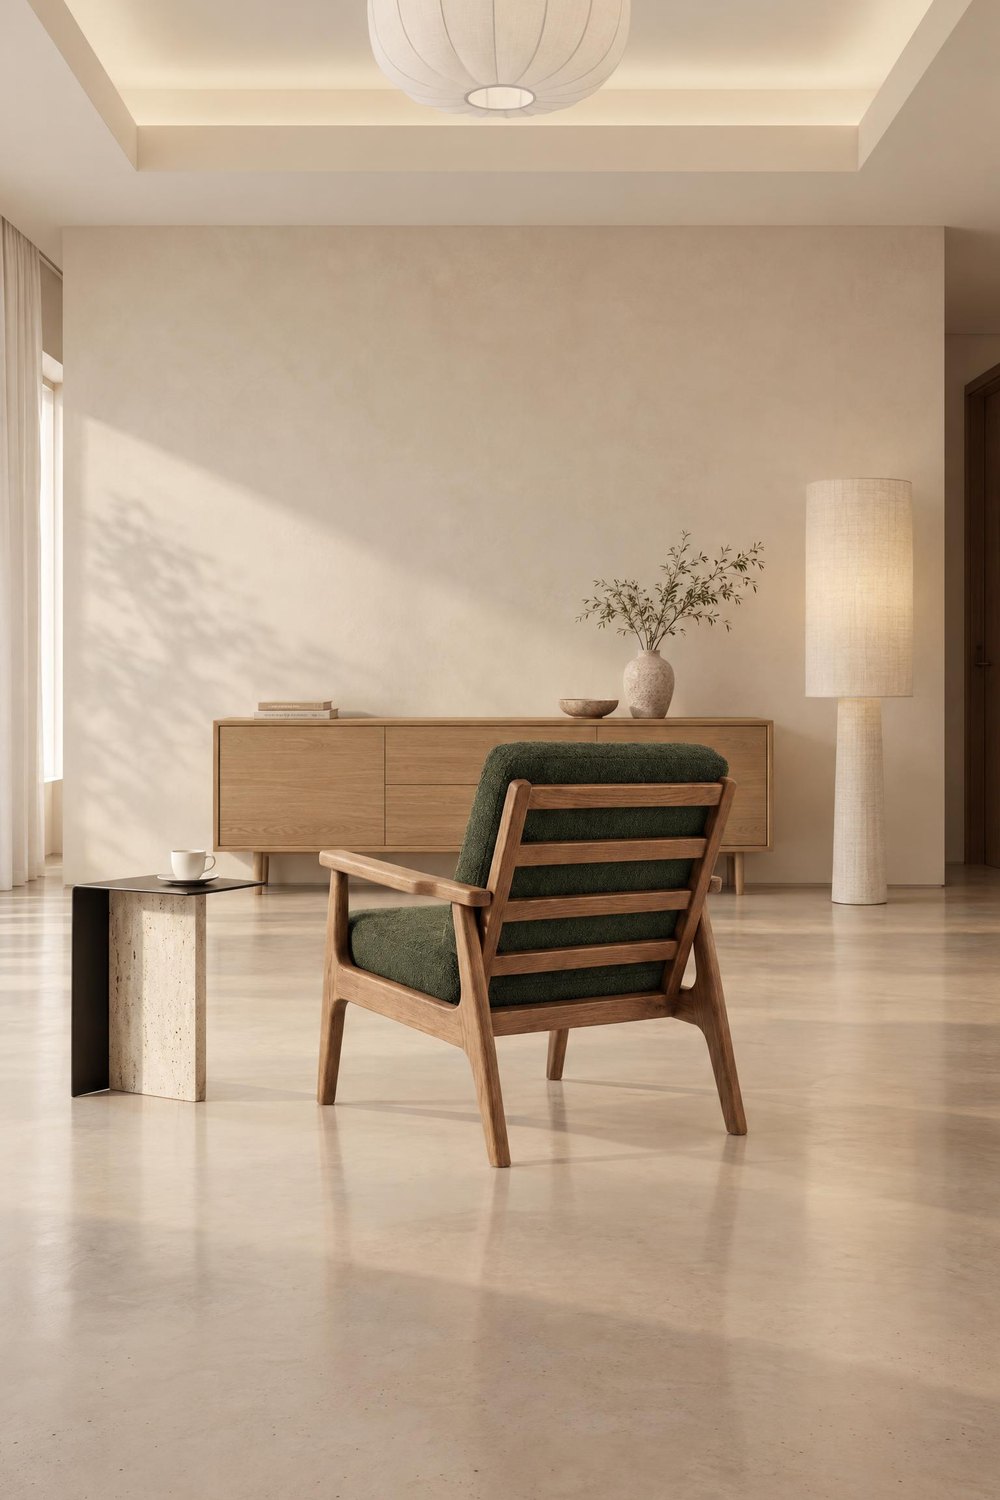 TURN THE ROOM
When the piece is placed differently from the packshot
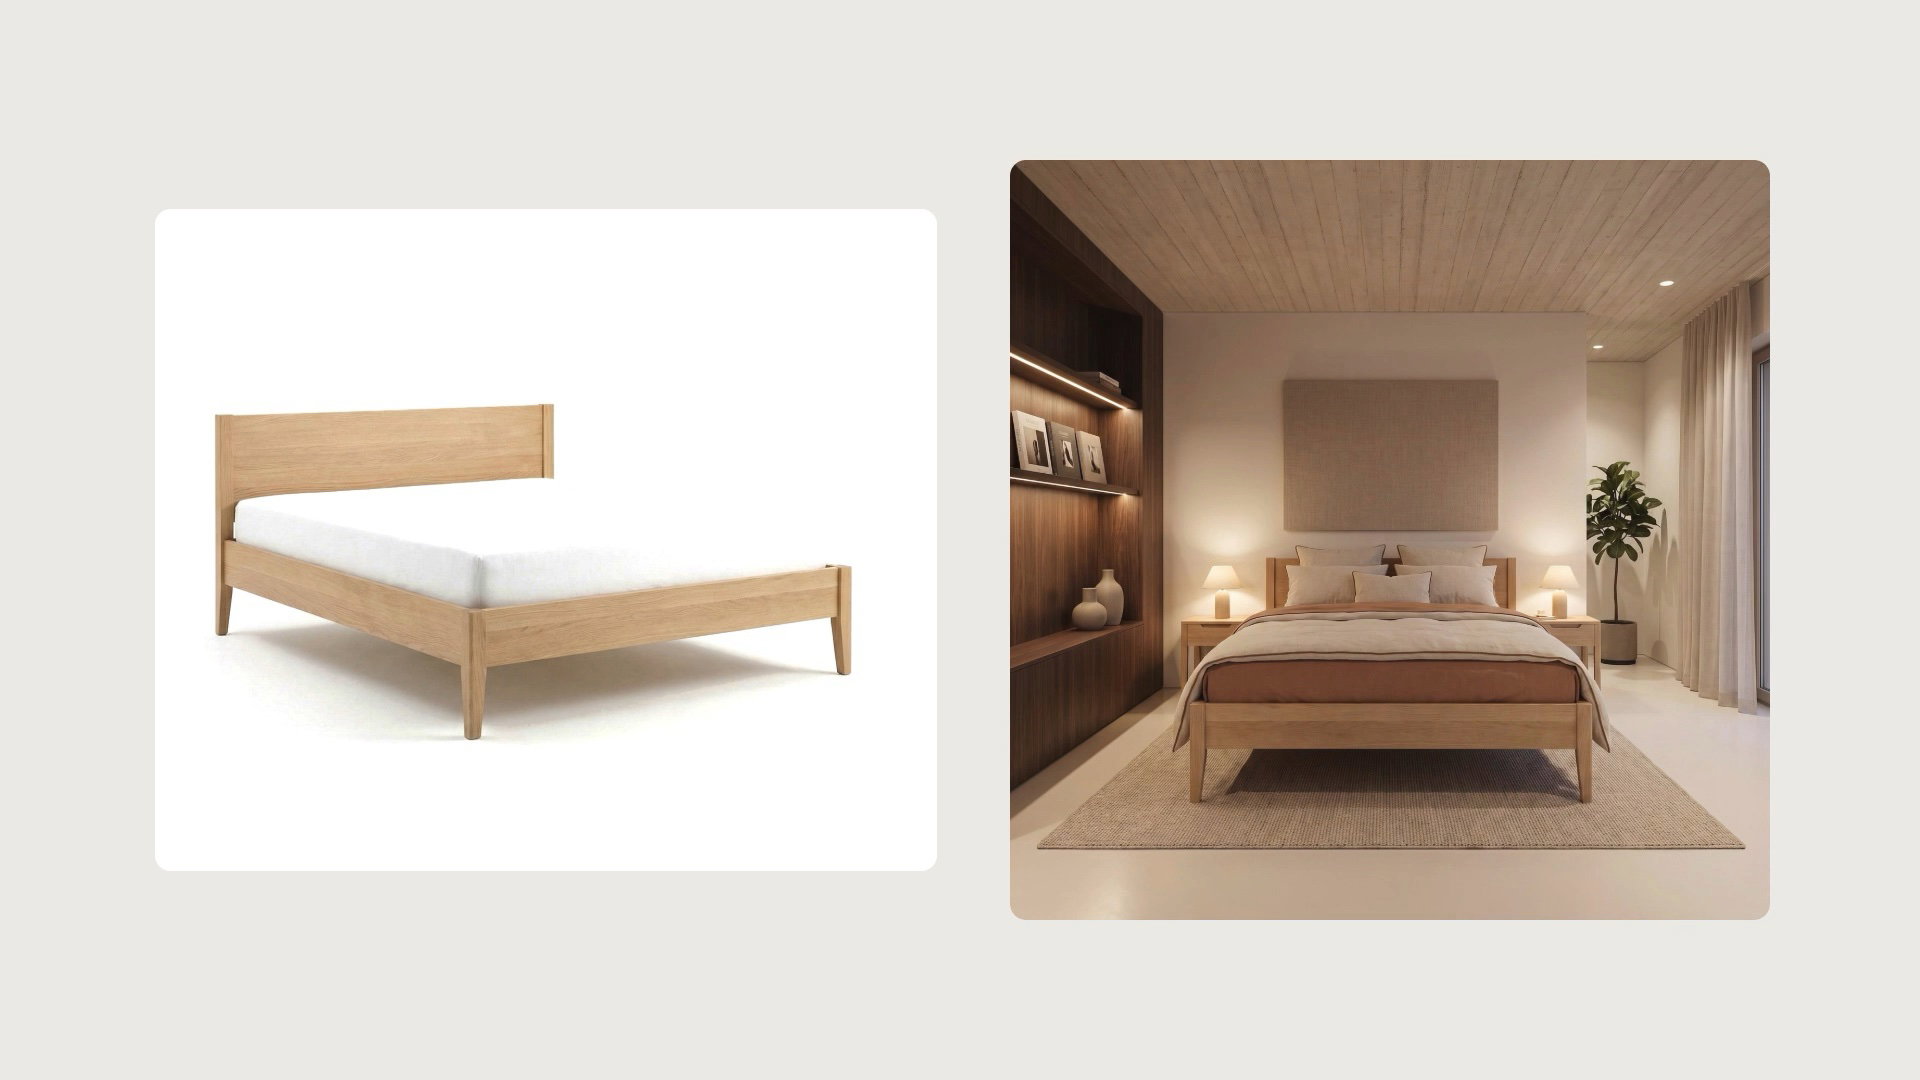
Sometimes you upload a packshot at a slight angle, a 3/4 view, and in the finished photo the piece faces the camera head-on. Like this oak bed. The ANGLE edit helps here too: select Turn the room, and you'll see the same bed at an angle, in the same interior. Upload the packshot of the other side as well, and you'll see the bed from the other side too. You now have three consistent photos instead of one.
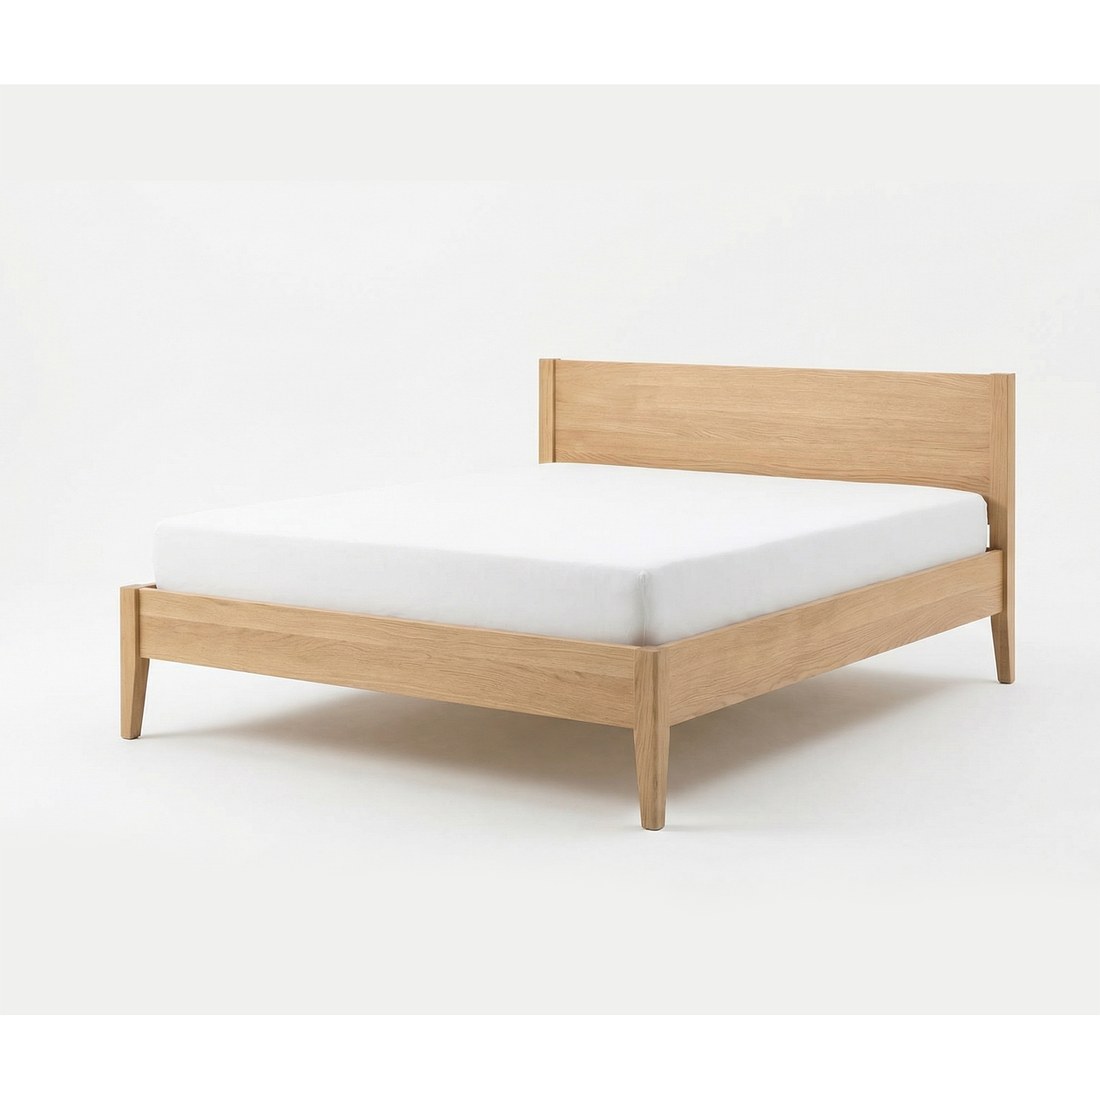 PACKSHOT 3/4
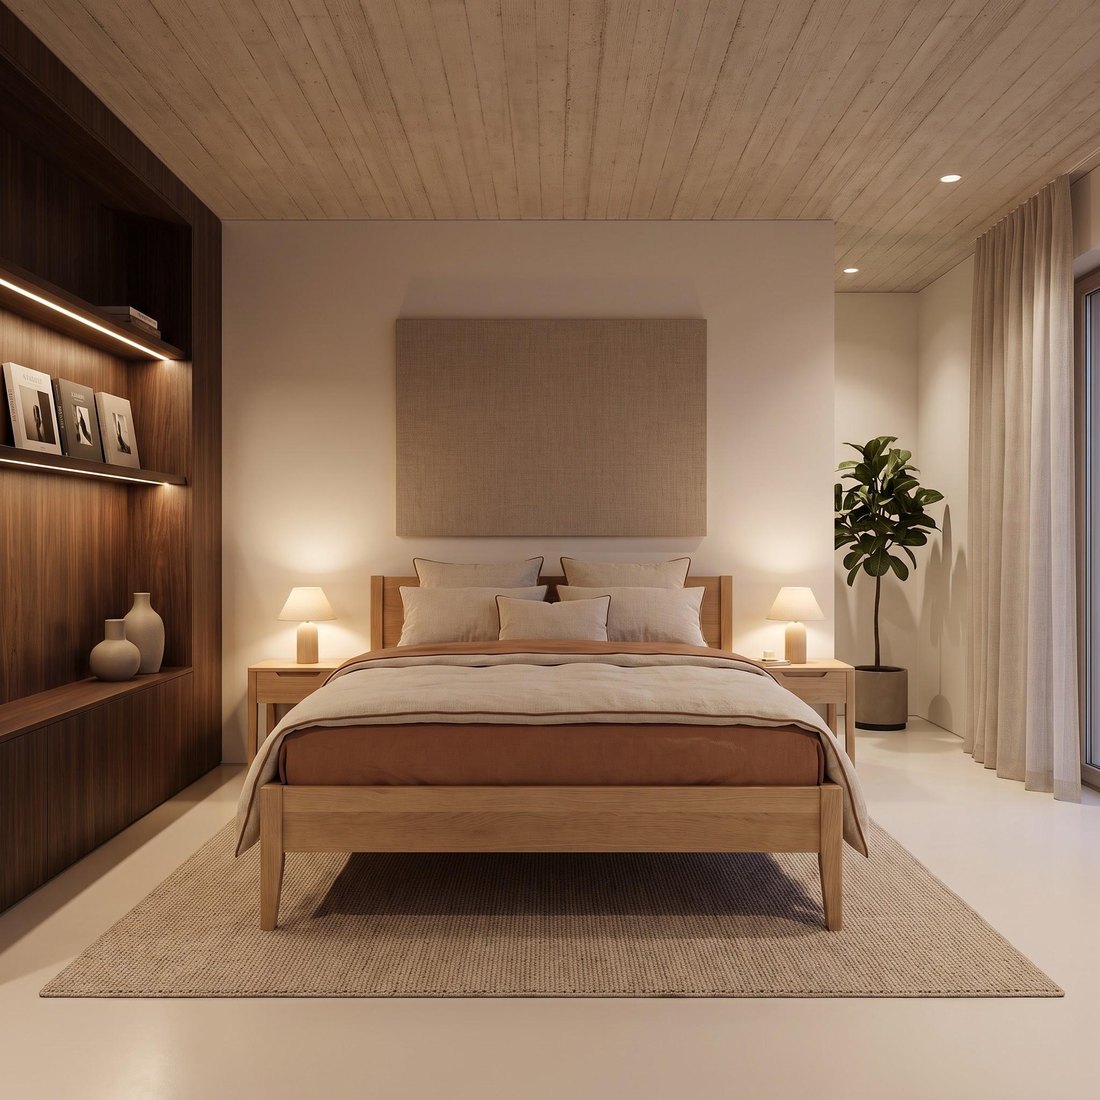 STRAIGHT ON
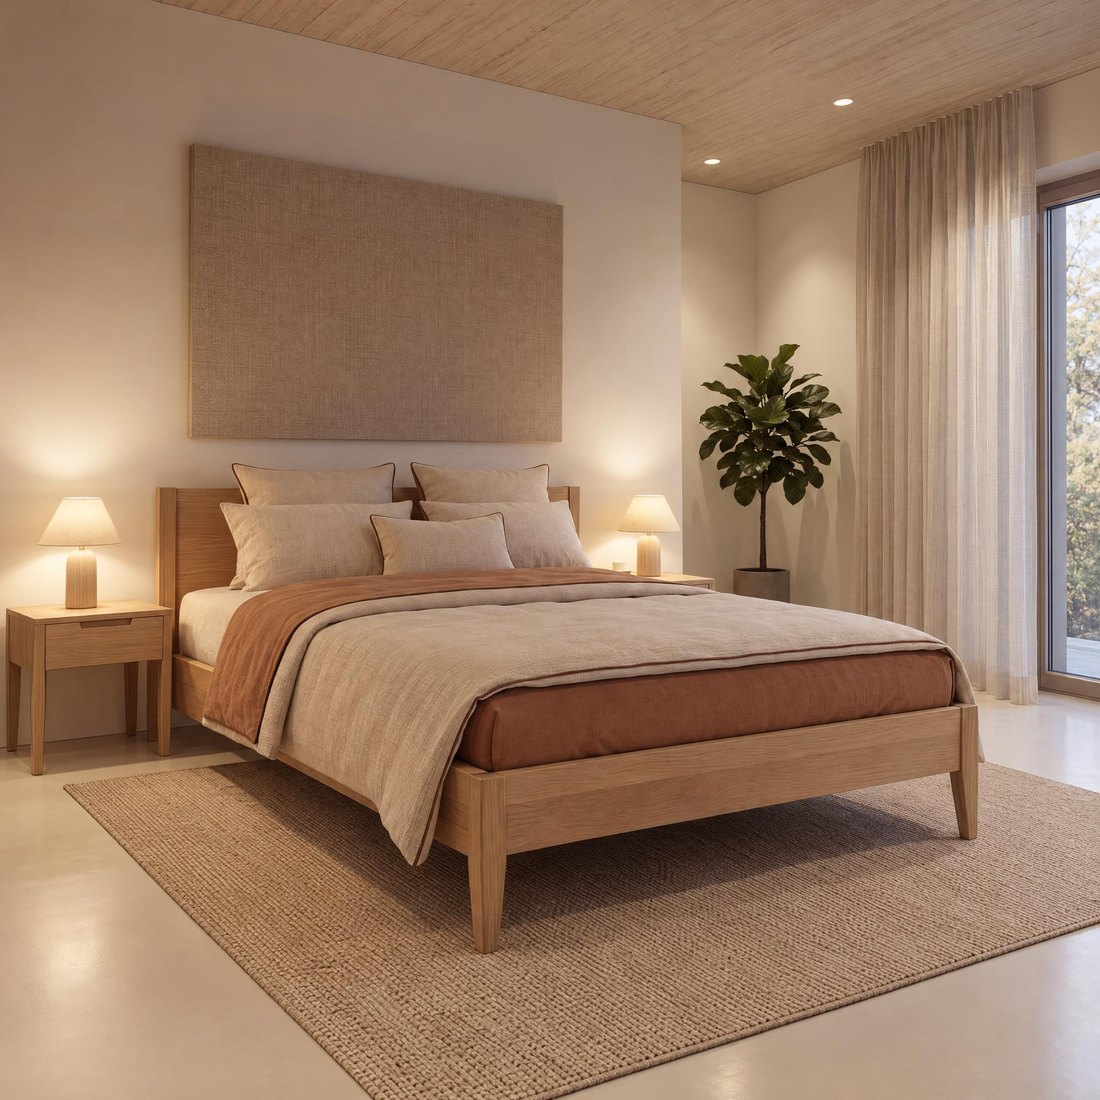 TURN THE ROOM
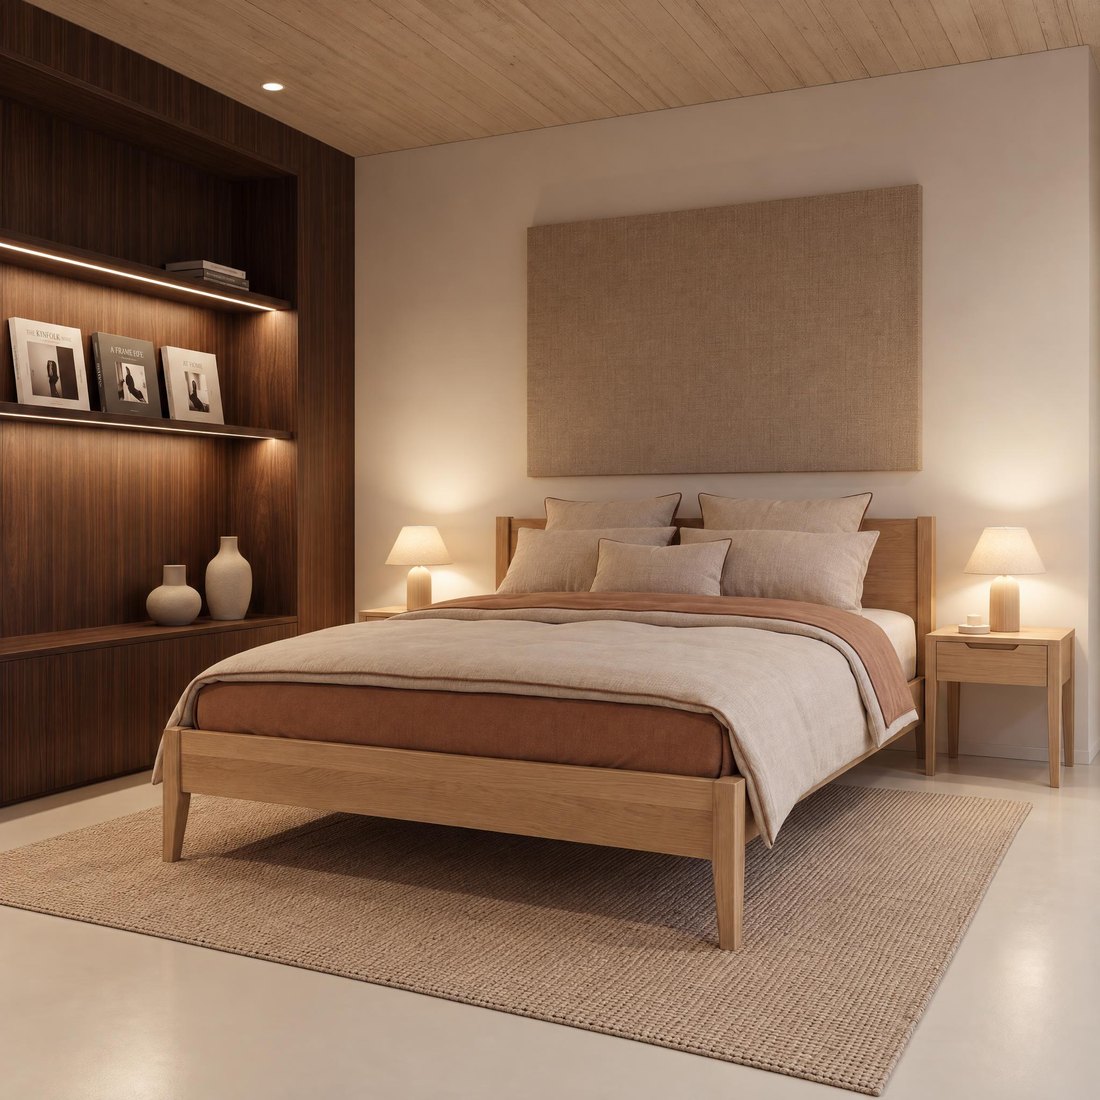 OTHER SIDE
Which option to choose
- Studio background: Turn the piece. Create each side from the first photo.
- Interior in the same framing: Turn the piece. The room stays the same, and the side of the piece changes.
- Interior from another viewpoint: Turn the room. The camera moves to another spot, and the room and piece stay the same.
- The piece faces the camera, but you want it at an angle: Turn the room with a 3/4 packshot.
One photo and a few ANGLE edits give you a consistent set from every side in a few clicks.
Frequently asked questions
Can I create a separate photo from each packshot?
You can, but each of those photos is created from scratch. The size of the piece, the shade of the background and the light can differ slightly. A consistent series starts from one photo created from the front packshot, with the other sides added through the ANGLE edit.
What's the difference between Turn the piece and Turn the room?
Turn the piece turns only the furniture in place, while the background, room and framing stay unchanged. Turn the room moves the camera, so you see the same room and the same piece from another spot.
Why does the piece face forward in an interior, even though I uploaded a side packshot?
In room settings, furniture usually faces the camera, as in most interior photos. For interior photos, upload a front packshot or a view at a slight angle, and add another side later with the ANGLE edit.
Which packshot should I upload for an interior photo?
A front packshot or a view at a slight angle, a 3/4 view. The side and back packshots will come in handy later in the ANGLE edit.
Should each ANGLE edit be made on the first photo?
Yes. Create each side by editing the first photo, not the previous edit. That way all the shots share the same base.
What if the piece faces the camera but the packshot is at an angle?
Open the photo, choose the ANGLE edit, upload the 3/4 packshot and select Turn the room. You'll see the same piece at an angle, in the same interior.
Does the piece match the packshot after the ANGLE edit?
In most photos yes, because Sopla creates the photo from your packshot. Sometimes the angle of the piece or a detail changes, so compare each photo with the packshot before publishing it.
Does the ANGLE edit work on photos from a batch?
Yes. Photos from a photo batch are regular photos in your gallery, so you can use the ANGLE edit on any of them.
Got packshots from several sides? Create your first photo and show the piece from every side.

What can Sopla do? 15 furniture photo and video tools in one video
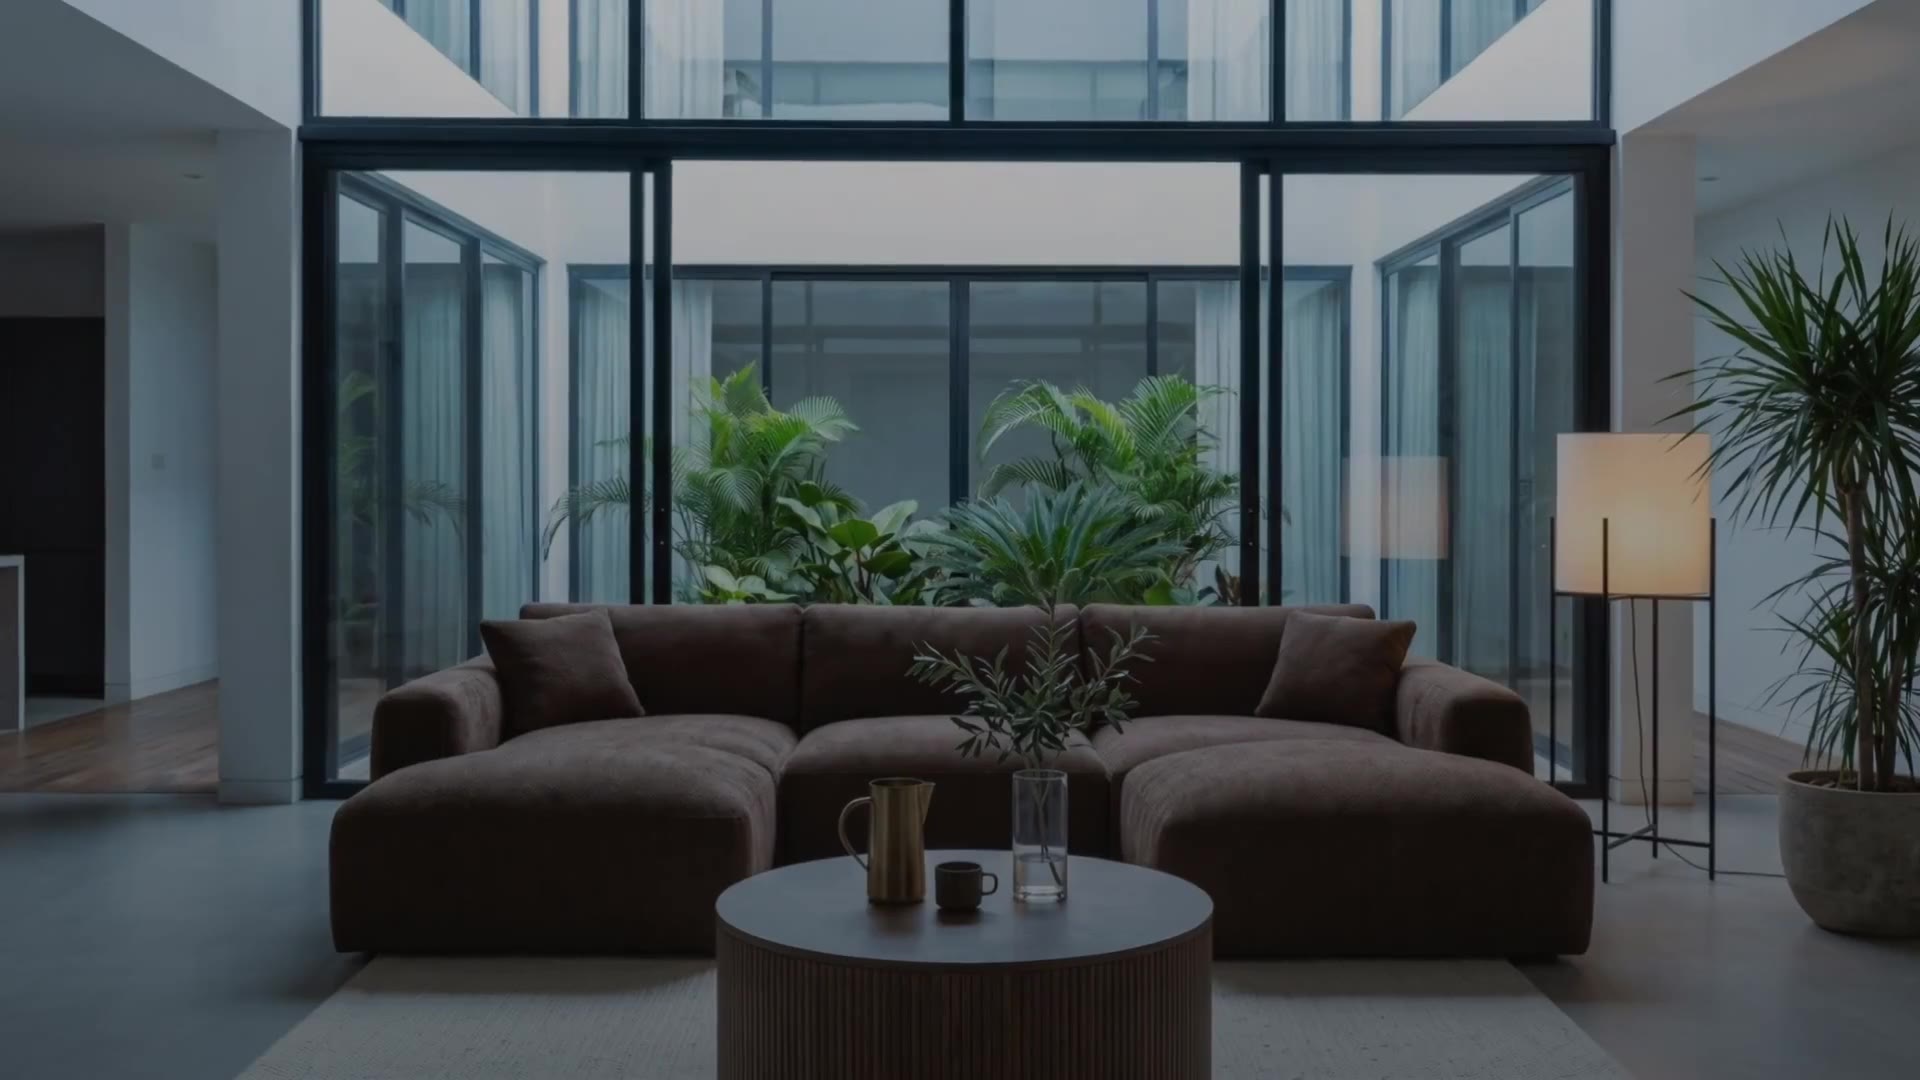
Sopla turns one photo of your furniture into a packshot on white, photos of the piece in any interior style, product videos and print-ready 4K images. It is a set of photo and video tools for the furniture industry: you upload a photo, click the options you need and get the finished files in your gallery. The video shows all 15 tools one by one. Below, each of them is described in a few sentences, with the minute where you can see it in the video.
All tools at a glance
| Tool | What it does | In the video |
|---|---|---|
| Packshots | a clean photo of the piece on white or on a studio background | 0:00 |
| Styles | the piece in a new interior, in 17 styles | 0:16 |
| Photo batch | many pieces and styles in one order | 0:31 |
| Add people | a family, friends, kids or a dog in the photo | 0:41 |
| Make video | a product video from a photo, 5 or 10 seconds | 0:52 |
| Edit decor | a new look for the room, described in words or shown with a reference photo | 1:04 |
| Variants | another version of the same piece in the same interior | 1:17 |
| Zoom | a sharp close-up of a selected part of the photo | 1:29 |
| Save interior | an empty room to furnish with other pieces | 1:40 |
| Color & material | the piece in other fabrics and colours | 1:59 |
| Angle | the piece turned in place, or the room seen from another side | 2:15 |
| Ratio | the same photo in another format | 2:30 |
| Resolution | a 4K photo for print | 2:42 |
| Dimensions | dimension lines drawn on the photo | 2:53 |
| Adjust | light, colour, cropping and a high-quality download | 3:03 |
From a furniture photo to interior photos
Packshots
Upload a photo of your furniture, even one taken on a phone in the warehouse. The PACKSHOT option removes the background and gives you a clean photo on white, ready for your shop and marketplaces. The studio background can match the piece, contrast with it, or be light or dark, and you can show the piece from every side on the same background. More in Furniture packshot: what it is and how to prepare one.
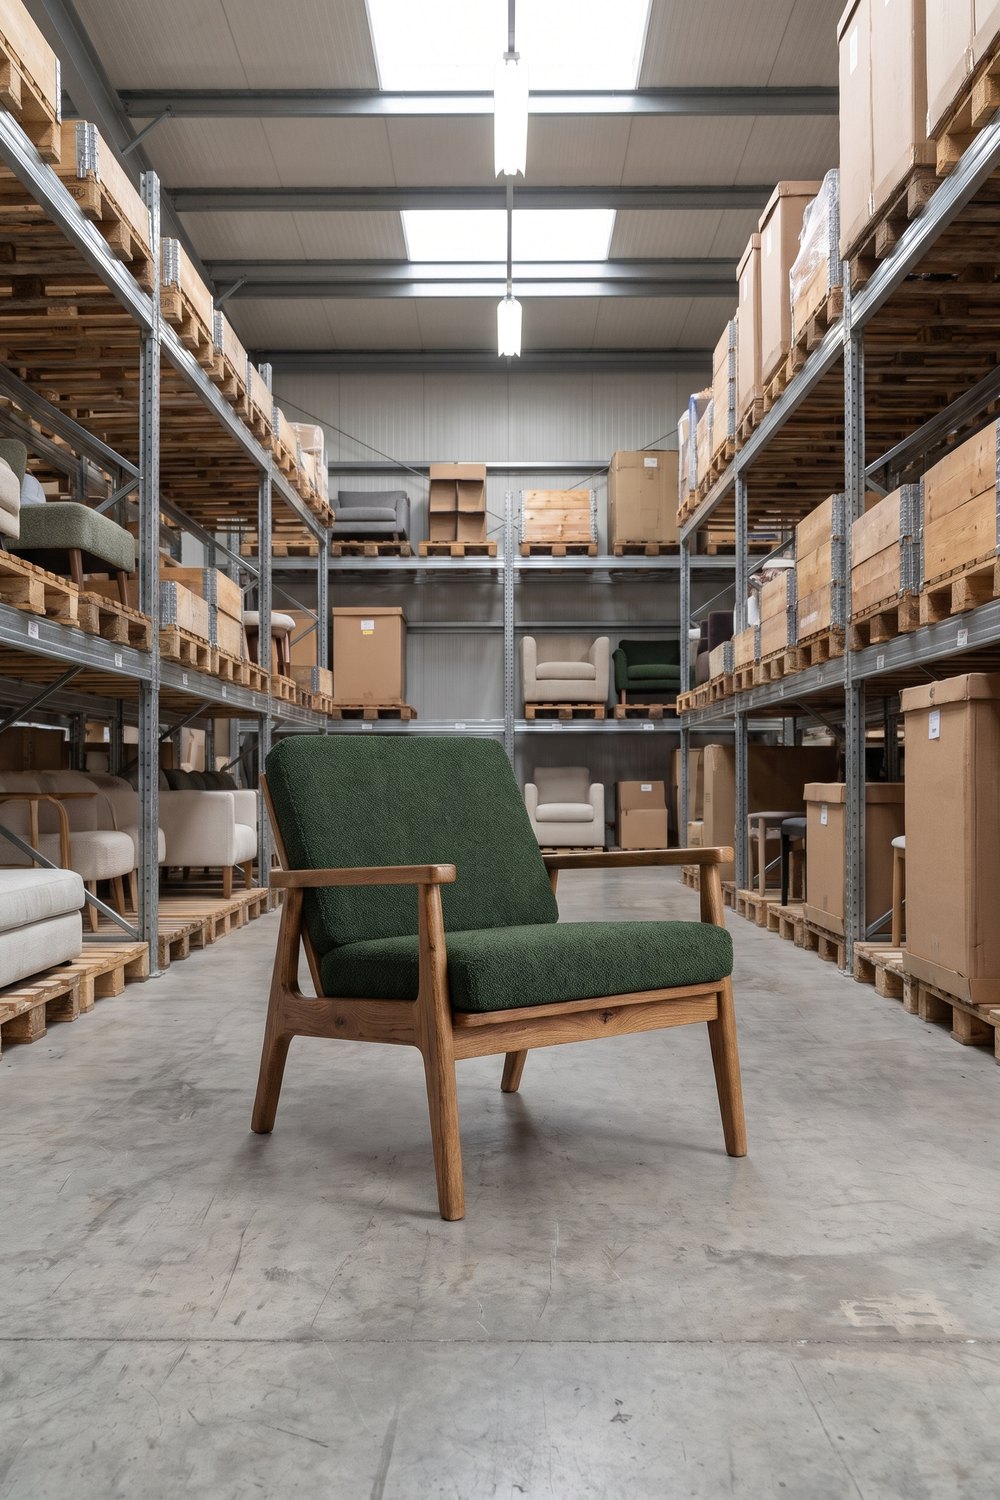 WAREHOUSE PHOTO
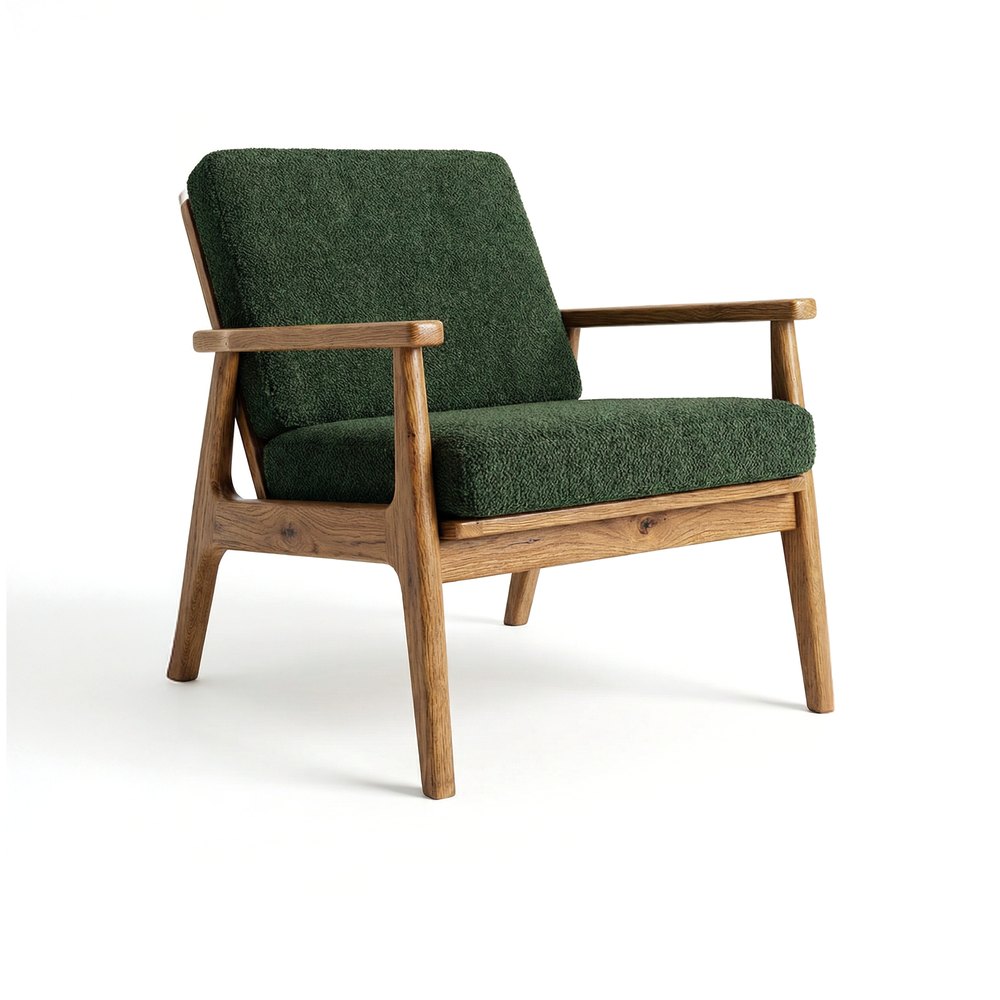 PACKSHOT
Styles
Choose a packshot and a style, and Sopla creates a photo of the piece in a new interior. There are 17 styles, including MODERN, AUTUMN, INDUSTRIAL, SCANDINAVIAN, OLDTOWN, URBAN and the seasonal WINTER and WINTER+XMAS. Add the ratio, lighting and shadows. The piece keeps the shape, colour and texture from the packshot. Step by step: furniture lifestyle photos from a packshot.
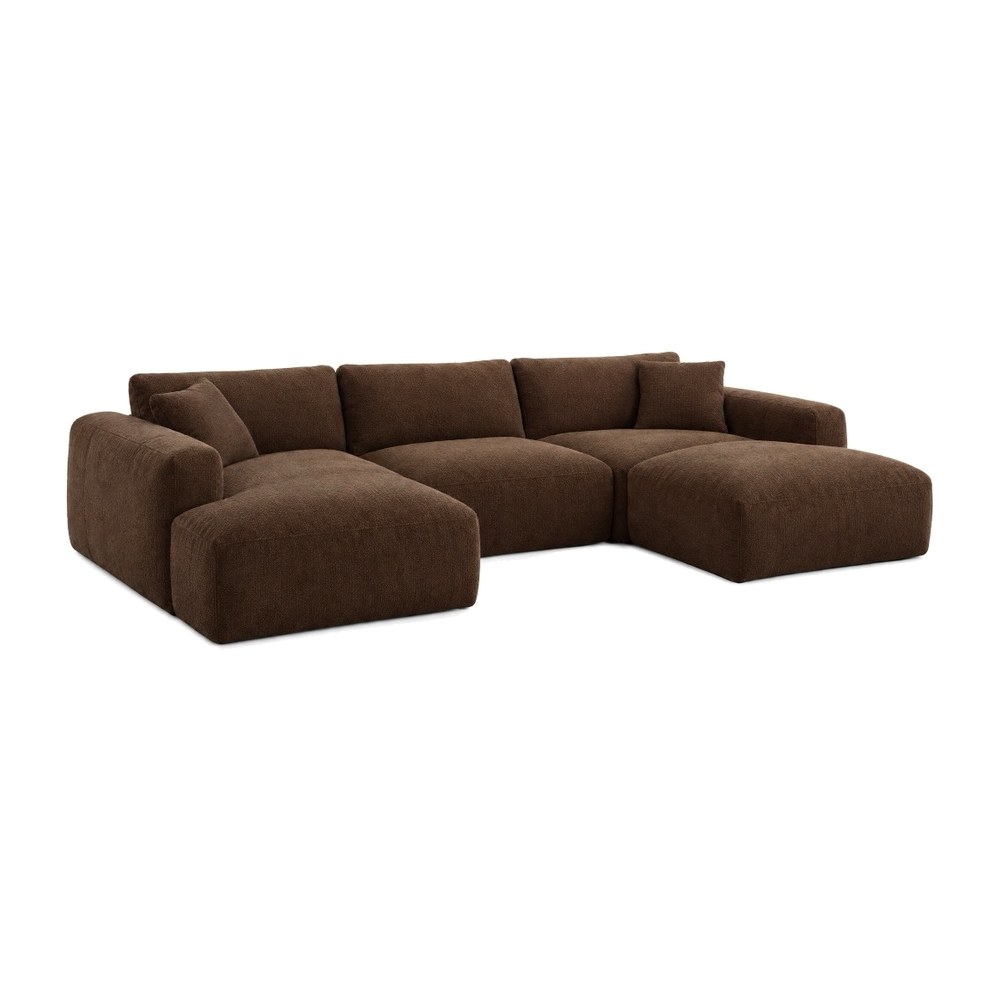 PACKSHOT
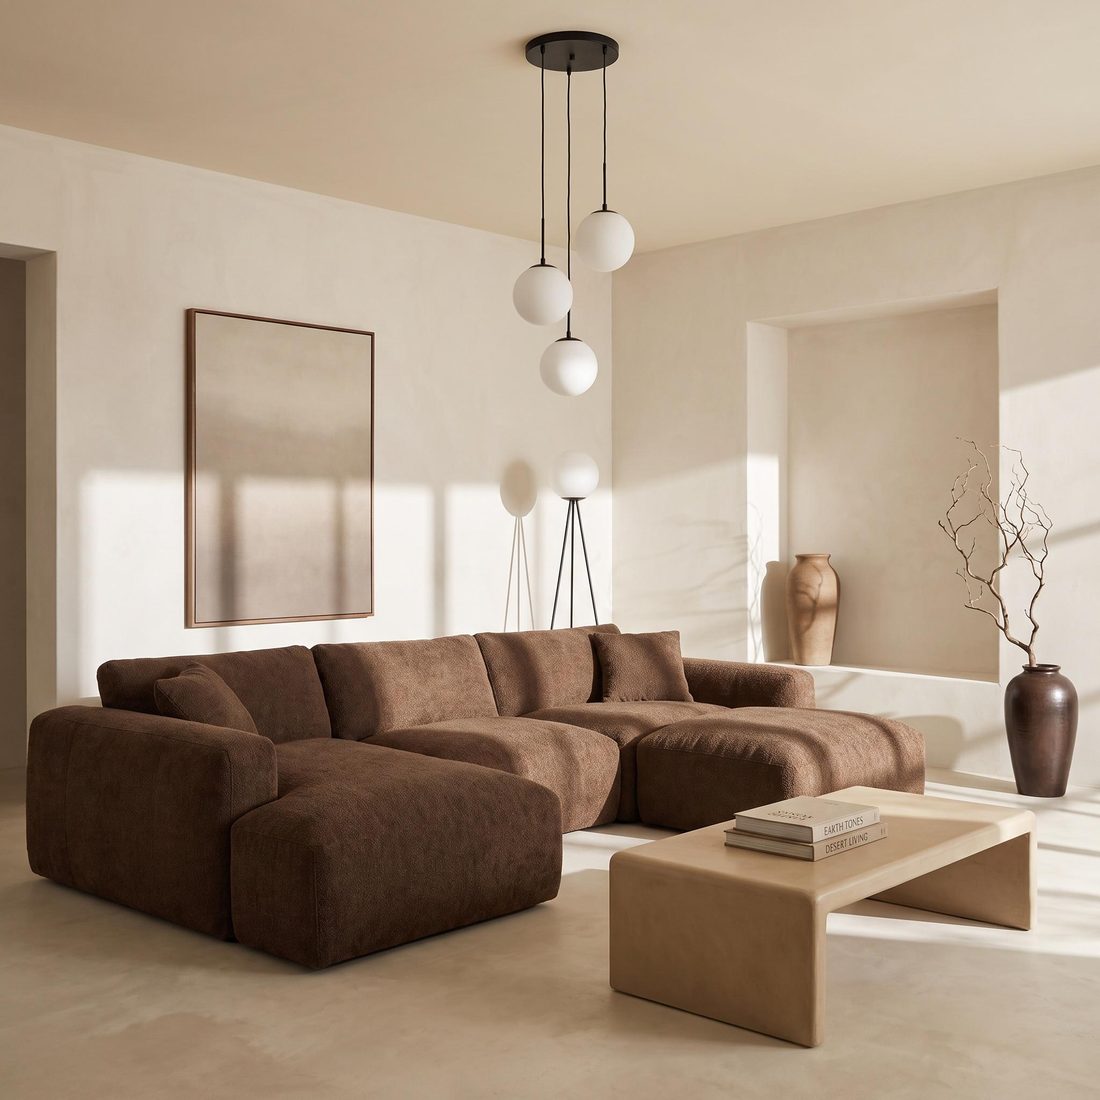 WARM MINIMAL
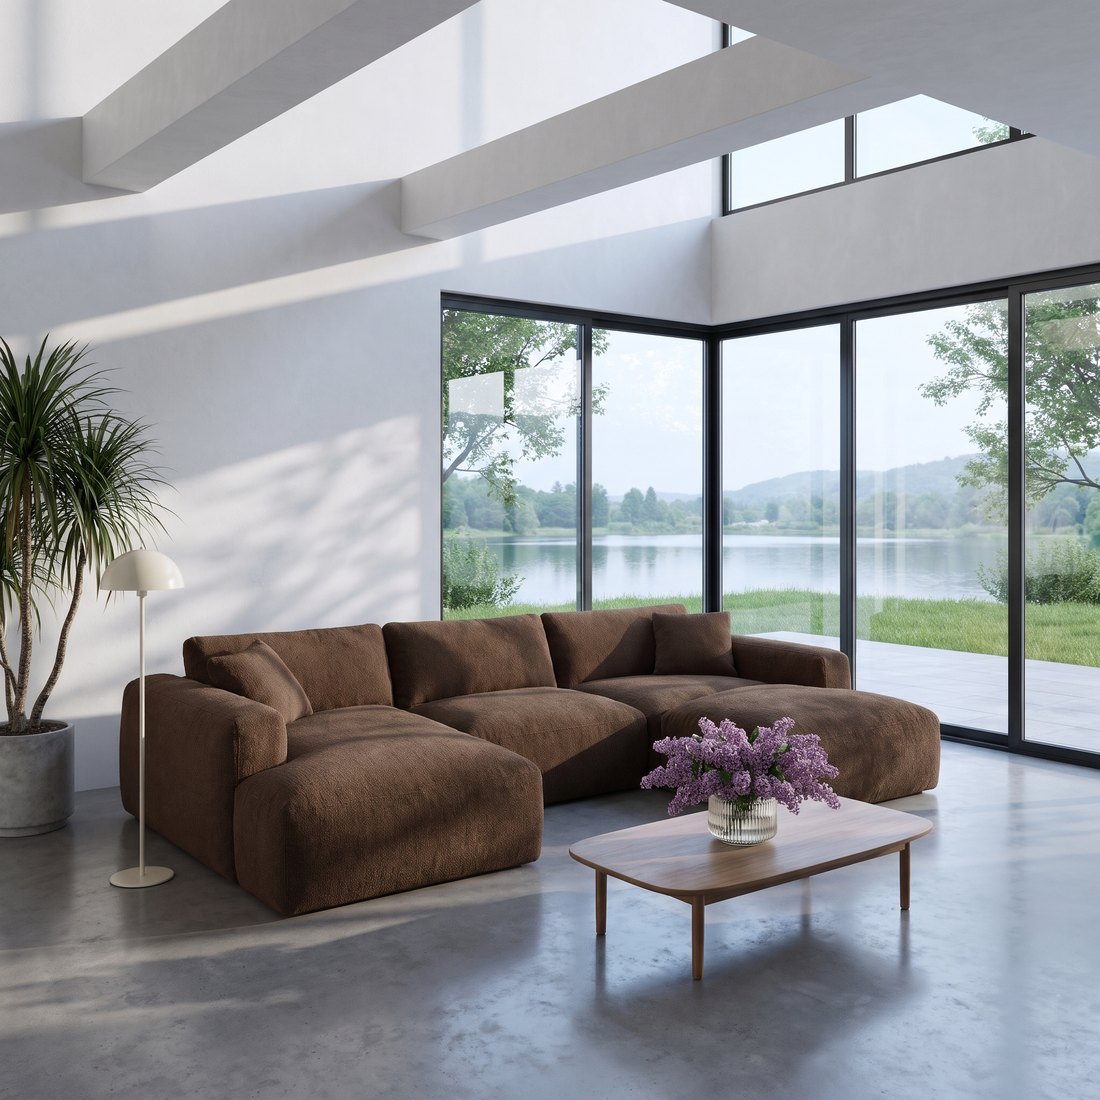 MODERN
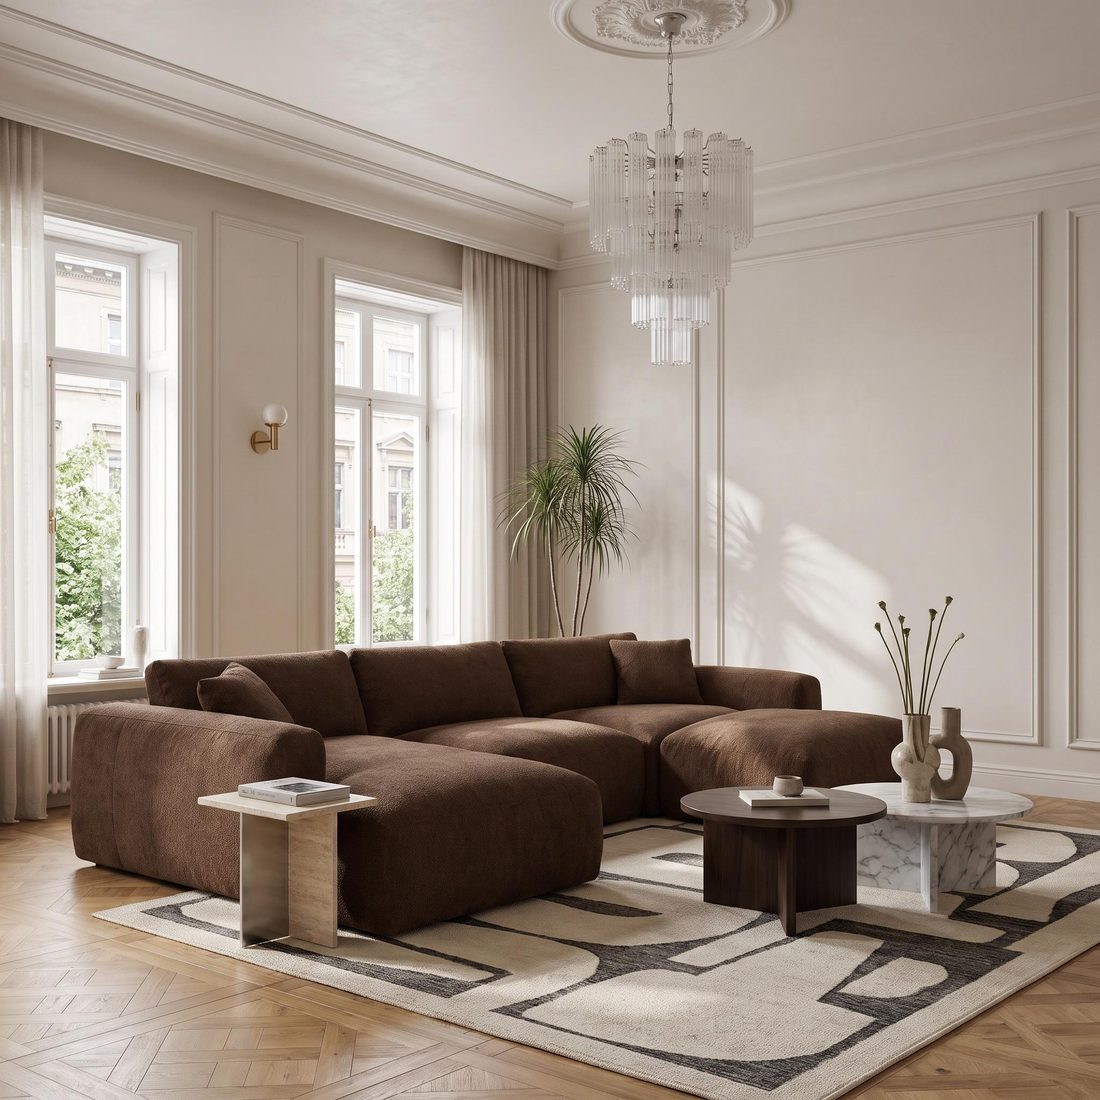 OLDTOWN
Photo batch
The NEW BATCH button gathers many pieces in one table. You assign styles, ratios and settings to each piece, one by one or to a whole group at once, and order the whole collection with a single click: up to 50 pieces and 200 photos. Details and a tutorial: furniture photo batch.
Add people
On a finished photo, choose who should appear in it. There are 13 scenes: family, friends, kid, kids, girl, boy, female and male model, a person in motion, office workers, a crowd in the background, a cat and a dog. People show the scale of the piece and how it is used.
Make video
Choose a photo and a format, and Sopla turns it into a short product video: one shot of 5 or 10 seconds, three 5-second shots (wide, close-up and medium) or a shot with people. Download the video right away for your product page, reels and ads.
Changes to a finished photo
Edit decor
Describe the change in your own words or add a reference photo: a new painting on the wall, a sage green wall, other lamps, golden hour outside the window. The piece stays the same, and the room around it changes.
Variants
Add a packshot of another version of the same piece, and Sopla swaps it into the same interior and framing: the sofa unfolded, with the storage open, in another upholstery, or another model from the same range. Sopla recognises what kind of variant it is and suggests how to use it.
Zoom
Select part of the photo, and Sopla creates a sharp close-up of the detail: a seam, a leg, a fitting, the texture of the fabric. Close-ups answer questions about build quality before the customer asks them.
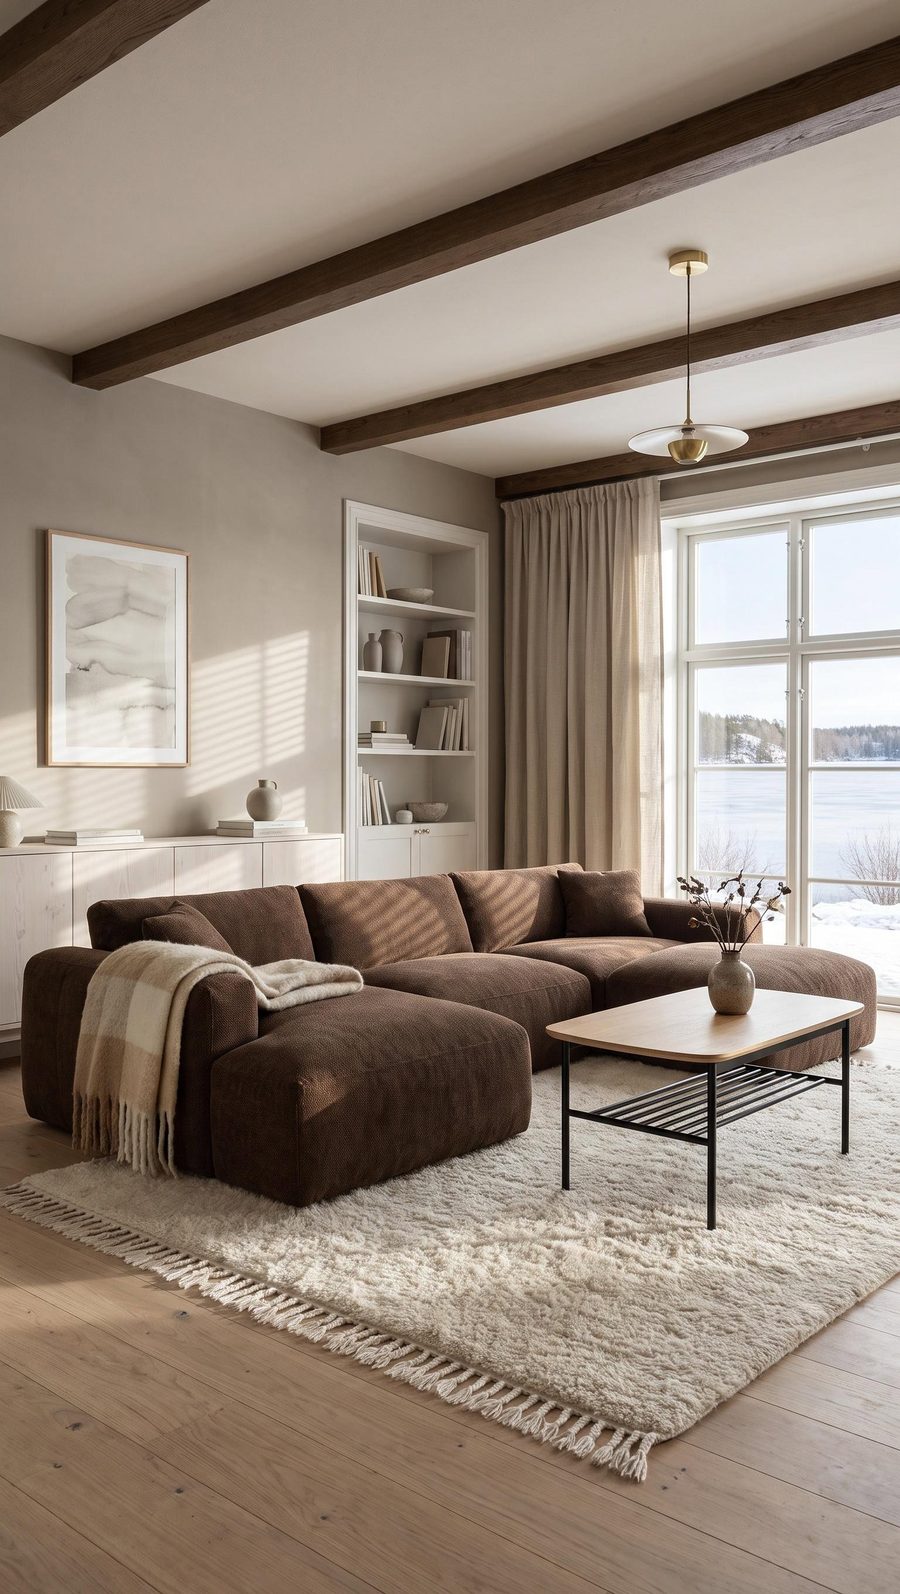 WINTER
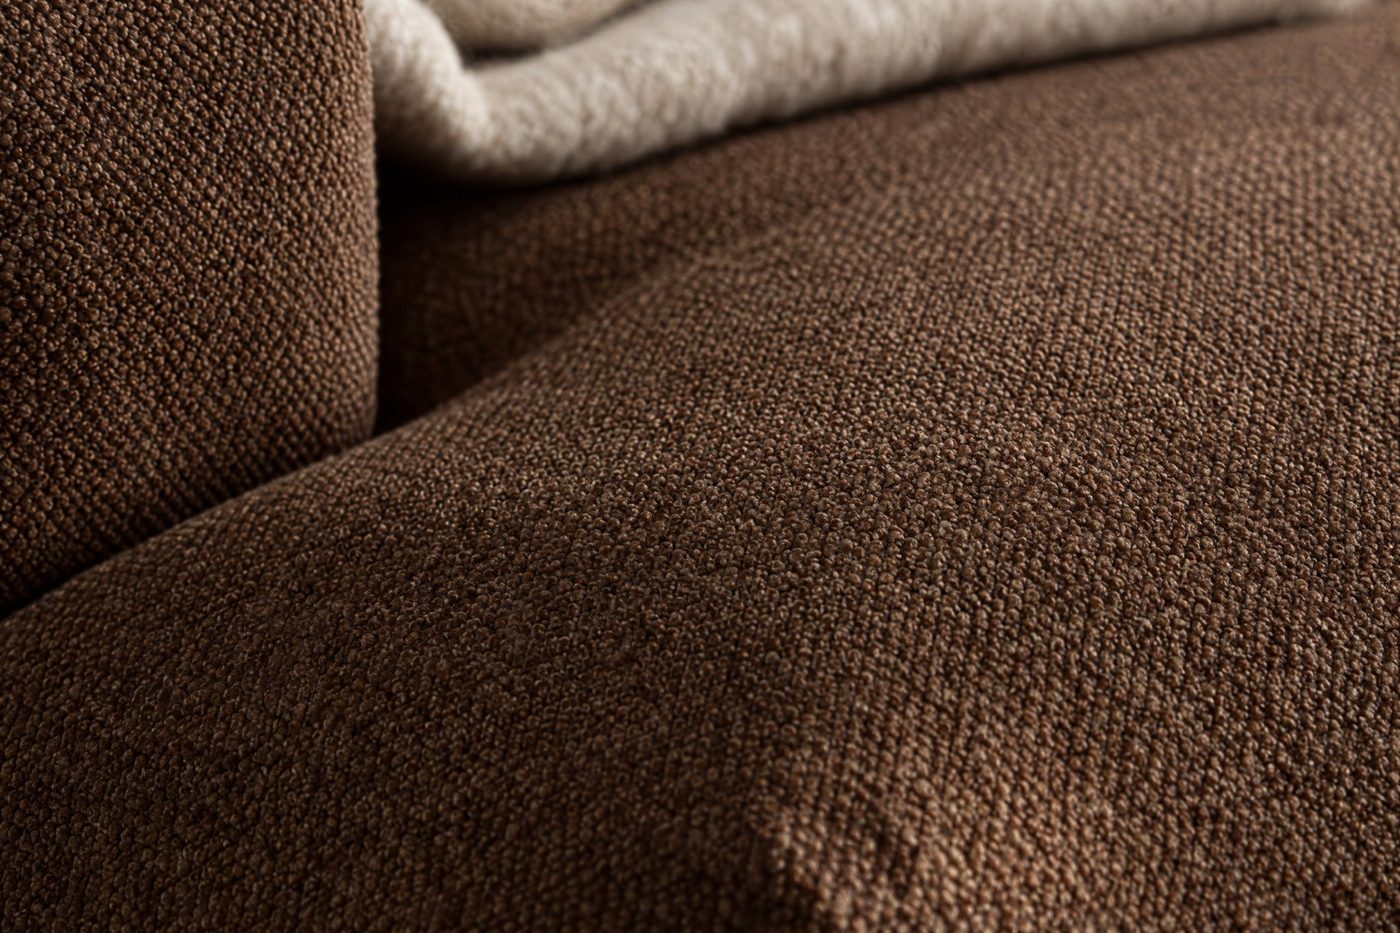 ZOOM
Save interior
Choose what to remove from the photo, and Sopla keeps the empty room. You can then furnish it with any piece, so a whole collection can have photos in one consistent interior. You can change the decor of a saved interior, for example the floor with a material sample, and instead of saving a room from a photo you can upload a photo of your own interior, such as your showroom.
Color & material
Upload up to 5 fabric samples, set the pattern scale and see the piece in each upholstery. Pick a colour from the palette or enter its RAL or HEX code. Each colour and each material is a separate photo in the same framing.
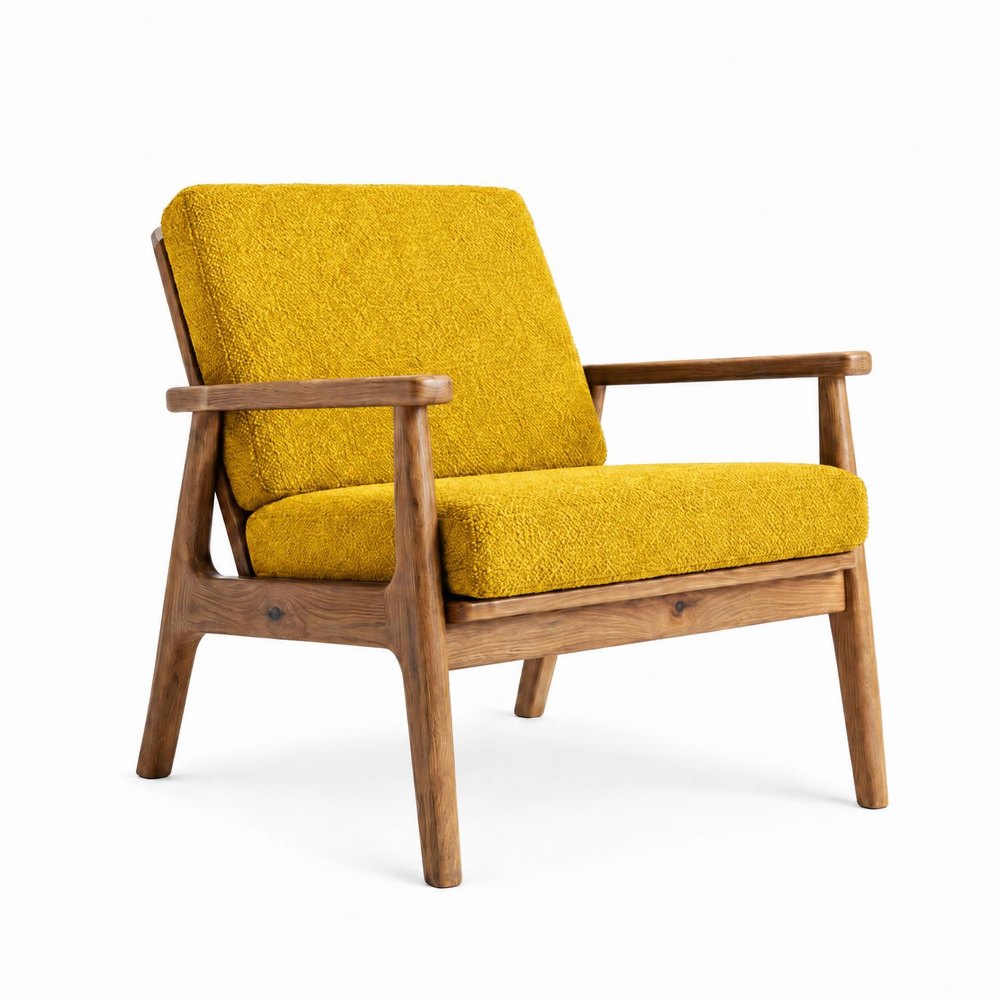 COLOR
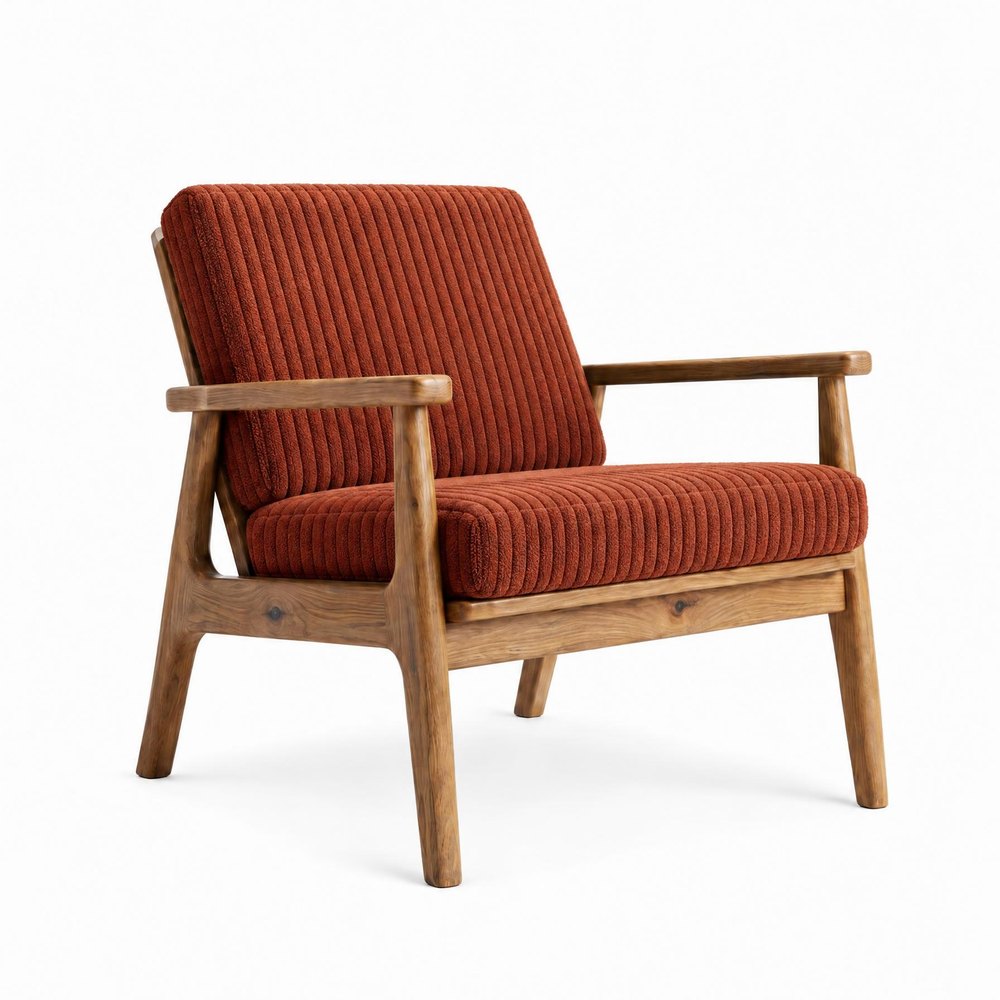 MATERIAL
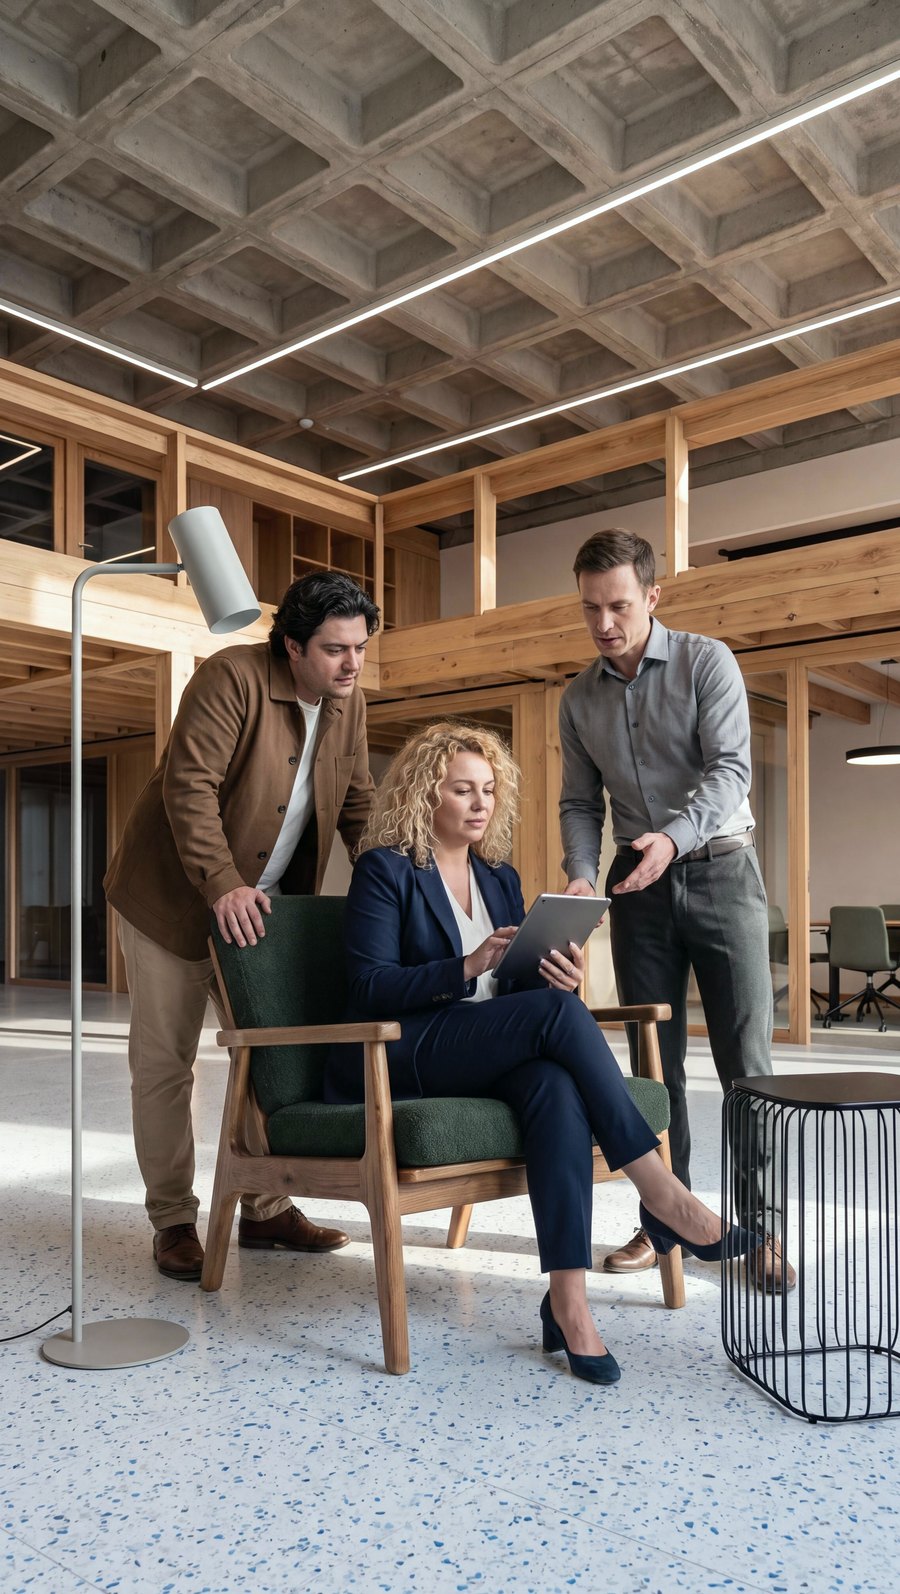 PEOPLE
Angle
Add a photo of the piece from another side, and Turn the piece rotates it exactly where it stands. Turn the room moves the camera and shows the same room from another point of view.
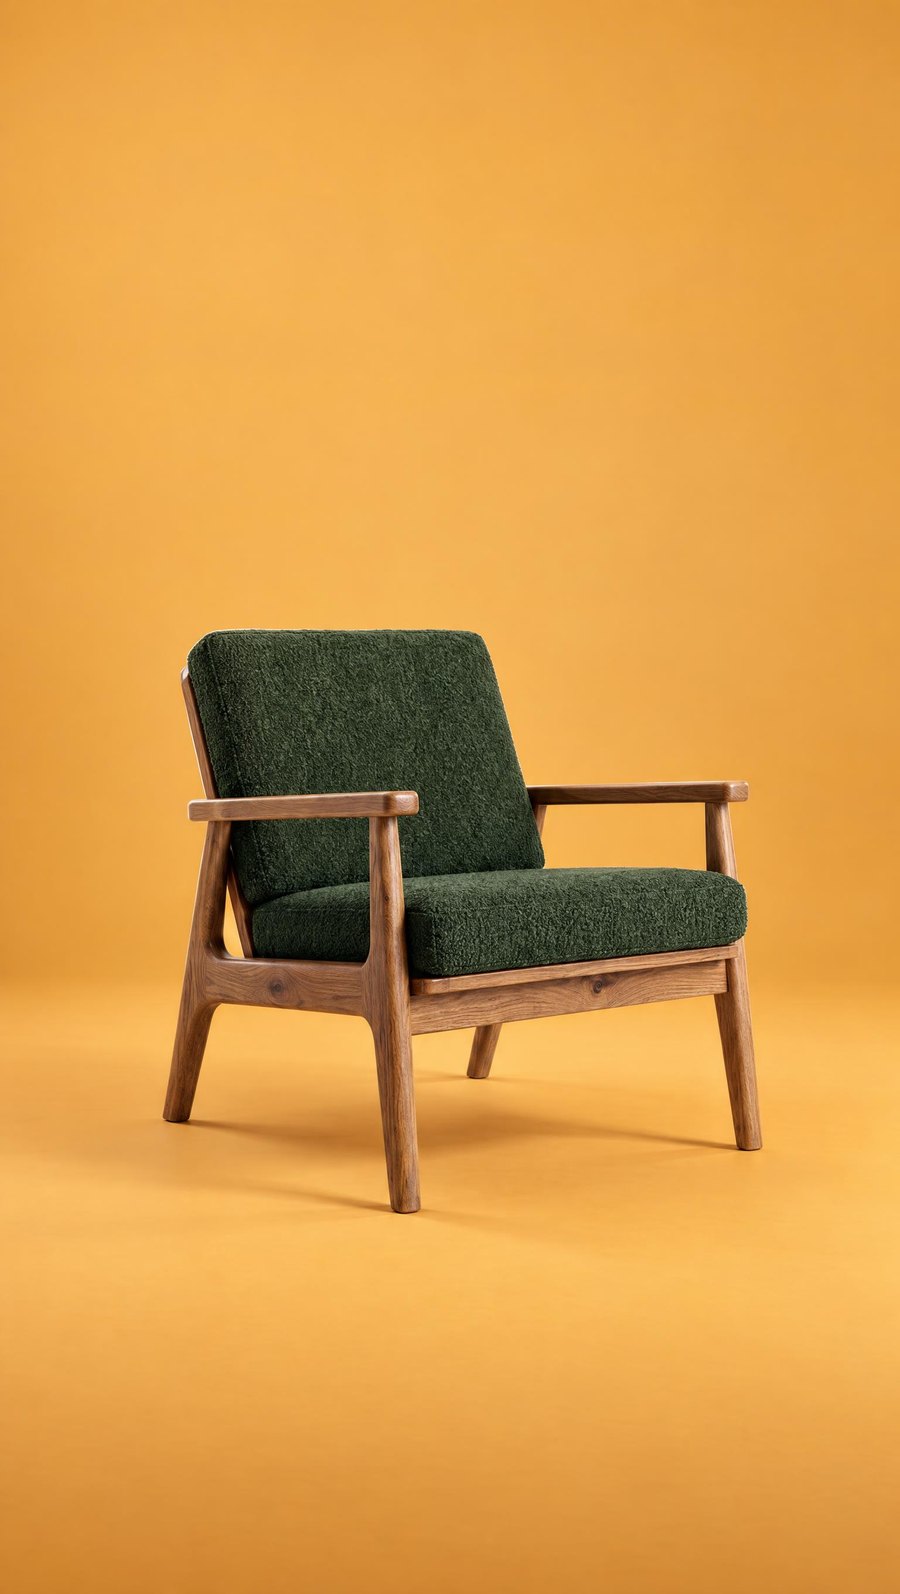 CONTRAST
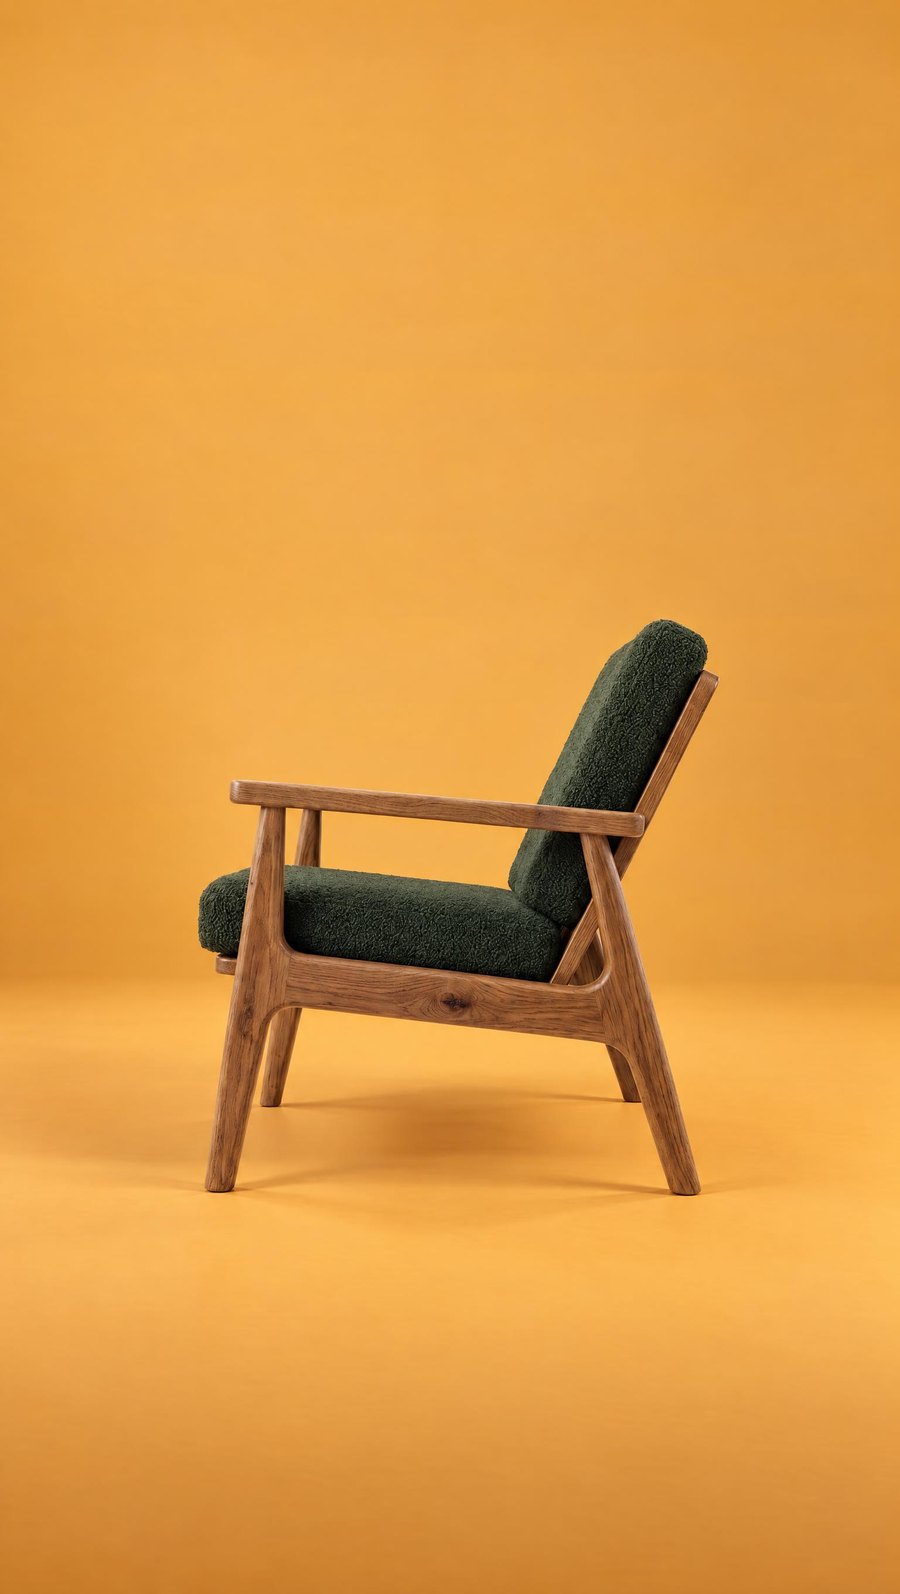 ANGLE
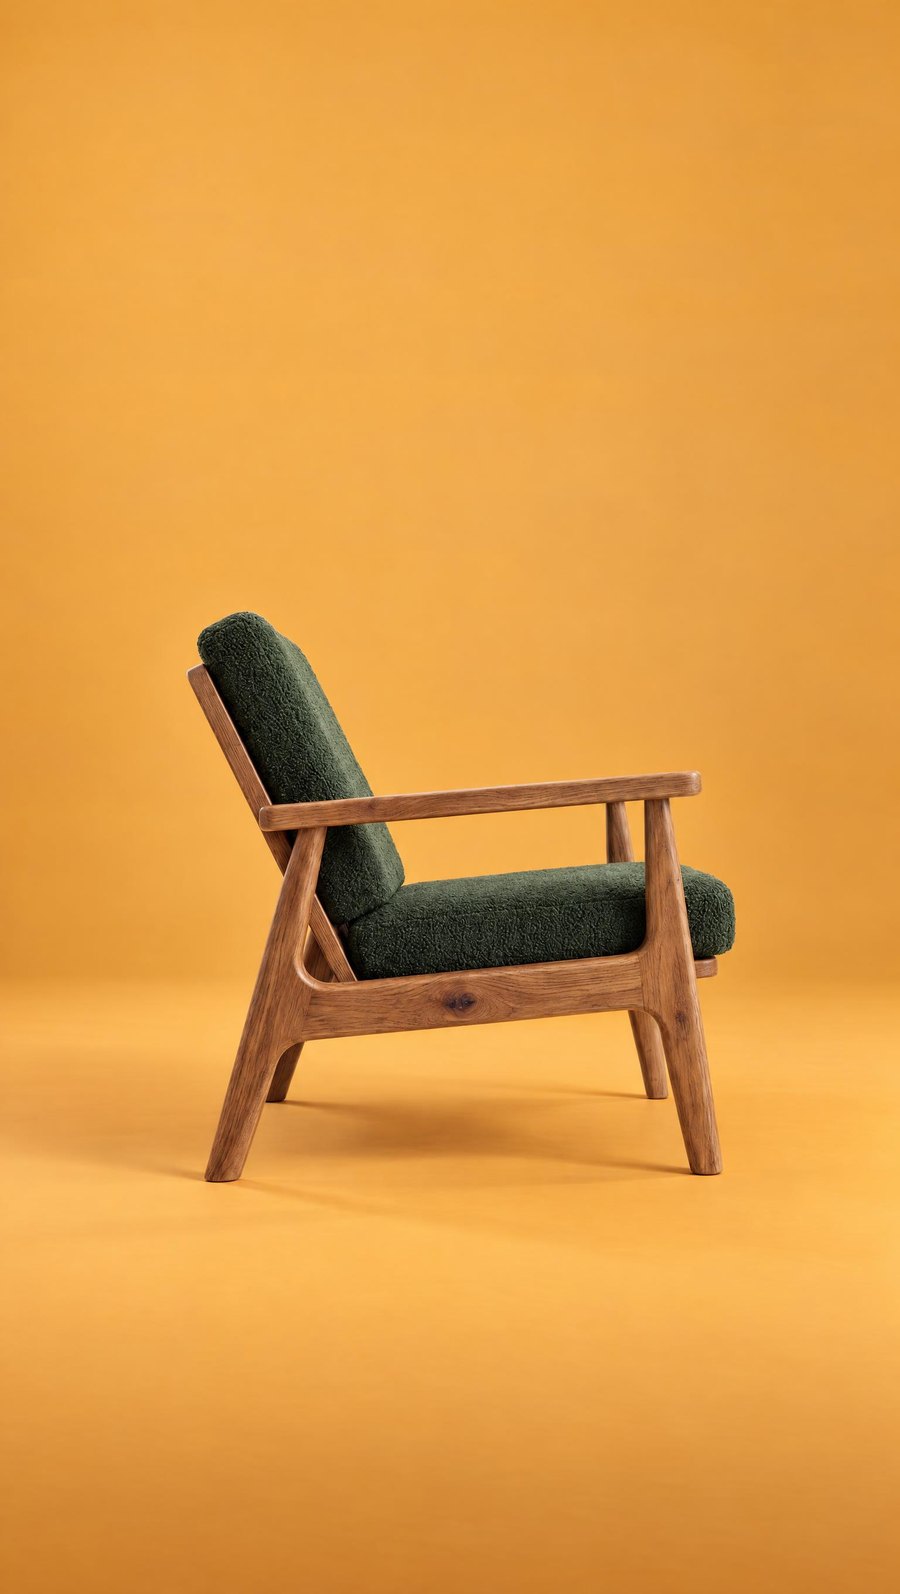 ANGLE
 ANGLE
Format, quality and download
Ratio
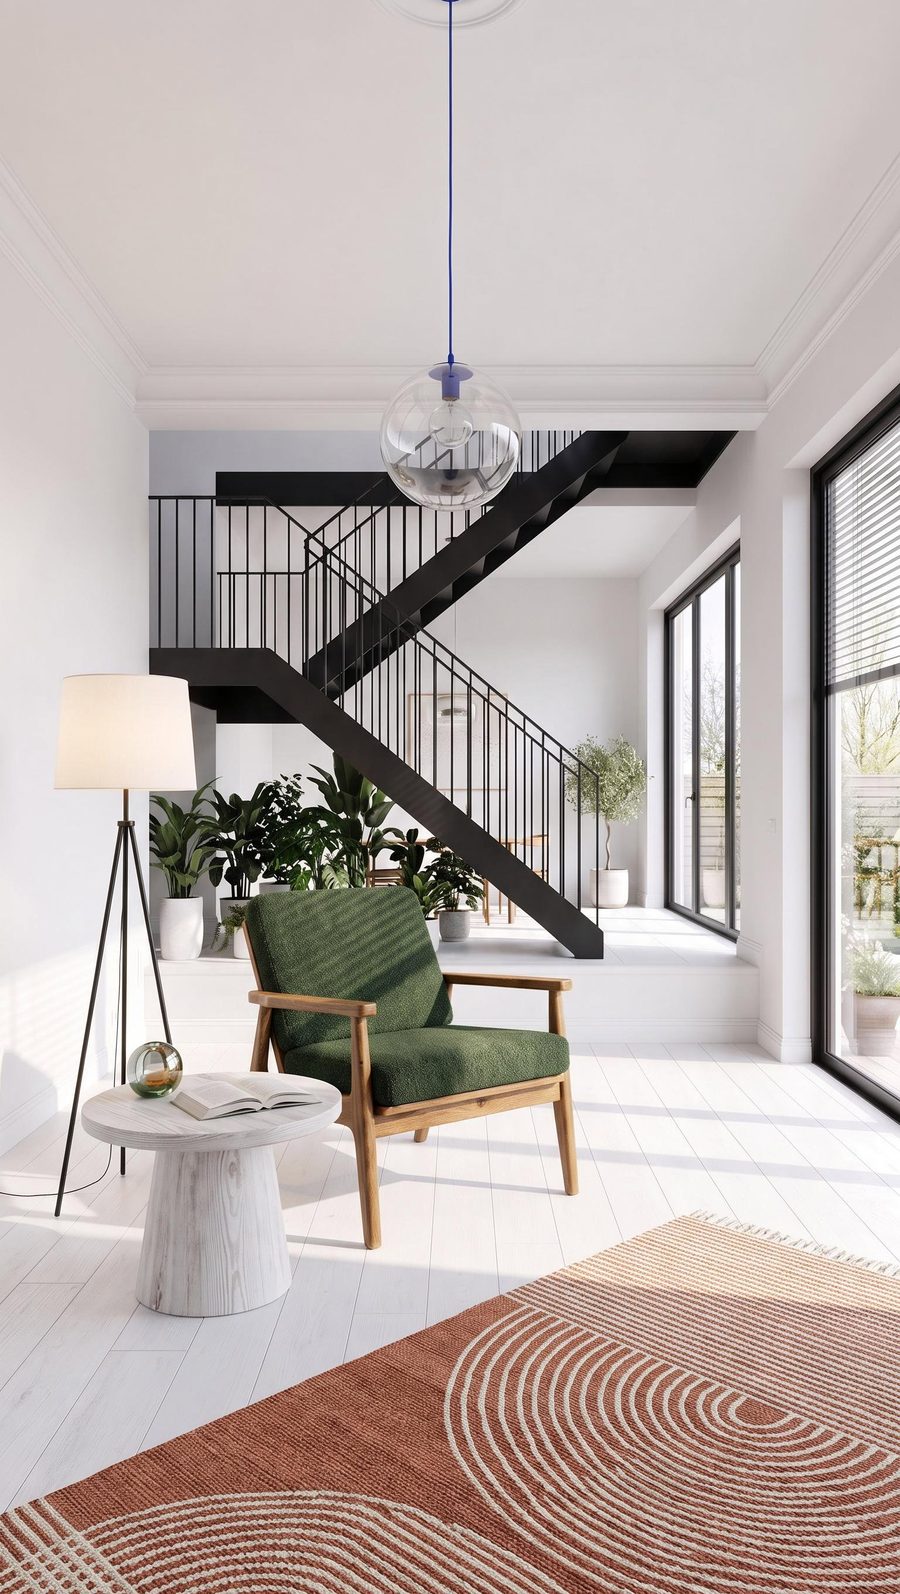
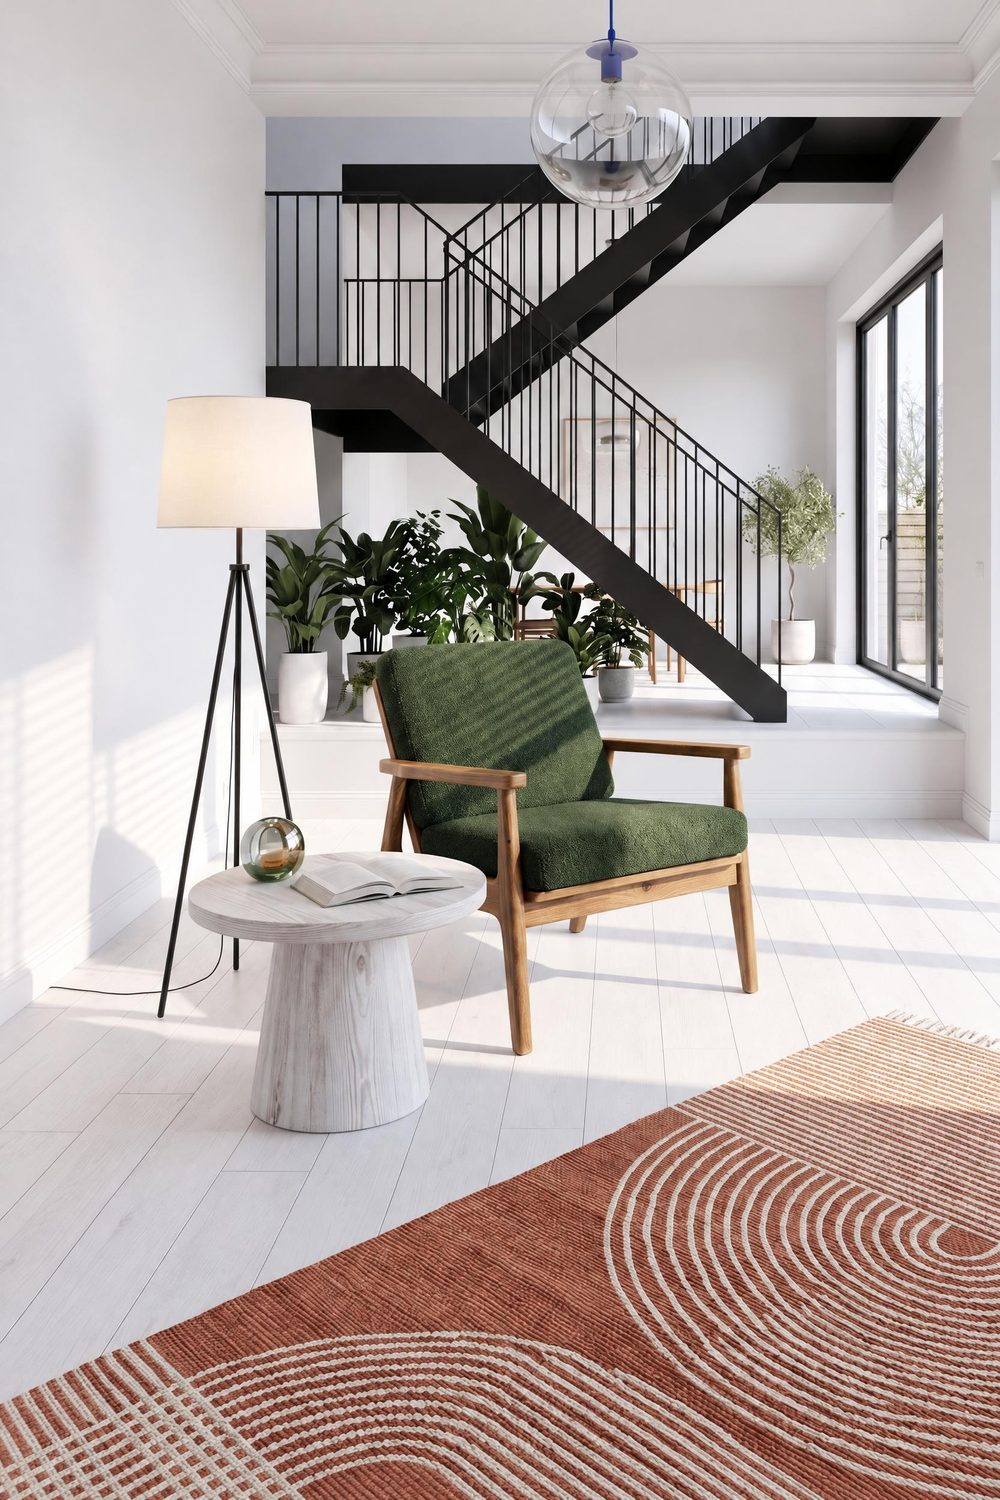
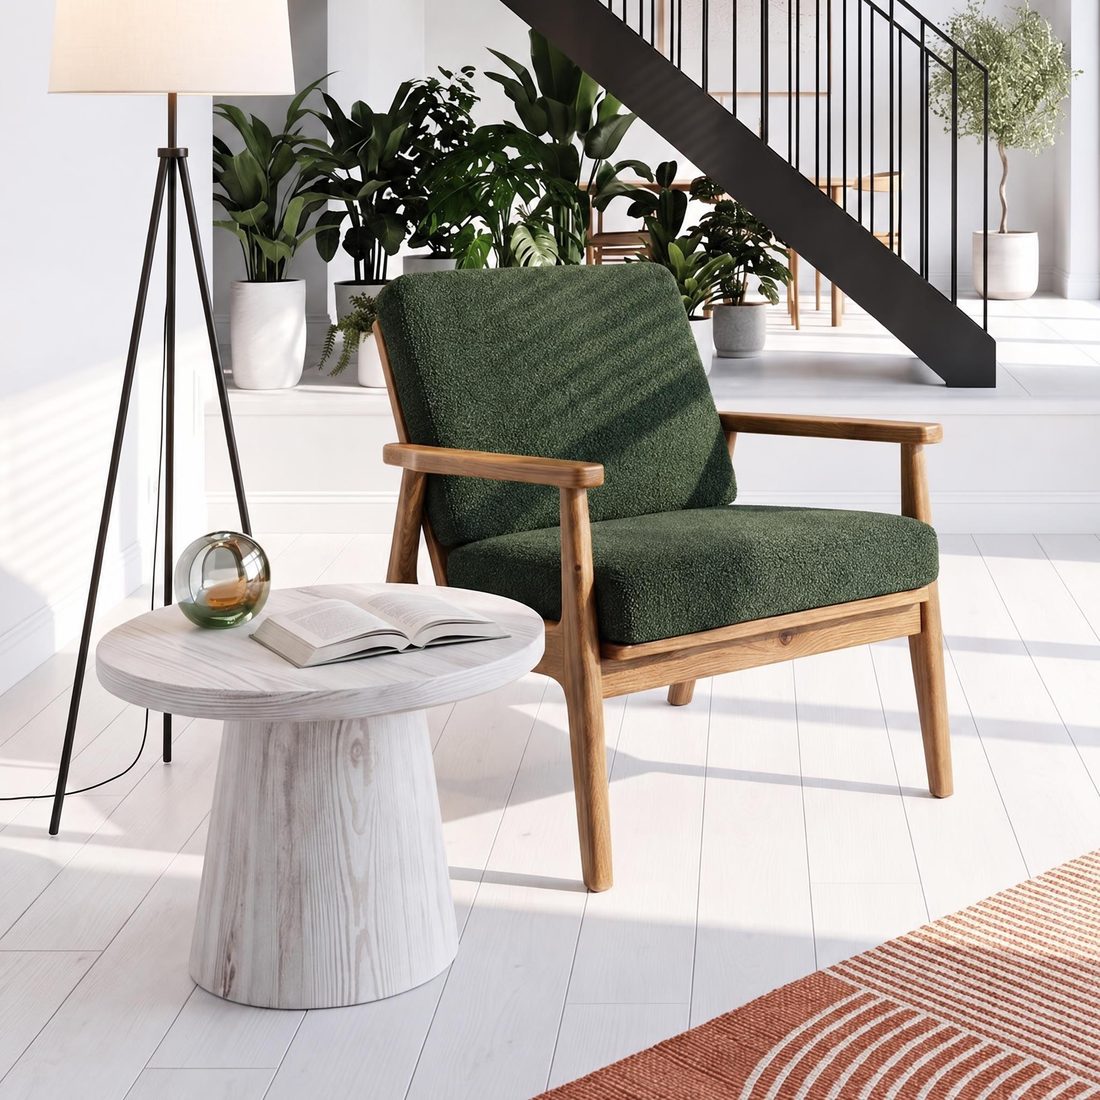
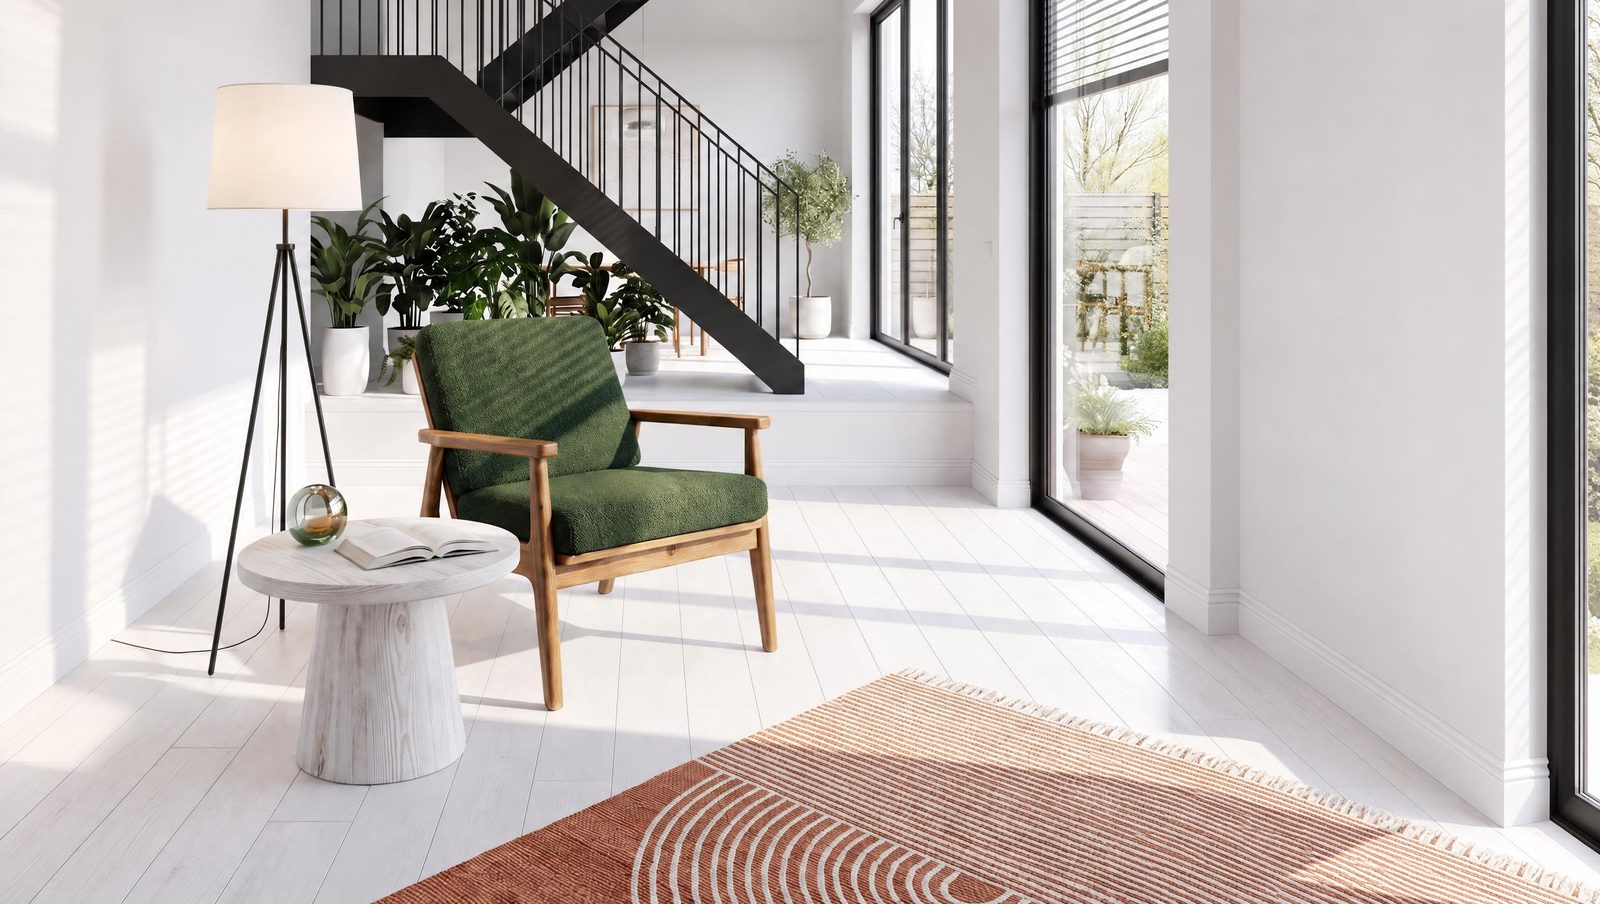
Draw a frame in a new format, and Sopla fills in the rest of the room. From one photo you get 9:16 for reels, 4:5 for posts, 1:1 for your shop and 16:9 for a website header. The formats shops and marketplaces ask for are covered in furniture photos for Amazon, Wayfair and other marketplaces.
 9:16
 2:3
 1:1
 16:9
Resolution
Download a photo in 4K, sharp enough for a catalogue and for print, with every texture clearly visible.
Dimensions
Drag a line, type the measurement and download the photo with the dimensions drawn on it, using DOWNLOAD WITH DIMENSIONS.
Adjust
Fix the light and colour, try a ready-made preset, crop or flip the photo and download it in high quality. The editor is built into the app, with no separate software.
Frequently asked questions
What do I need to get started?
One photo of your furniture. It can be a packshot from a photographer or a phone photo, which Sopla turns into a packshot on white.
Are all the tools from the video in the app?
Yes, all 15 tools from the video are available in the app, on every plan.
Which languages does Sopla work in?
Six: English, Polish, German, French, Italian and Spanish. The video and its subtitles are available in each of them.
How long does it take to create a photo?
A photo is usually ready in about a minute. Videos and larger batches take longer, and you can close the page in the meantime.
Will the furniture in the photo look like mine?
Sopla takes the shape, colour and texture from the packshot. Compare each photo with the packshot: the angle of the piece or a detail can differ a little, and you can fix such a shot with the ANGLE edit or create it again.
How much does it cost?
Sopla works with credits in a monthly plan. Prices of photos, edits and videos are in the pricing section.
Can I use Sopla on my phone?
Photos and videos are created on a computer, in the browser. On a phone you can choose a plan and manage your account.
Got a photo of your furniture? See what Sopla can do with it.
Furniture photo batch: photos of a whole collection in one go
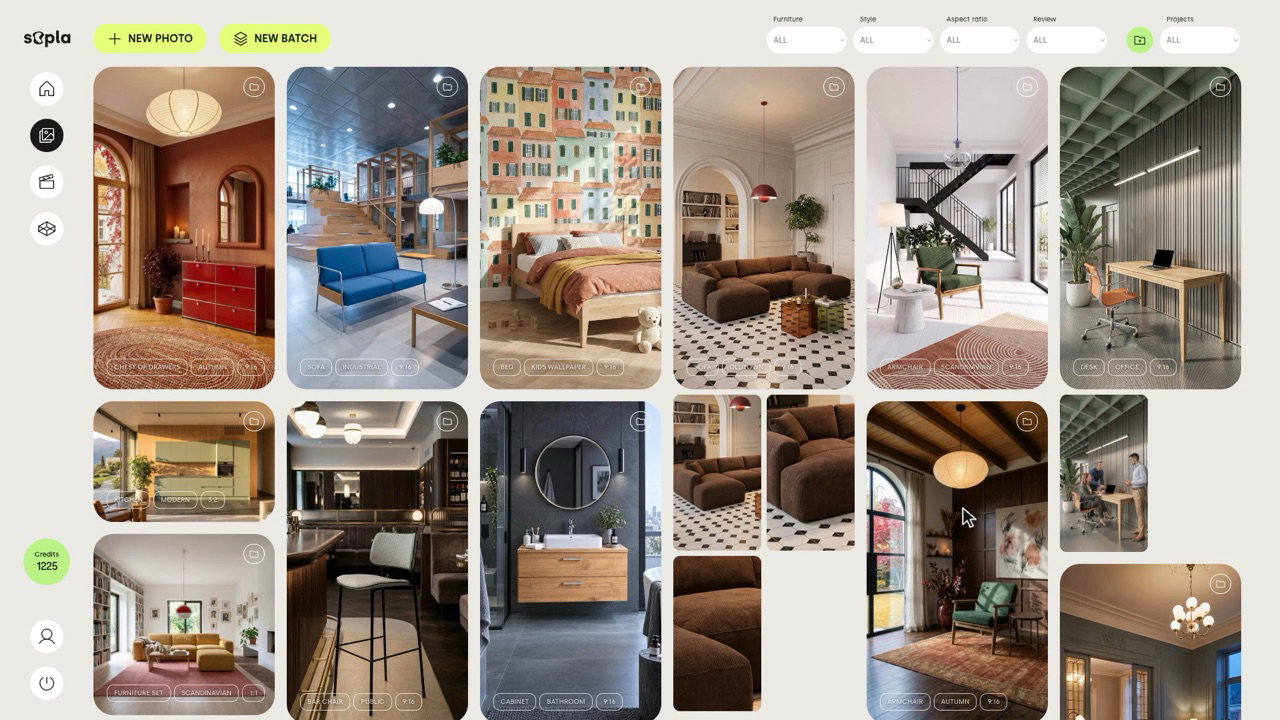
A photo batch in Sopla.app creates photos of many furniture items in one go. You choose your packshots, Sopla recognises the type of each item, and you assign styles, aspect ratios and settings to a whole group at once or to each item separately. One click on CREATE orders the whole batch, from three photos of a single item to 200 photos of an entire collection. Below, you'll find everything step by step.
What is a photo batch
A photo batch is the second way to create photos in Sopla, alongside the photo creator for single photos. You'll find the NEW BATCH button in the gallery, next to NEW PHOTO. The photo creator takes you through one item and one style. A batch puts many items into one table, and each item can have several styles.
| Photo creator | Photo batch | |
|---|---|---|
| Items in one go | 1 | up to 50 |
| Styles per item | 1 | several, each style is a separate photo |
| Photos in one go | up to 5 | up to 200 |
| Settings | for one item | for a group of items at once or for each one separately |
| Price per photo | 10 credits | 10 credits |
Choose a batch when you have a new collection, a seasonal catalogue update or several models that need photos in the same styles. The photo creator is still there for single photos and quick tests.
Creating a photo batch step by step
Step 1. Choose your furniture
Click NEW BATCH. Choose packshots from your library or upload new files: JPG or PNG up to 10 MB, up to 50 packshots per batch. Sopla recognises the type of each item, for example SOFA, ARMCHAIR or POUF. When it isn't sure, CHECK appears next to the item, and you confirm the type or choose another one. A packshot that already has a type goes straight into the table.
Step 2. Assign settings in the table
Each item is a row in the table, and the columns are the same choices as in the photo creator: furniture type, settings, style or interior, aspect ratio, lighting and number of photos. Above the table you select items: all at once, all of one type, for example all sofas, or individual rows. Then you assign them a style, aspect ratio, setting and lighting with a single choice. You can also change each item separately, in its own row.
Step 3. Check the cost and the summary
At the bottom of the table you can see right away how many photos you'll get, how many credits they'll cost and how many will be left in your account. In the summary you check every photo in the batch, name the project and click CREATE.
Step 4. Get your photos in the gallery
The photos go into a new project in the gallery and appear there one by one. You can close the page and the batch keeps being created. Compare each photo with its packshot: the angle of the piece or a detail may differ slightly. You can fix that photo with the ANGLE edit or create it again in the photo creator.
How to set up many items at once
Selecting in groups saves the most time. A few things worth knowing:
- Select first, then assign. A type pill, for example SOFA 3, selects all sofas. All items selects the whole table. A change applies only to the selected items.
- Styles and interiors: several at once. Each chosen style is a separate photo. An armchair with two styles, for example WINTER and SCANDINAVIAN, gives two photos. If a style doesn't fit an item, Sopla skips it and tells you which item it skipped.
- Aspect ratio: one per item. Each photo in a batch is created separately, so two formats would give two different scenes. You can create the same framing in another format later with the RATIO edit.
- Count per style: from 1 to 5. With a count of 2, each style gives two different photos, and you pick the better one.
- Your own interiors. In the style window, on the YOUR INTERIORS tab, you can choose a saved interior, for example your showroom. Each interior is a separate photo, at the price of a regular photo.
- Settings as in the photo creator. A sofa with a coffee table, chairs at a table and other settings can be assigned to all items of one type. In the settings window you can also add your own companion item and photos of the back and side of the piece.
- Undo. You can undo any change with the Undo button or with Ctrl+Z (Cmd+Z on a Mac).
Example: five items, eight photos
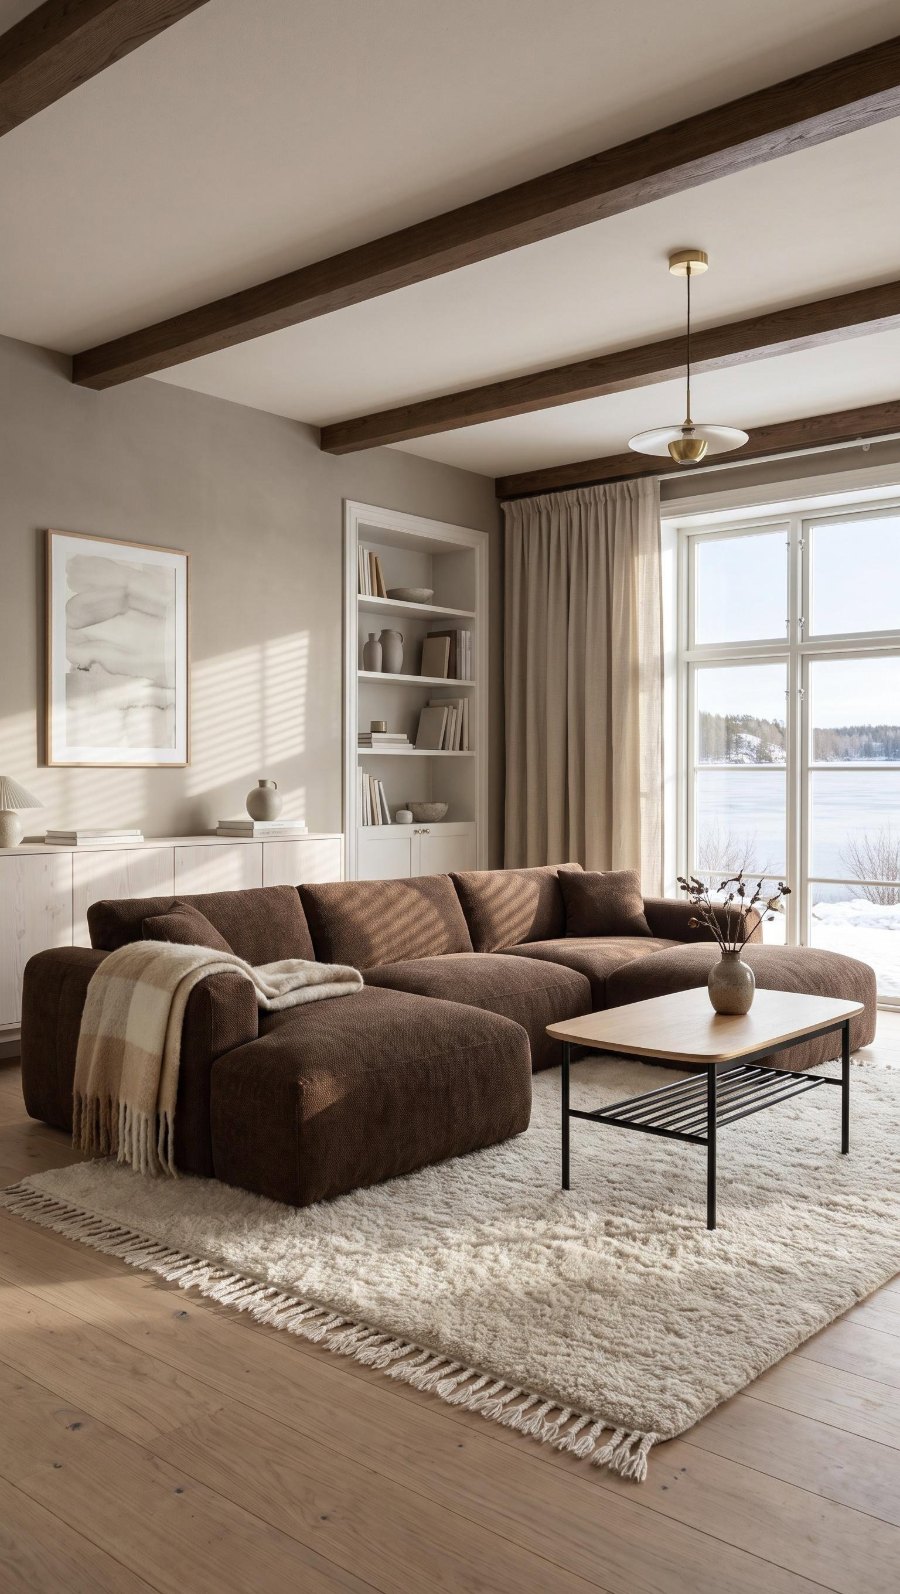
The batch from the video: three sofas, an armchair and a pouf, all in 9:16. The sofas got the setting with a coffee table, and the whole batch got the WINTER style. We added a second style to three items and swapped WINTER for OFFICE on one sofa.
| Item | Styles | Photos |
|---|---|---|
| U-shaped corner sofa, chocolate | WINTER, MODERN | 2 |
| Modular sofa, yellow | WINTER | 1 |
| Office sofa, blue | OFFICE, CONTRAST | 2 |
| Armchair, green | WINTER, SCANDINAVIAN | 2 |
| Pouf | WINTER | 1 |
| Total | 8 photos, 80 credits |
 WINTER
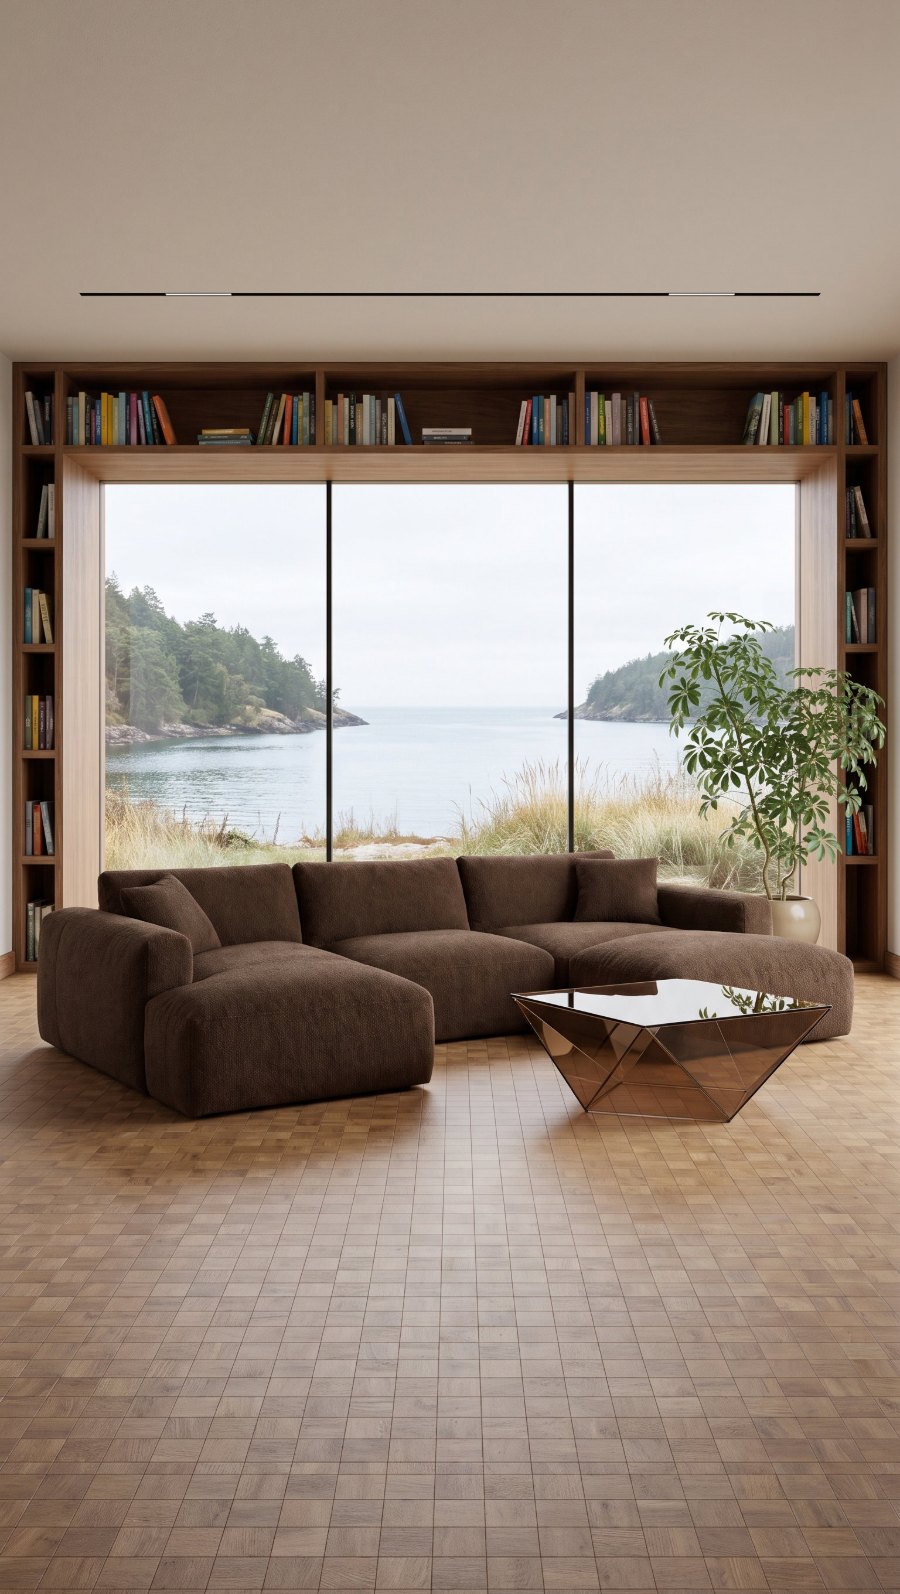 MODERN
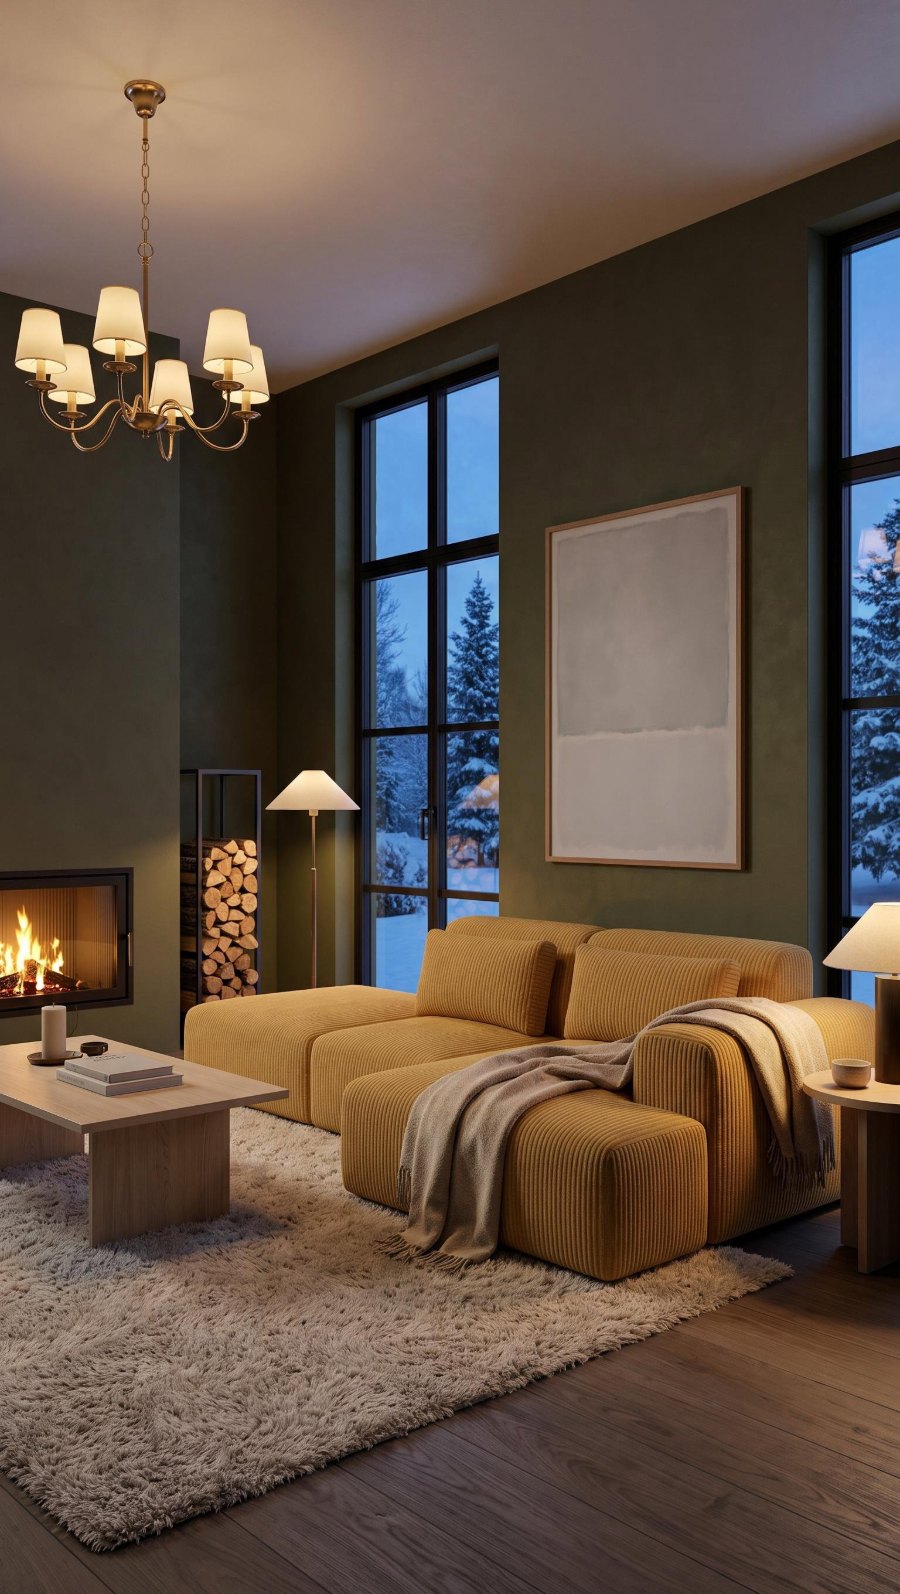 WINTER
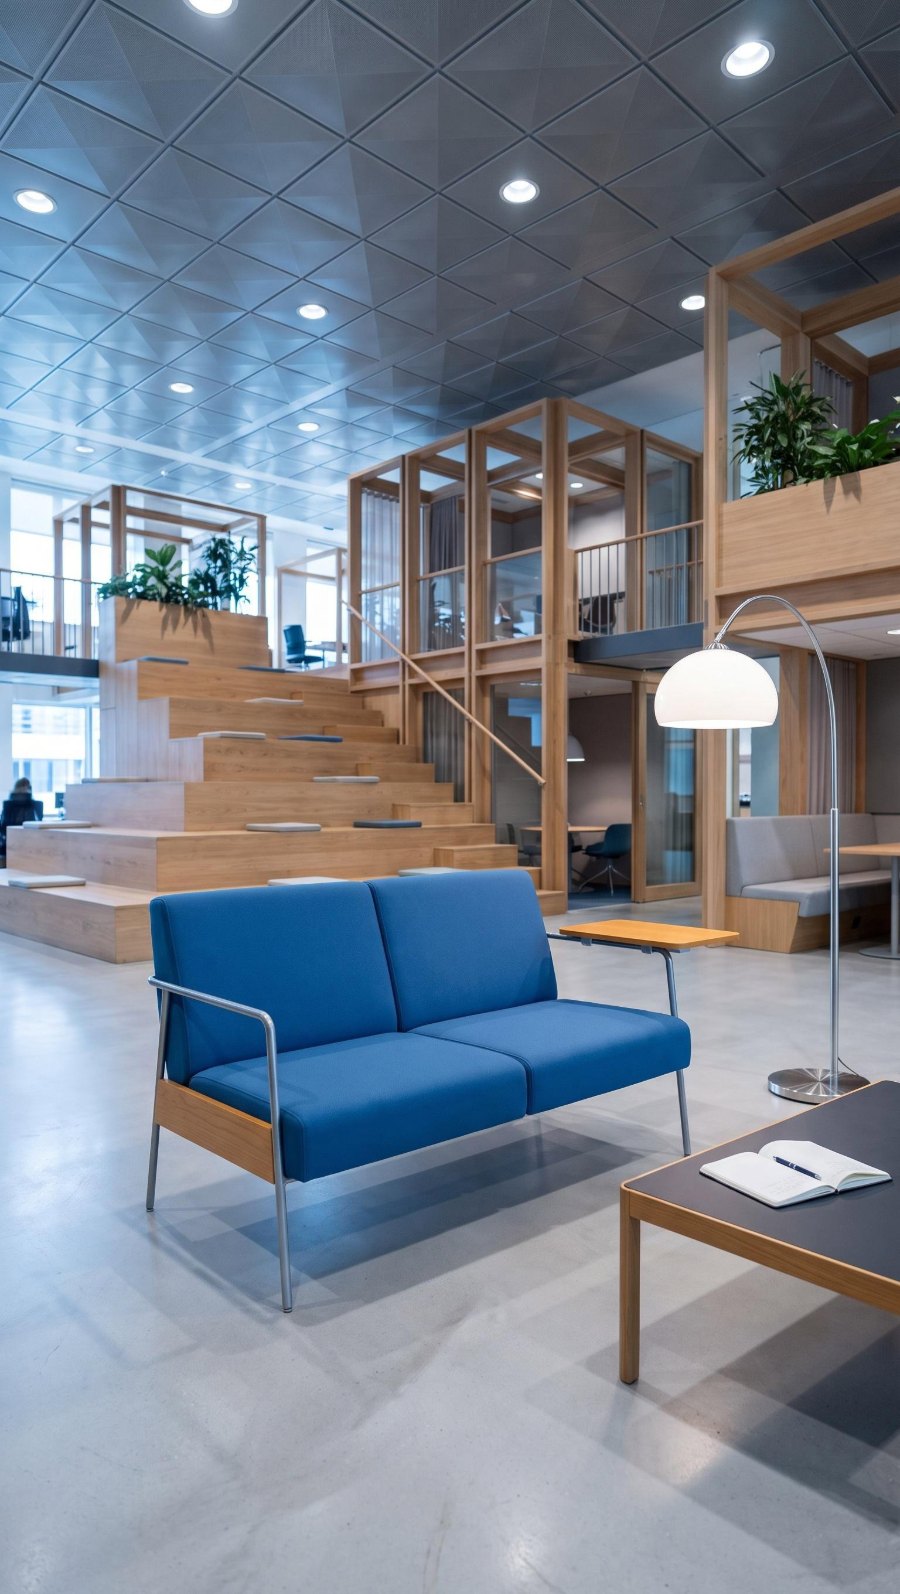 OFFICE
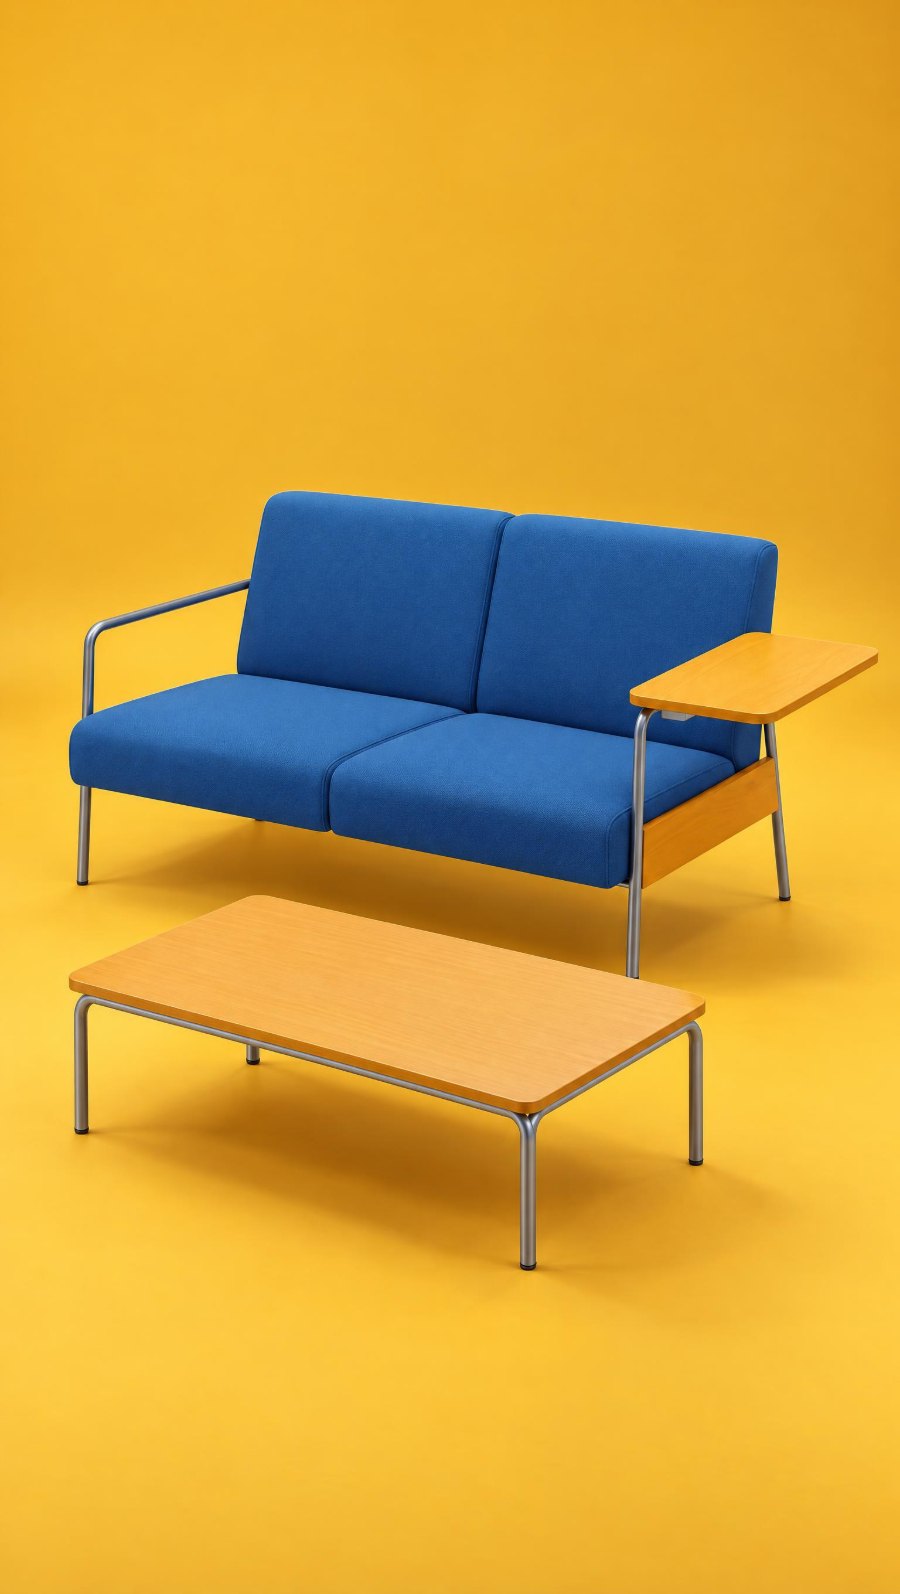 CONTRAST
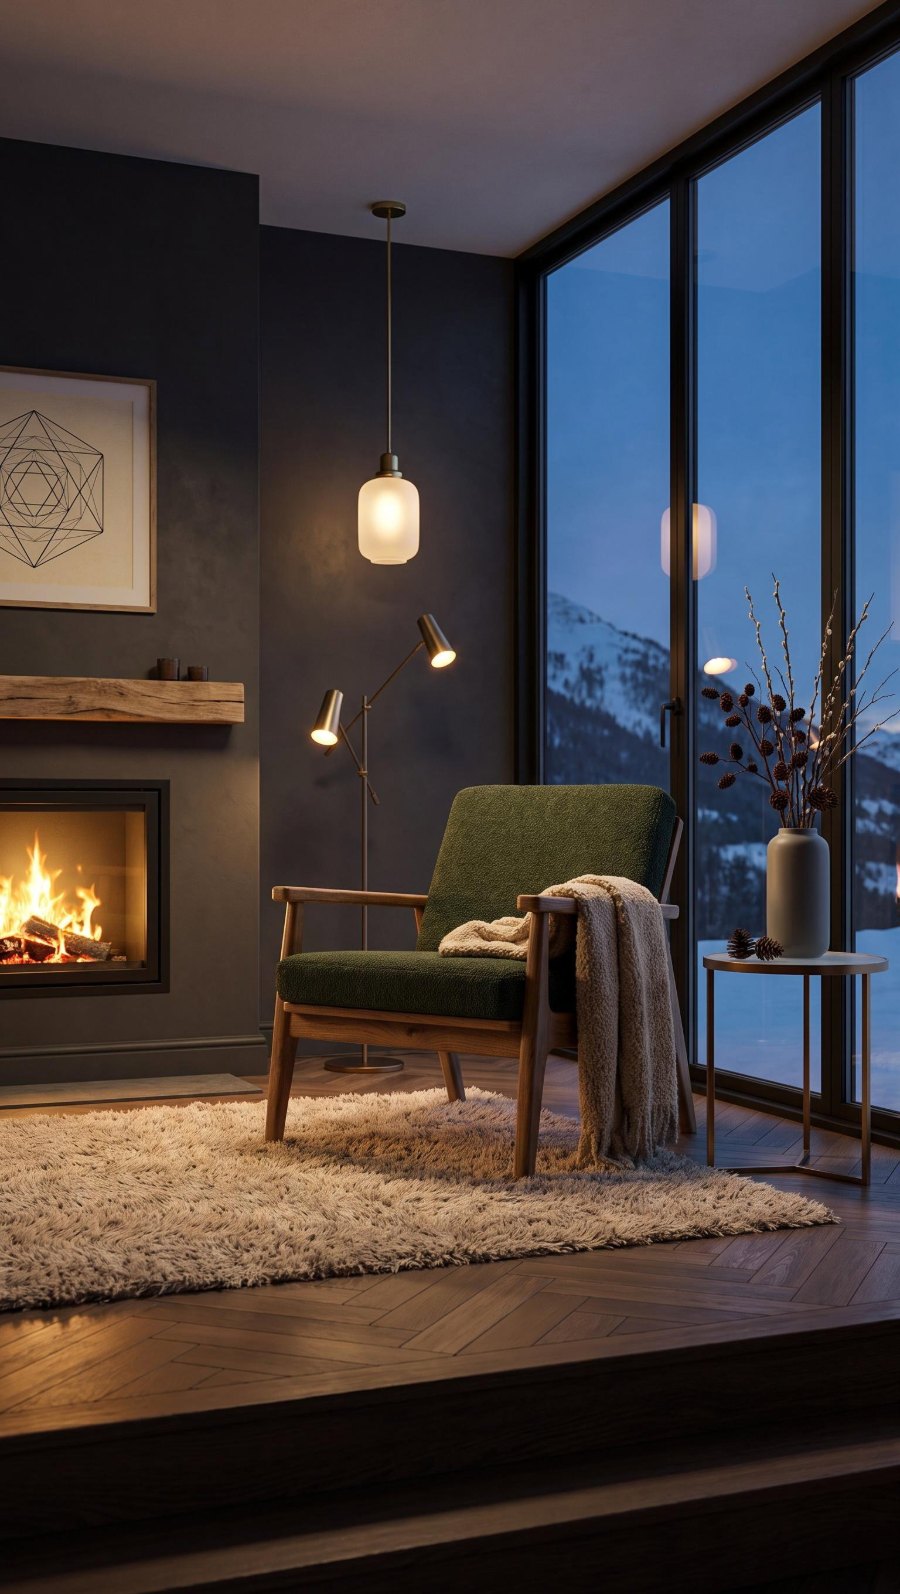 WINTER
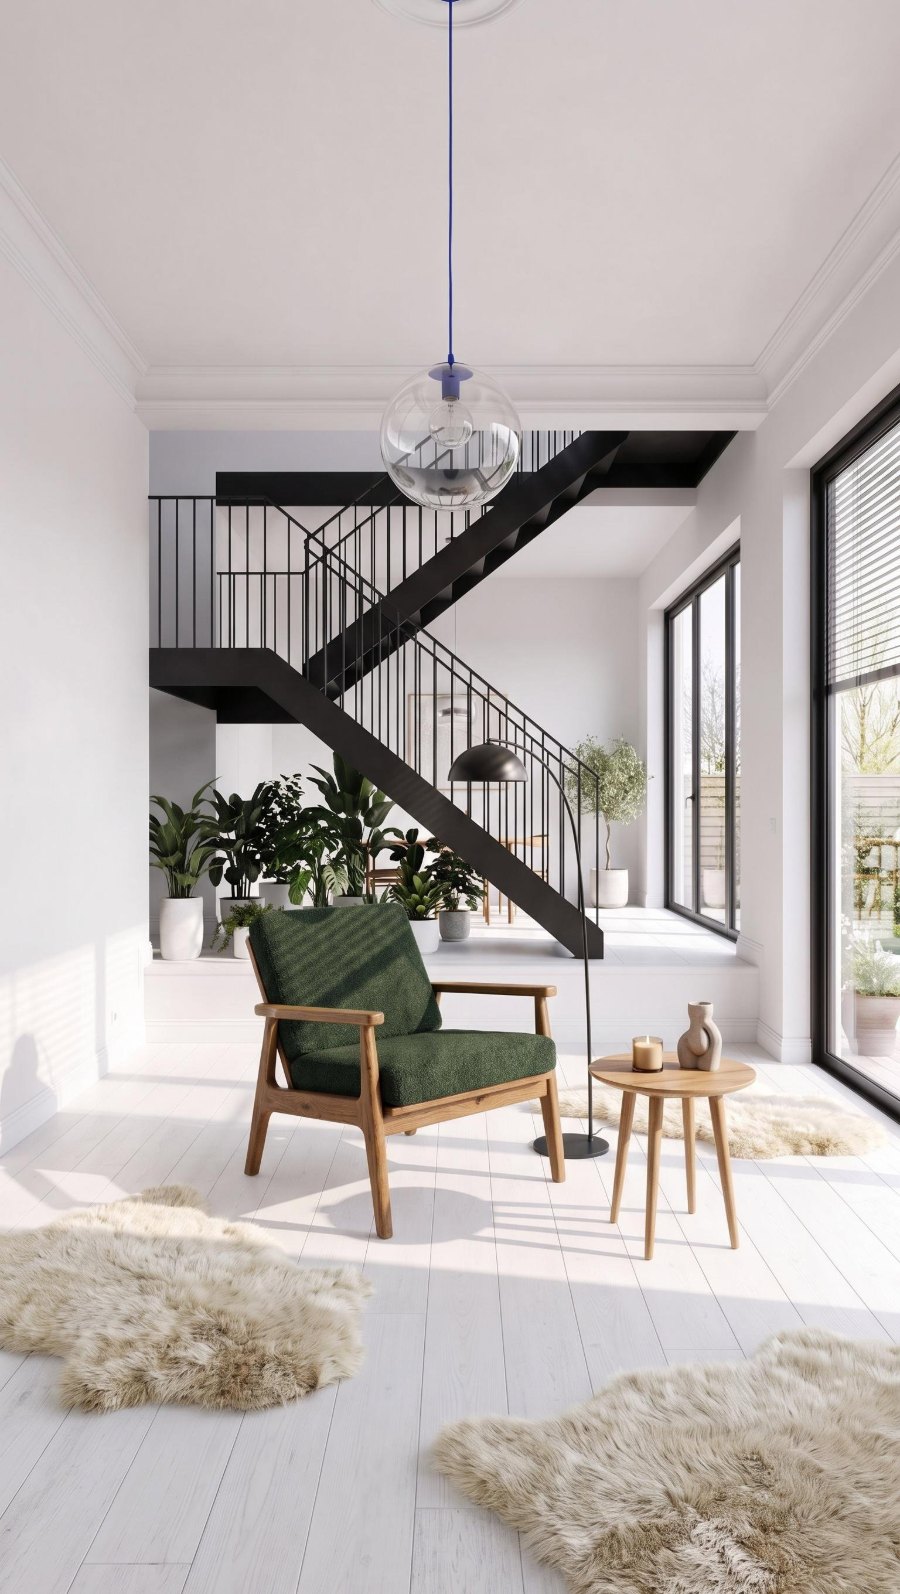 SCANDINAVIAN
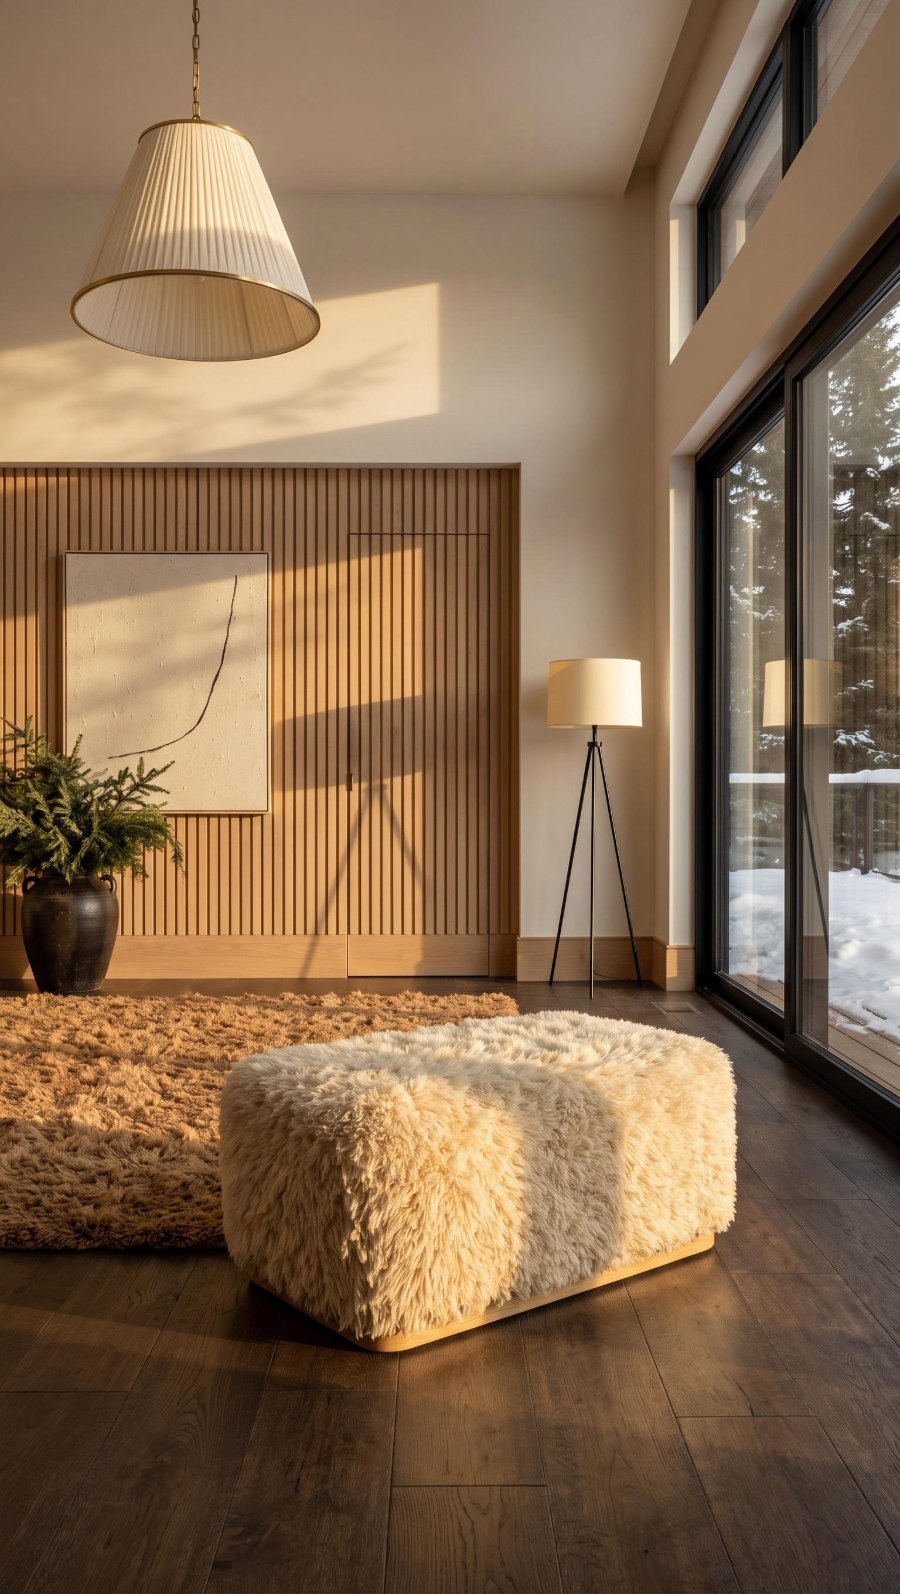 WINTER
How much a photo batch costs
A photo in a batch costs the same as in the photo creator: 10 credits. Credits are taken once for the whole batch, when you click CREATE. If a photo can't be created, its credits return to your account.
| Batch | Photos | Credits |
|---|---|---|
| 1 item in 3 styles | 3 | 30 |
| 5 items, as in the video | 8 | 80 |
| 20 items in 2 styles | 40 | 400 |
| 50 items in 4 styles (the most in one batch) | 200 | 2000 |
If you don't have enough credits, the summary shows how many you're missing. You can top up your account or, with one click, reduce the batch to one that fits your balance: one style per item. Plans differ only in the number of credits, and every plan includes photo batches. See the plans.
What you can do next with batch photos
Batch photos are regular photos in the gallery, so everything that works on photos from the photo creator works on them too:
- RATIO: the same photo in another format, for example 1:1 for your shop and 9:16 for reels.
- ANGLE: the piece from another side on the same background, from your side or back packshot.
- COLOR and MATERIAL: other variants of the piece in the same photo.
- ADD PEOPLE: the piece in use, with people or pets.
- Video: a short video from a finished photo, for reels and ads.
Frequently asked questions
How many items and photos can one batch hold?
Up to 50 packshots and up to 200 photos in one go. Split a larger collection into several batches.
Is a photo in a batch cheaper than in the photo creator?
No, the price is the same: 10 credits per photo. A batch saves time, because you set up many items at once and order everything with one click.
Can each item in a batch have a different style?
Yes. You can assign a style to a group of items or to a single item, and each item can have several styles. Each style is a separate photo.
Can I use my own interior in a batch?
Yes. In the style window, choose the YOUR INTERIORS tab. An interior counts like a style: each one is a separate photo at the price of a regular photo.
How does Sopla know what type of furniture it is?
It recognises the furniture type from the packshot. When it isn't sure, it marks the item with a CHECK pill, and you confirm the type or choose another one. Your choice is saved with the packshot for future photos.
How long does a batch take?
A single photo is usually ready in about a minute. Batch photos appear in the project one by one, and a larger batch takes longer. You don't have to wait on the page: you can close it.
Can I create one photo in several formats?
In a batch, each item has one format. You can create the same framing in another format later with the RATIO edit on the finished photo.
What if I don't like a photo from a batch?
Compare it with the packshot. You can fix the angle of the piece with the ANGLE edit, or create the whole photo again in the photo creator with the same settings.
Can I create a batch on my phone?
No. The Sopla app works on a computer, in a web browser.
Got a collection to photograph? Upload your packshots and create your first batch.